Status

Marinated Top Sirloin Steaks

Top Sirloin

Butcher Box recently contacted me asking if I’d like to check out one of their boxes and I jumped at the chance! I’ve seen a lot of other folks get boxes and cook amazing things that I could not wait to give them a try.

Butcher Box is a company that provides quality meats to your doorstep each month.  They offer grassfed beef, organic/pastured chicken, and heritage pork.  They also offer multiple boxes to pick from, each box contains 8-10lbs of meat and is $129 a month with the option of adding on additional cuts if you’d like.  You are in charge of the boxes. You can pick the frequency of when they are delivered (Each month, every 2 months, every 3 months) and you can switch between boxes if you’d like. You’re not committed to a certain box once you pick it.

Seriously, this is a freaking amazing deal.  You get quality meats delivered to your door.  This is especially great if you live in an area where finding top quality meat is challenging. By signing up to get delivery, it also eliminates one less thing you have to focus on because it’s taken care of. You can check meat right off your list and move on.

Included in the box is an invoice that lists all the meats and how much of each, along with cards that feature a recipe on one side and information about that particular cut on the other side.  Very handy if you are just getting your feet wet with cooking protein.  But even for seasoned chefs, checking out recipes for inspiration is always beneficial.

For this shipment, I picked a beef and chicken box and I received:

  • 2pkg Chicken Drumsticks
  • 1pkg Chicken Tenders
  • 1pkg Beef Sirloin Tips
  • 2pkg Ground Beef
  • 2pkg Top Sirloin (Each package contained two steaks)

This box reintroduced me to drumsticks and tenders!  Something that I never really purchase on my own but I loved them.  I also had never cooked with sirloin tips or top sirloin before so this was a new experience.

The drumsticks I marinaded and then baked.  The chicken tenders I breaded with almond meal.  The ground beef was used in tacos and soup.  The sirloin tips I used in a beef and broccoli Asian inspired dish and the top sirloins I marinaded and then cooked in skillet.

And I’ve got a recipe for those bad boys!.

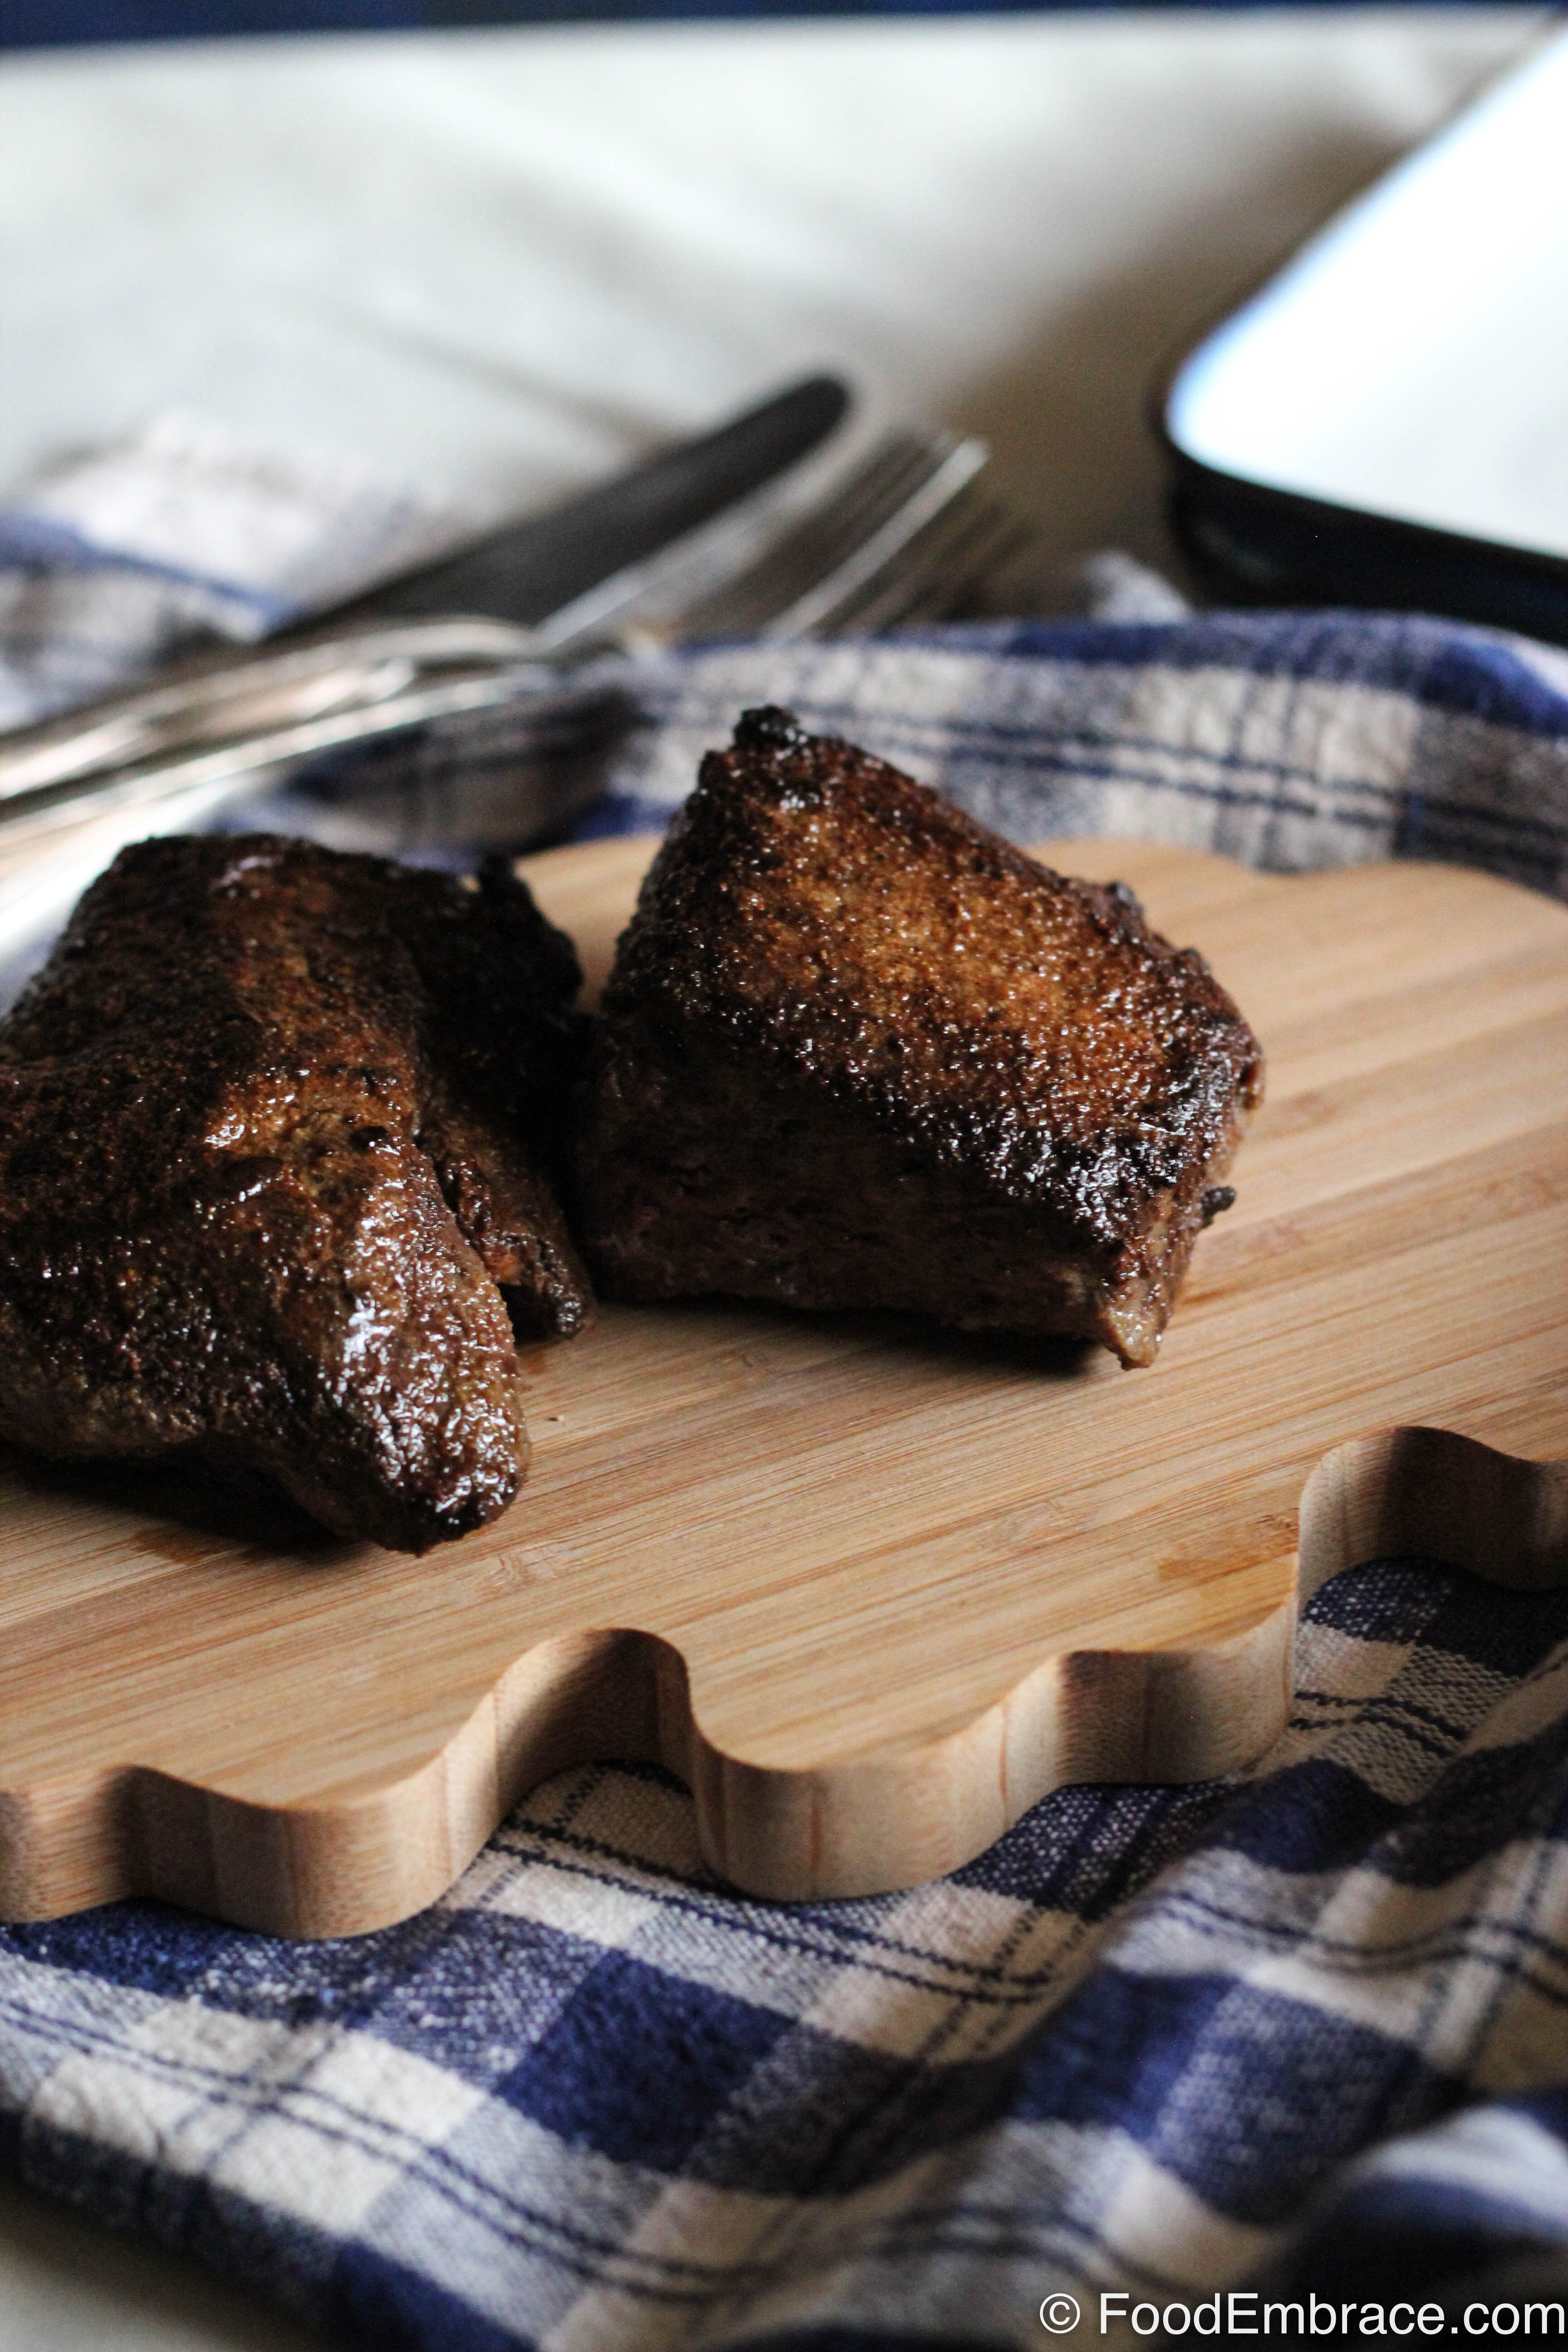
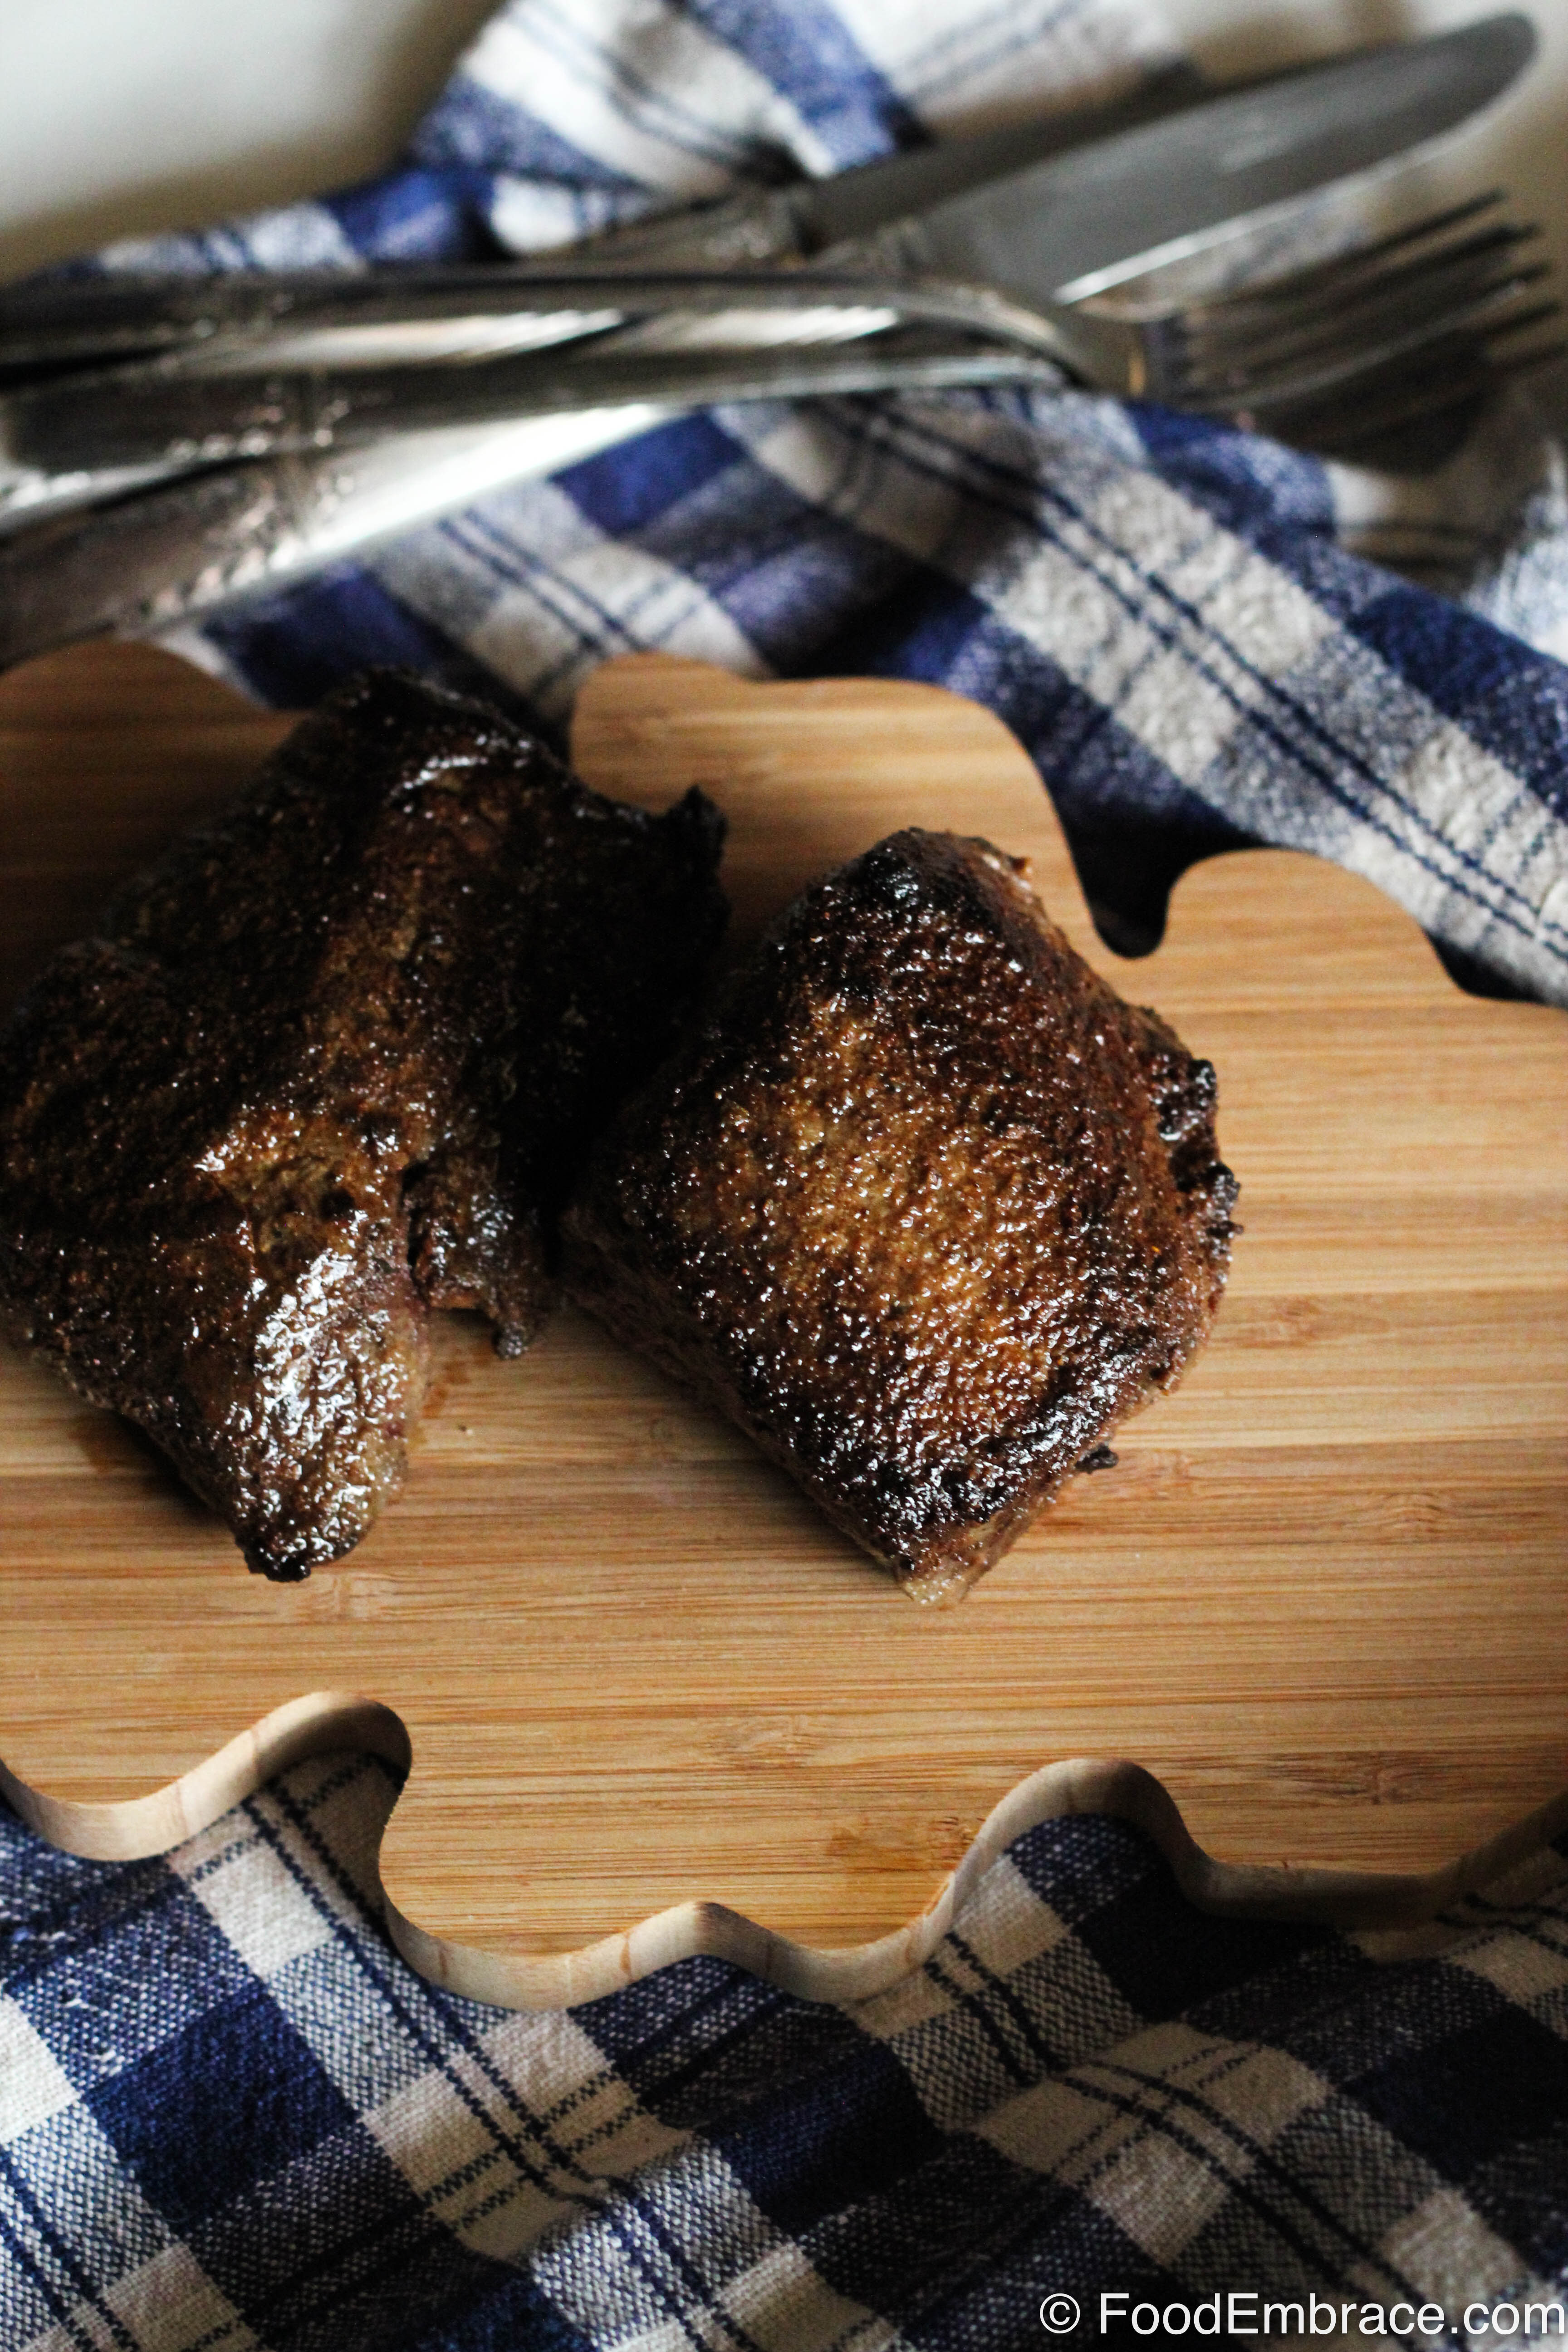
Andrea’s Marinaded Top Sirloin Steaks

  • 2 Top Sirloin Steaks
  • 2 Cloves Garlic, crushed or finely chopped
  • 1TBS Olive Oil
  • 1/4C Coconut Aminos (or Soy Sauce if you prefer)
  • 1TBSP Flavor God Everything Seasoning (**see note at bottom)
  • 3 TBSP Ghee or lard for cooking (Can also use olive oil or coconut oil)

Place steaks in a medium bowl or large storage bag.  Mix garlic, olive oil, coconut aminos, and seasonings in a small bowl and pour over steaks.  Massage steaks so that they are fully coated in the marinade and refrigerate for at least 4 hours or over night.

Remove steaks 30 minutes before cooking and allow them to come to room temperature.

In a large skillet, heat the fat over medium high heat for about 3 minutes then place steaks in skillet.  Cook steaks till preferred doneness. I went to medium, so I cooked them about 6 minutes on each side.

Remove steaks from skillet and allow to rest for 10 minutes before serving.  Serve and enjoy!

**If you don’t have Flavor God seasoning then use:

  • 1TSP Garlic Powder
  • 1TSP Onion Powder
  • 1/2TSP Smoked Paprika
  • 1/4TSP Salt

These are great as is, sliced for sandwiches/wraps, or make a pan sauce out of the drippings and drizzle that on top.  Or place on top of a salad and top with a creamy horseradish dressing.  Ahhh, now I’m getting hungry for lunch!

Top Sirloin Steaks

We loved our experience with Butcher Box so much that we signed up for a subscription.  I already can’t wait to get our next box!

If you’re looking for quality meats, then definitely give Butcher Box a try!


Disclaimer: Butcher Box sent me a box to sample. I was not compensated in any other way nor was I required to do this post. All opinions and recipes are my own.

Pepperoni Stromboli Roll

pepperoni stromboli rollSince I’m still not done eating things from my childhood, I busted out an oldie but goodie a couple weekends ago.

Pepperoni rolls were common and super popular where I grew up.  I don’t really see them out anywhere else and that kind of bums me out because they are so delicious.

Basically it’s pizza dough with pepperoni slices and then rolled up and baked.  My mom used to make a huge one layered with lots of sandwich pepperoni and shredded cheese.

It was awesome and it was even better cold the next day.  When I moved in with Scott, it was something I would make for us on occasion.  Except I kicked mine up a little bit more and added sauce and some toppings.  This makes it extra gooey and delicious.

We haven’t had one in ages and when we were stuck inside one snowy Saturday, it seemed like a great time to bust it out.

I call it a stromboli roll because it has sauce and instead of just folded over dough, I roll it up like a log.

There’s no measurements because you use as much as you want in terms of toppings and cheese.  This is what I used when I made it:

Andrea’s Pepperoni Stromboli Roll

  • Pizza Crust
  • Pizza Sauce, just a little bit
  • Shredded Mozzarella
  • Sandwich pepperoni
  • Chipped (shaved) Ham
  • Olive Oil

Preheat oven to 400 degrees.  Grease or line a baking sheet.  Roll out the dough until you get a rectangle-ish shape about 1/4 inch in thickness.

First layer is sauce, then sprinkle on some cheese.  Add in the pepperoni and ham.  Sprinkle on some more cheese and then start to roll up the dough.  Shape into a log and gently place on the baking sheet.  Brush the top with olive oil and cut a few slits in the top to allow steam to escape.

Bake for about 20 minutes.  If you used a lot of toppings, then go a little bit longer possibly 30 minutes.

Remove from oven and let sit for about 5 minutes.  Slice and serve!

pepperoni stromboli roll


It’s gooey and delicious. You have to eat it with a fork and knife. In other words, it’s awesome.

I’ve done onions, peppers, sausage, and mushrooms before as well.  If you do any veggies, I suggest giving them a quick sauté first to help remove some of their water content.  Otherwise you’ll end up with a really soggy roll and nobody wants that.

Thankfully we have leftovers stored away for another weekend dinner!

Have fun guys, and remember, always play with your food! Enjoy!


Butcher Trip

I recently posted a picture similiar to this on Instagram and it sparked quite a lot of discussion!

This is our haul from a recent butcher trip and this is pretty typical for us.  It’s actually missing a 40lb box of chicken backs on top of all of that only because I already had some in my freezer.

Whenever I shop, I stock up.  I buy BIG.  It doesn’t matter if it’s the grocery store or if I’m buying wine.

I prefer to buy in bulk so I  buy a lot at one time.

The reason for this is simple, I do not like having to shop weekly.

In fact I hate it.  Going to the grocery store once a week for supplies would make my head explode.

1. I have no desire to do that on a weekly basis.

2. I don’t have time to do that on a weekly basis.

So I plan my time accordingly and make a big shopping day.  I know that I’m going to spend at least 2 hours (if I’m lucky) out and probably 30 minutes back home getting organized.

I’m okay with this because I won’t have to go to the grocery store again for three weeks.

Score!

Our butcher is located downtown at North Market.  This isn’t a place that we frequent often nor is it a place that is close enough for a quick trip.  There’s no running out just to get some bacon or chicken.

So when I have to resupply our freezer, I’m buying a lot at one time.

This should last about three months.

A few hours spent downtown and I won’t have to go back again for months?

YES!

Yes this means that I’m dropping some serious cash when I shop but for us and our budget it all works out at the end.  Naturally if I’m not shopping on a weekly basis, the bill will seem high at the end.  But that’s covering us for weeks or months if we’re talking about  a trip to the butcher.  It works for us and I’m happy with the results.

What’s your shopping schedule like? Do you buy in bulk as well or do you like to shop on a weekly basis?


Grinding Meat At Home

We’ve been dabbling with the idea of grinding our own meat for burgers and homemade sausages.

I knew nothing about grinding meat and but luckily my friend Rachel had put on a class all about making sausage at home.

Scott and I went to the class and bought a grinder attachement for the stand mixer right away.

I’m still learning and this year I would like to explore this a little more.

The first thing we did was make burgers!

I forget what cut of meat I bought but I know it was a roast cut from Blues Creek.  I didn’t really know what cut to look for but threw caution to the wind.  I mean, no matter what I used I knew everything would work out.

I chilled the mixing bowl, and all of the parts to the grinder until they were super cold.

I cut up the roast and tossed it with a few spices and placed that in the freezer until it was cold and firm.

Then it was time for the grinder!

We got one good run through the grinder. We tried to put it through again for a finer grind but the meat kept getting caught up and stuck.

Probably related to the cut I picked, perhaps it had too much connective tissue in it?

Regardless the first grinding worked and we had ground beef ready for some patties!

I made some burgers, let them chill in the fridge until it was dinner time, and we enjoyed a nice night of grilling.

The burger was tasty and one of the better ones that we’ve made at home.

It’s still a big learning process for me but hopefully this year I’ll be able to gain more experience with it.


Haluski

Haluski is a Polish dish made with cabbage, onions, and noodles. Like most Polish dishes, it’s simple to make, hearty, and comforting.

I sadly did not get a chance to have my Grandmother’s version of this dish but like with everything she made, I’m sure it tasted amazing.

My first experience with this dish was several years ago, and came from a little food booth at a craft show.  I was visiting my mom and we attended a craft fair over in Washington, PA. There was a Polish food booth there and you know I beelined right over as quick as my legs would take me.

Haluski was on the menu and I gobbled some up!

Basically the dish is sauteed cabbage and onions in butter and then tossed with some egg noodles.  Very traditional means that the egg noodles are homemade, but now a days most people use store bought egg noodles.

I kick mine up a notch by adding in some peppers, lots of garlic, roasted potatoes, and kielbasa.  I also use whole wheat egg noodles.

Scott likes to refer to this dish as Polish In A Pot.  Clever fella.

Andrea’s Haluski, aka Polish In A Pot

  • 1 Very Large Head of Cabbage, cored and thinly sliced
  • 1 Large Onion, thinly sliced
  • 1-2 Peppers, red or green, thinly sliced
  • 1 Link of Kielbasa, chopped
  • 1, 12-15 oz Package of Whole Wheat Egg Noodles
  • 1/2lb red skinned potatoes, chopped
  • Red Pepper Flakes
  • Kosher Salt
  • Ground Black Pepper
  • Garlic Powder
  • Olive Oil, 2 TBSP, plus some for potatoes and kielbasa
  • Butter, 1/2-1TBSP

Preheat oven to 425 degrees.  Spray a large baking sheet with olive oil or nonstick spray.  Wash and cube up the potatoes. Make the cubes small, about bite sized.  Toss with some olive oil (about 1/2 TBSP) and sprinkle lightly with salt, pepper, and garlic powder.  Place in oven and bake for about 20-25 minutes until browned and crisp on the outside. Remove from oven when done.

In a very large pasta pot, bring water to boil and cook the whole wheat egg noodles according to package directions.  You want them to still have some bite to them.  Drain and set aside.

In a very large skillet, add in the olive oil, about 2 tsp and heat over medium heat.  Add in the chopped kielbasa and cook until kielbasa is crisp and browned around the edges.  Remove from skillet and set aside.

Add in 2 TBSP of olive oil and butter into the skillet and continue to heat over medium heat.  Add in the cabbage and toss till it’s coated with the oil and butter.  Satuee for about two minutes.  Add in the onions and peppers, toss. Sprinkle with seasonings, light on salt and then as much garlic, pepper, and red pepper flakes as you want. Continue to satuee and tossing until the cabbage is fully cooked through and soft.

If you feel that the bottom is getting a bit burnt or needs more moisture, add in no more than a 1/4 of either chicken or vegetable stock.  When veggies are cooked, add in the potatoes, and pasta.  Gently combine.

Serve immediately!

This makes a HUGE batch of haluski which is good because you want leftovers.  It tastes even better the next day!

You might be thinking that it seems like a lot of oil for the dish but keep in mind this noodle dish has no “sauce”.  The veggies are what help to coat the noodles and provide flavor.

I like my super peppery and super garlicky, so I use a bunch of those seasonings.  Your tastes may vary, taste as you go along to get the right flavor for you.

You can keep this dish vegetarian friendly by omitting the kielbasa, and using veggie stock if needed.

While my adjustments certainly aren’t traditional, it does help to bring the dish up to meal status and provide some extra veg love.

I think my Grandmother would have approved and for me, that’s all that matters.

Have fun guys, and remember, always play with your food! Enjoy!

Thoughts on Bison Steaks

It’s Scott’s birthday week, so this means we get to eat some super special meals.  One of the things Scott wanted for sure was some steak.  We don’t eat red meat often, not because we think it’s The Devil Meat but just because we don’t eat all that much meat in general.  Everything in moderation, ya know.

When my husband asks for something he gets it or at least I try my best to provide it for him.  We were at the butcher and none of their steaks looked very appealing.  I felt really awful having to tell Scott that none of the steak was worth purchasing.  He explained that he understood as the meat didn’t look too nice and it was no big deal.

I, however, was totally bummed.

We moved on to another butcher, one who provides bison (buffalo) meats and they just happened to have some bison steaks on sale.  Both of us have only ever had ground bison so steaks seemed intriguing!  We bought two and brought those little babies home with us.

I originally had plans of grilling them even during our nasty-ass, most awesome winter weather we are currently having.  However, by the time we were ready to eat it was too dark outside to bust open the grill.  If we had better backyard lighting we might have pushed on through.

I handled these steaks the way I handle all steaks, which is by covering them liberally with a dry rub and letting them hang out in the fridge for several hours.  The dry rub I used on these steaks was pretty basic:

  • Pinch brown sugar
  • Garlic powder
  • Chili powder
  • Ground mustard
  • Salt
  • Pepper
  • Cayenne
  • Red pepper flakes

Brown sugar is key (and I stated as much in my dry rub post) because it helps provide a really nice crust on the steaks when they cook.  That goes for either grilling, broiling, or skillet cooking.  You don’t need a lot, just a touch will do.

Since we weren’t able to grill, I did the next best thing and seared them in a very hot skillet.  I removed them, added a bit of red wine and chicken stock to the pan and scraped up the brown bits.  Added the steaks back in and tossed into the oven at 400 where they finished cooking.

I really couldn’t have been more pleased with the way these steaks looked because for a cut of meat, they are gorgeous.  I wondered how they would differ from regular steaks and I was surprised to learn that they are completely different.

Just handling the steak as I was applying the rub, I noticed how much softer and juicer this steak was.  It caused me to be a bit more gentle with the handling because I didn’t want it to tear or possibly alter the texture in any way.  There was a strip of fat running along the back and I could have easily pulled that off without a problem.  There’s no way you are doing that with a regular steak!  I left the fat on for cooking purposes.

The steaks seared and browned up a lot quicker than a regular steak which sort of caught me off guard.  They also cooked a lot quicker.  Admittedly, I did over cook these just a tad and cursed myself properly for it too.

Thankfully these steaks are really forgiving!  We don’t like rare meat and I will only eat steak if the brown outnumbers the pink.  If it’s pink I won’t touch it.  I usually take our steaks to just shy of well.  I pulled these out a bit sooner than that but they were still a tad overcooked.   These babies cook super fast!  Like I said, they were very forgiving and even despite my blunder, they were juicy and delish.

We weren’t chewing on them forever and they were not tough.  In fact, I’m not sure I could go back to a regular old cow steak after this experience.  Bison steaks are a whole other level and taste so much better than beef.

While I would agree that ground bison is similar to ground beef in taste, bison steaks are nowhere near the same as beef steaks.  Bison steaks are the lobster and champagne crowd, while beef steaks are all you can eat at The Sizzler, if you get my point.

Bison steaks are more expensive, but are definitely worth the indulgence every once in a while.  They are tender, juicy, and quick cooking.  They have way more flavor than a regular steak.

We for sure will be getting some more steaks this summer that we can grill!  I don’t know about Mr. Cow though, he might be just reserved for the occasional roast.

If you’ve never had bison steaks before give them a go!  Four thumbs up from the staff at the HQ!

Bison steaks purchased from North Market Poultry and Game located in The North Market.