Status

Sweet and Smoky Shishito Peppers

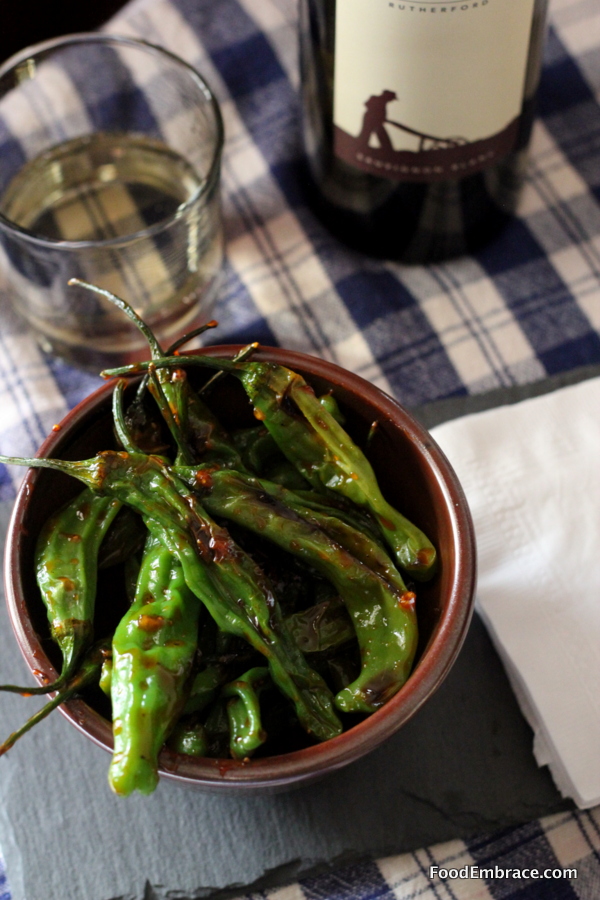
With all the holiday functions and parties that happen during this time of year, I wanted to create a quick and simple appetizer that would be great for entertaining, parties, or as a way to kick off an intimate date night at home. While out shopping I came across some awesome looking shishito peppers and knew they would be perfect to use. Most times the peppers are paired with a dipping sauce but I wanted to wrap the peppers is a sweet and sticky sauce making them easier to prepare and eat.

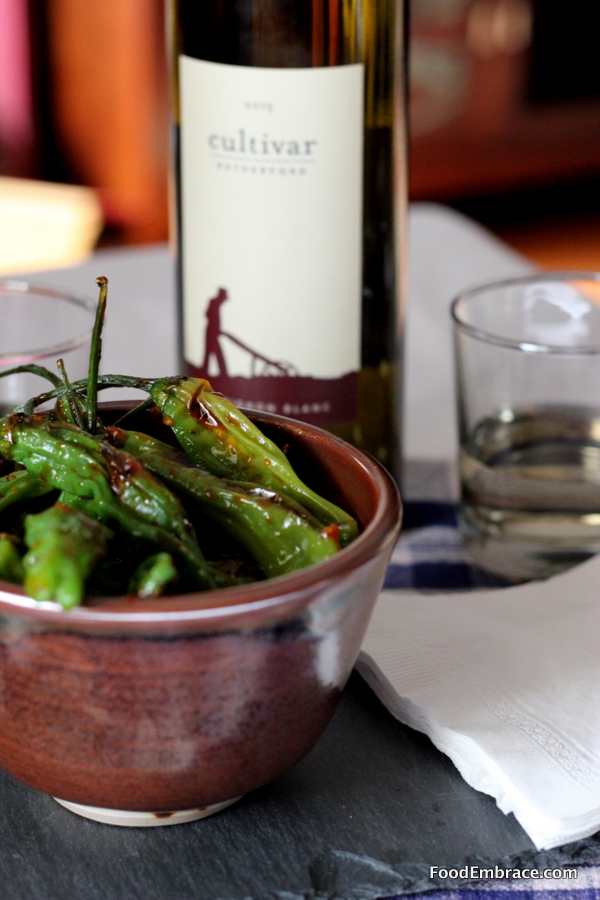
In a recent shipment from Cultivar Wines, I received a 2014 Cultivar Rutherford Sauvignon Blanc that I thought would pair nicely with this dish.

Sweet Smoky Shishito Peppers

Andrea’s Sweet and Smoky Shishito Peppers

  • 6oz Shishito Peppers
  • 1/2TBSP Light Olive Oil
  • Juice of 1 Large Lime
  • 2 Cloves of Garlic (Either use a garlic press or finely chop them)
  • 1 TBSP Honey
  • 1/2 tsp Smoked Paprika
  • Pinch of Salt (no more than 1/4 tsp)

In a bowl, combine the lime juice, garlic, honey, paprika, and salt, whisk until everything is combined and set aside. In a medium sized skillet, heat up the olive oil over medium to medium high heat for about 2 minutes (do not let the oil smoke), then add in the peppers in a single layer.  Cook peppers on each side for about 3 minutes until they blister and start to soften.  Reduce heat to medium and add in the sauce, stir and make sure all the peppers are covered.  Continue to gently stir and cook the sauce for about two minutes.  The sauce should cook down and start to coat the peppers.  Allow to cool for one minute and give another stir before plating.

Plate and serve!


Sweet Smoky Shishito Peppers

These peppers are great hot right out of the pan but can also be served at room temperature, making them perfect for entertaining and parties.

Having the sauce on the peppers means there’s less to handle and turns them into a fabulous finger food appetizer, just right for mingling and eating while standing.

You can make the sauce ahead of time making the cooking time on these even quicker.  I would recommend making a double batch because these will go quick!

These peppers and the 2014 Cultivar Rutherford Sauvignon Blanc really worked well together.  The crisp citrus notes of the wine balances out the smoky sweet sauce while the oaky herby notes compliments the earthy pepper flavor.

Have fun, and remember, always play with your food.  Enjoy!

Disclosure: I’m required to disclose a sponsored partnership between our site, Food Embrace, and Cultivar Wine. I have been compensated in exchange for this post in the form of product. All opinions presented are my own. I receive wine from Cultivar Wine as a member of the Cultivar Wine Bloggers group.

Status

Fun Finds

Happy weekend!  I have to work the whole weekend (boo) but hopefully you’ll be doing some fun stuff and I can live vicariously through you!  I found some goodies this week while I was out grocery shopping, maybe you’ve seen these at your local TJ’s?

PS: This is not a sponsored post or in anyway associated with Trader Joe’s. I thought it would be fun to talk about some items I came across recently.

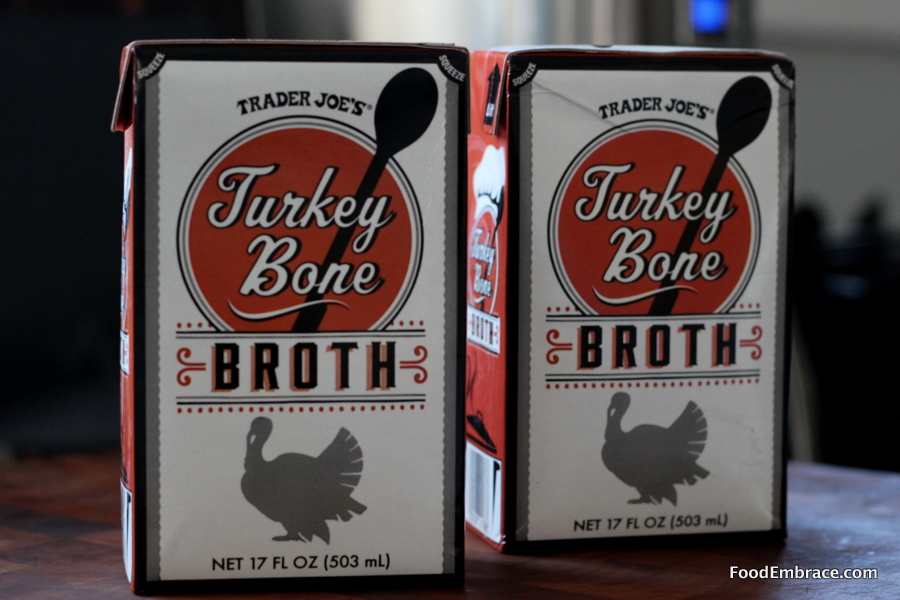
Trader Joe's Turkey Bone Broth


TJ’s Turkey Bone Broth.  It comes in smaller boxes than their turkey stock.  I compared it to the TJ’s turkey stock and the bone broth has a more simple ingredient list focusing on creating a rich broth where the stock had more additives (Like veggie stock, and sugars).  While this is more expensive than the stock, I decided to use it for Thanksgiving next week.  I would love to see TJ’s start carrying more bone broth! It’s not organic in case that is something you are concerned about.   When checking out, the cashier told me is a seasonal item only and will be departing the shelves soon so stock up! I’m going back this week to finish up Thanksgiving shopping and I plan on picking up more.

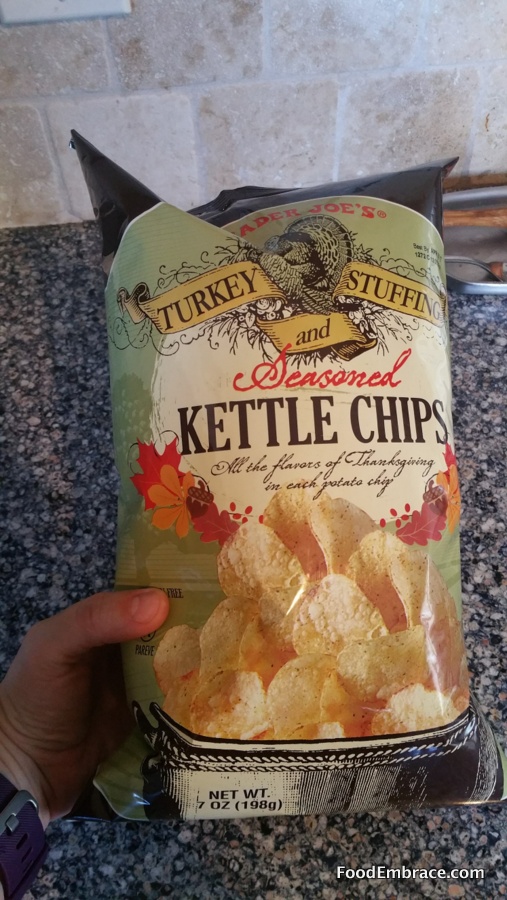
Trader Joe's Turkey and Stuffing Kettle Chips

TJ’s Turkey and Stuffing Kettle Chips.  This was a total splurge impulsive buy moment.  I thought these sounded amazing and was so curious to try them out.  However, they were not amazing but they weren’t horrible either.  When I first tried them, I didn’t really get much of a turkey/stuffing flavor out of them at all. They sort of tasted like overcooked chips. I tried them again a few days later and they tasted a lot more savory and I could see how they might be a nod to Thanksgiving dinner. They were OK and a fun gimmick. If I were hosting a party I would get these to have on hand because they are budget friendly.  However since I didn’t love them, they had to go. I hate tossing food but I’m also not going to eat something just because, it has to be worth it and those were not.

Not pictured but worth a mention, TJ’s also now carries broccoli rice in their fresh produce section.  I’m so glad to see grocery stores (especially TJ’s because let’s be honest, they were the first to embrace having cauliflower rice in the store) start to carry more veggie alternatives.  I’m just OK on this rice though.  Since it’s made from broccoli stems it has a much tougher texture and takes a good bit of seasoning to keep it from being bland.  However if you aren’t a fan of cauliflower this rice would be worth checking out.

Have a great weekend and we’ll catch up on Monday!

Status

Roasted Hatch Green Chili and Corn Fritters

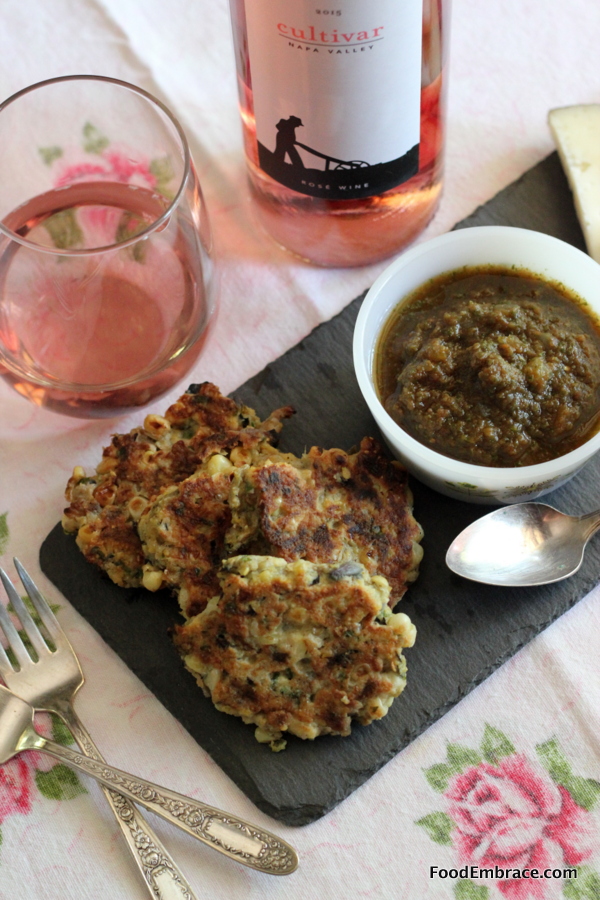
I wanted to create a dish that utilized some of the staples from the summer farmer’s market.  I decided to combine sweet corn and roasted chilies into a fritter.  This paired nicely with some Rosé that Cultivar Wine recently sent me.

Hatch Green Chili and Corn Fritters

Summer time at our farmer’s market is filled with the smell of chilies roasting over a big flame.  Hatch green chilies are a big deal and when they are in season, everyone is rushing to get their hands on some.

I thought the smokey chilies would go nicely with local sweet corn and decided to combine them into a fritter.  Perfect little side dish to summer cookouts.

Andrea’s Roasted Hatch Green Chili and Corn Fritters

  • 3 Ears Fresh Corn, kernels cut off the cob
  • 5 Roasted Hatch Green Chilies, seeds removed and chopped (Heat level optional)
  • 1/2 Small Red Onion, finely chopped
  • 1 TBSP Chopped Parsley
  • 1/2C Corn Meal
  • 1/4C All Purpose Flour
  • 1/2tsp Salt
  • 1tsp Ground Black Pepper
  • 1tsp Garlic Powder
  • 2 Eggs
  • 1/4C Water
  • Olive Oil for frying

In a medium sized mixing bowl combine the corn, chilies, onion, parsley, and spices.  Toss together then add in the corn meal and flour, gently mix until everything is distributed and coated with the flours.

In a small bowl beat the eggs and water until frothy.  Add egg mixture to the corn and chilies mixture and combine until everything is coated and a light batter forms.

In a large skillet, heat about 2 TBSP of olive oil over medium heat.  When the oil is hot, spoon some of the batter onto the skillet.  About a heaping TBSP size, as you want to keep the fritters on the smaller side.

Do this until the skillet is full but keep the fritters spaced out and do not crowd the pan.  I was able to do four fritters at a time.

Cook the fritter about 3 minutes on each side.  Remove from skillet and place on a cooling rack.  Repeat until all the batter is gone.  Adding more oil to the skillet when needed.

Amount of fritters will vary depending on size but should yield at least 12 fritters.

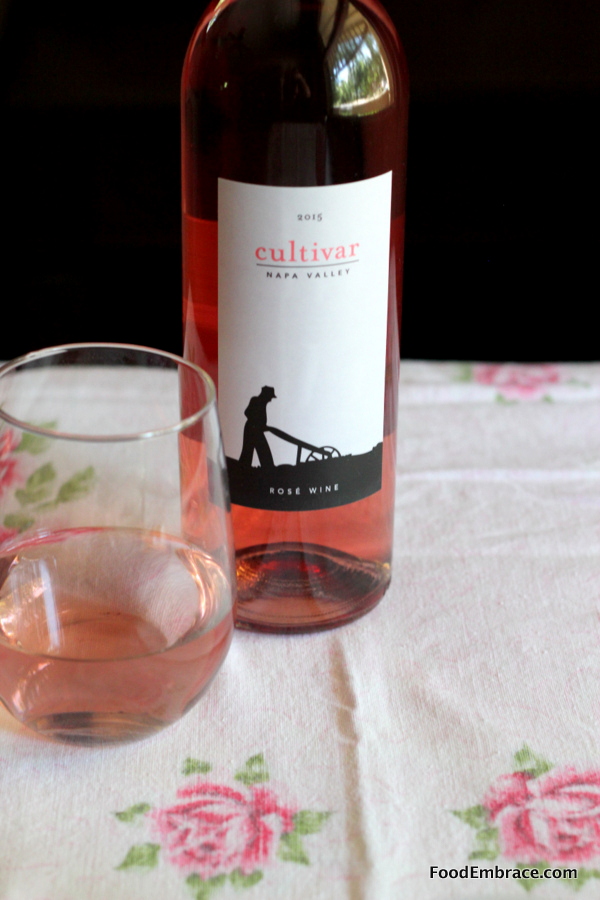
Cultivar 2015 Napa Valley Rosé

I wanted something light and summer fresh to pair with the Cultivar 2015 Napa Valley Rosé and these fritters fit the bill.  The sweetness of the corn highlighted the light sweetness of the wine while the smokey earthiness of the chilies complimented the tart fruit notes and a touch of spice on the end.

Even if you use the hot hatch green chilies, that heat will pair nicely with this Rosé.

These fritters are a fun way to take advantage of the chilies and corn that are in season right now.  Perfect for your next gathering or cookout!  They also freeze well and can be reheated in a toaster oven or in the oven at 350 for about 5 minutes.

If you’d like to try Cultivar Wine , they are offering a special promotion to my readers. Use the code CultivarWineFoodEmbrace when you order and you’ll receive 10 percent off your purchase.

Disclosure: I’m required to disclose a sponsored partnership between our site, Food Embrace, and Cultivar Wine. I have been compensated in exchange for this post in the form of product. All opinions presented are my own. I receive wine from Cultivar Wine as a member of the Cultivar Wine Bloggers group.


Status

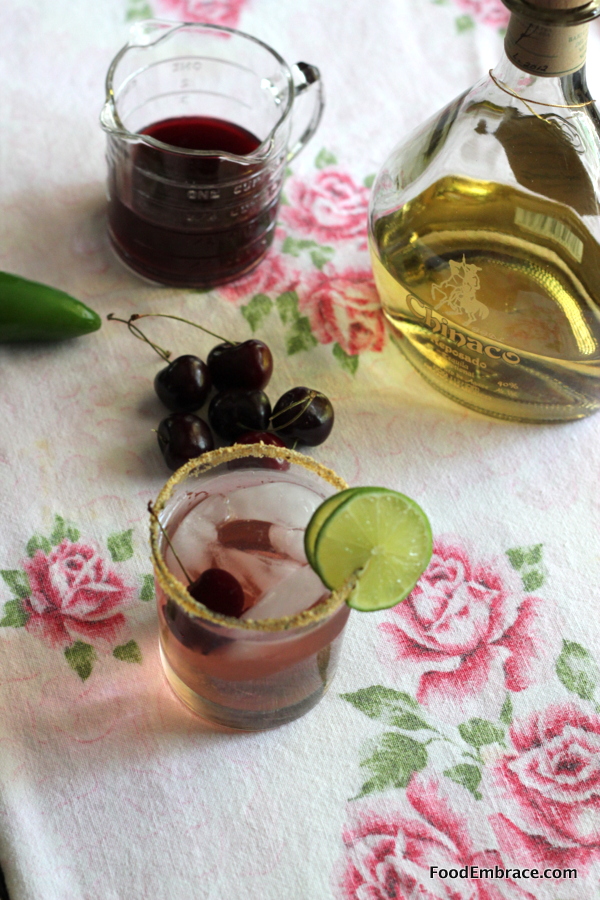
Cherry Jalapeno Simple Syrup

It was cherry season and I was trying to come up with some new way to highlight them.  I have made a cherry simple syrup before (and it’s also great with bourbon) but I wanted to put a little twist on that.  I decided to add in some jalapeño for a little earthiness and heat.  I wasn’t sure if the combo would work but I was hopeful.

Thankfully the combo turned out great! You can use this for margaritas or just to kick up some seltzer water.  It provides an amazing color to drinks and adds some uniqueness to your cocktail menu.

cherry jalapeno simple syrup3

Andrea’s Cherry Jalapeño Simple Syrup

  • 1C Water
  • 1C Sugar (Cane or Coconut works)
  • 15-20 Cherries, pitted
  • 1 Jalapeno, sliced in half

In a medium sized sauce pan, combine all ingredients and bring to a simmer.  Simmer for 5 minutes and turn off heat.  Allow the syrup to cool and the ingredients to steep for about 1/2 an hour.

Pour all ingredients in a blender (See note at bottom) and blend until everything is smooth.  Strain mixture through a fine mesh strainer into a glass jar.  Will keep for two weeks in the fridge.

NOTE: You can control the level of heat of this syrup by removing the seeds before simmering.  I wasn’t sure how spicy this would turn out so I only blended in half of the jalapeño.  It was a mild spicy, for more heat blend both halves.  Even more heat, keep the seeds in and blend those as well.

Perfect to bring along to cookouts and gatherings because people can use it to mix their own drinks and it can be at room temperature for a few hours.

You can also try using some frozen cherries to make this syrup in case you can’t find any fresh at the markets.

Enjoy guys, and remember, always play with your food!

Status

Typical Day of Eats

I’m going to start posting more of my eats on the blog this year and I wanted to start off with what a typical day looks like.  This way if I say, “Standard breakfast and lunch”, you know what that means and won’t get bored seeing those same things over and over again.

Dinners are more varied, more fun (for me anyway), and our biggest meal of the day.

Breakfast:

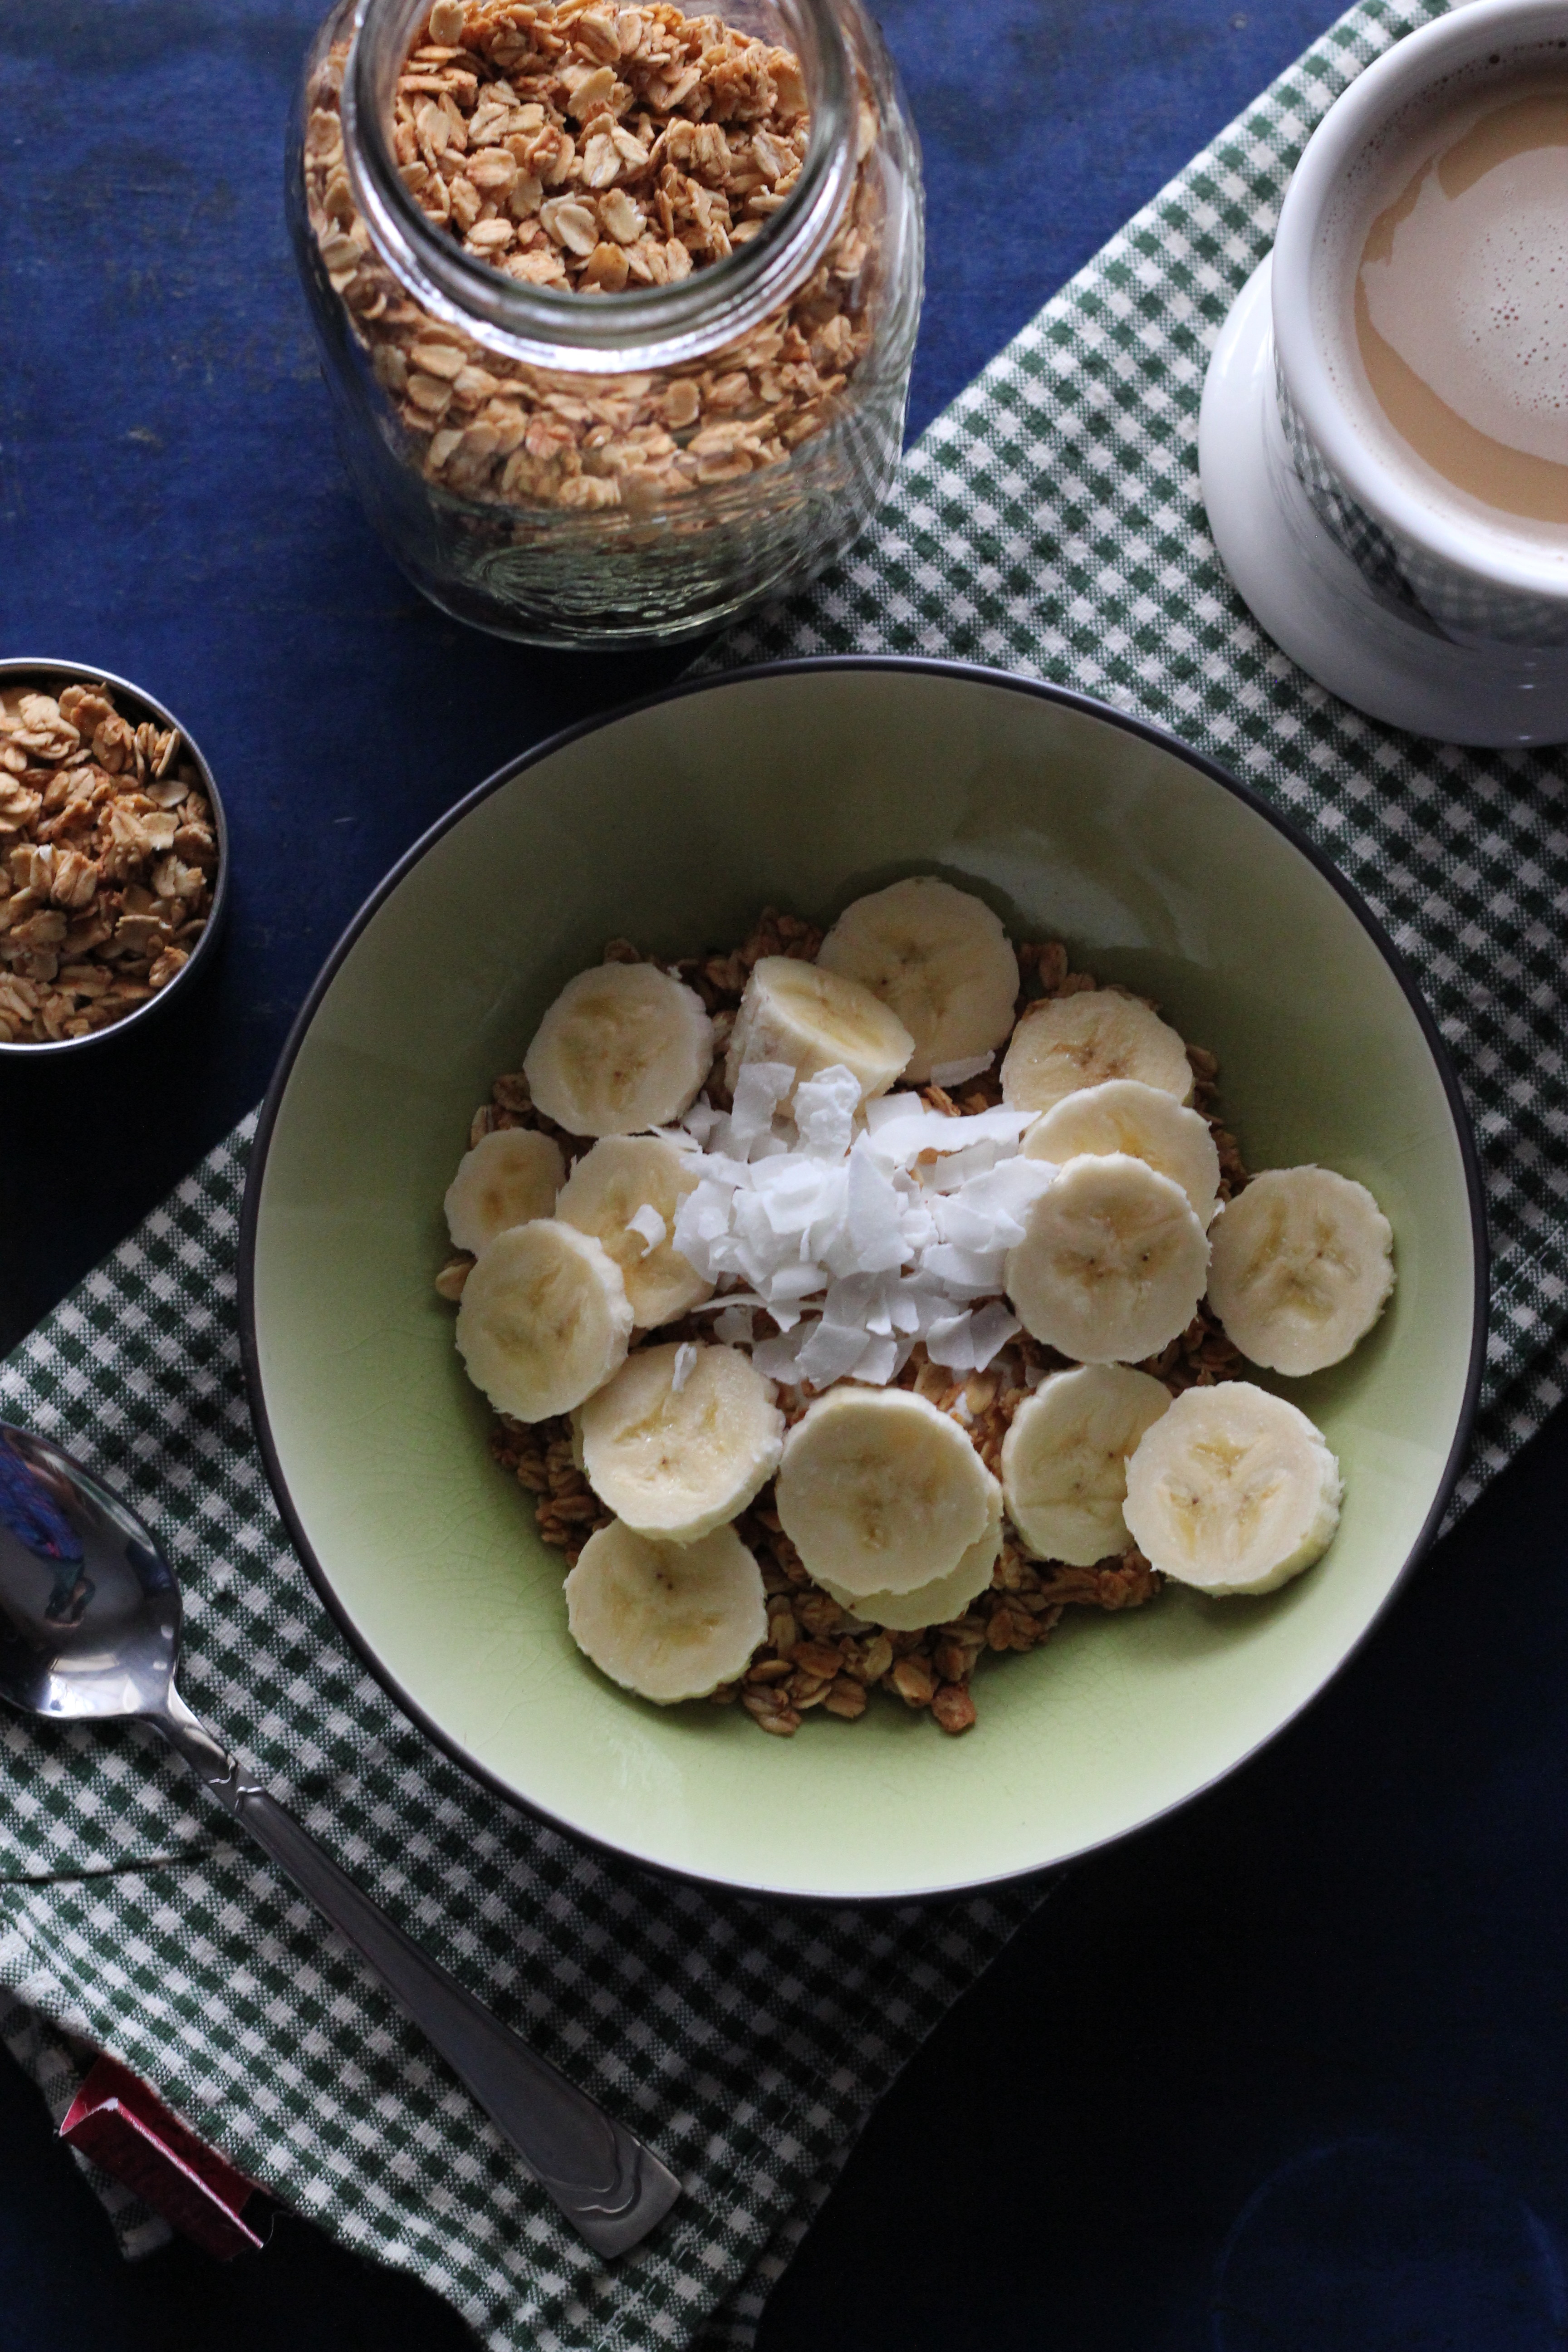
greek yogurt, granola, banana

2% Greek yogurt with homemade granola and sliced banana with a little sprinkle of unsweetened coconut chips. Coffee with almond milk on the side.  Not a huge breakfast but the fat in the yogurt helps keep me full and satisfied.  I also add eggs to the granola mix when I make for added protein.  Right now the granola is just toasted and spiced oatmeal.  If you like, you can always add nuts, dried fruit, and heck even chocolate chips if you want.

Lunch:

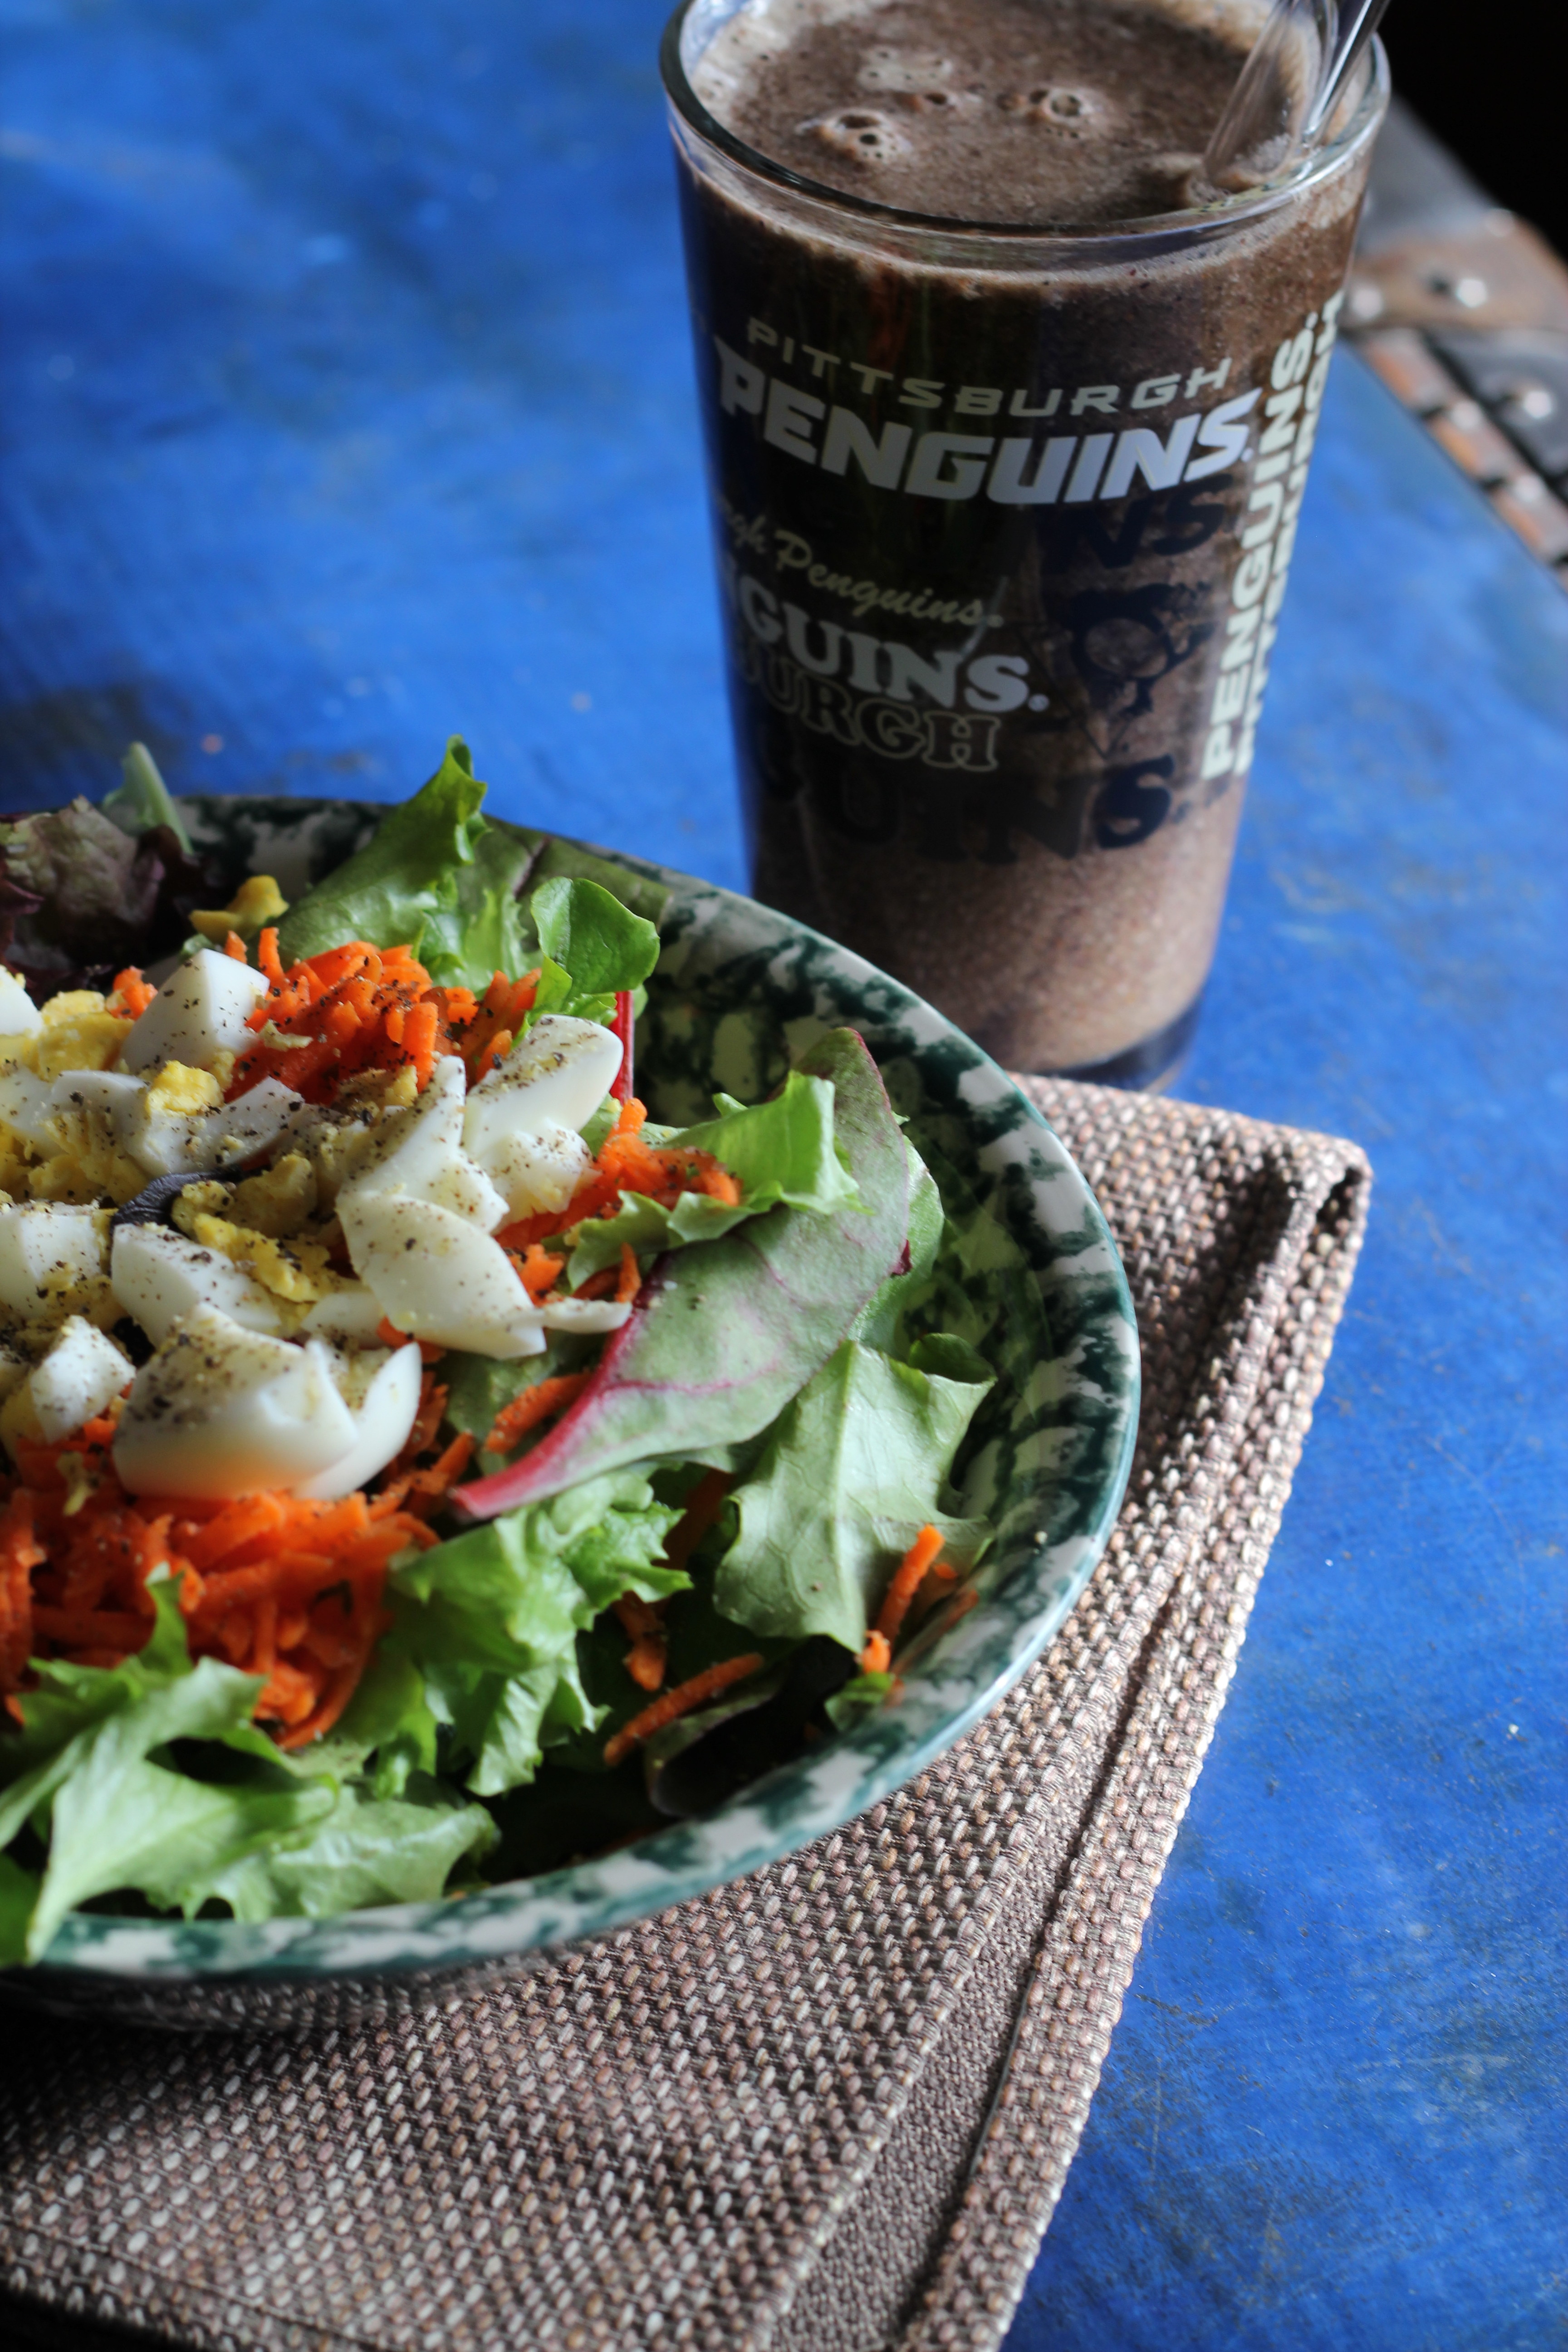
Salad and smoothie

Salad with small amount of protein (2-3oz) and a smoothie.  The protein in the salads vary from hard boiled eggs, to salmon, to leftover chicken.  Sometimes even beans. Depends on what I feel like that day and what I have on hand that is the easiest to grab.

The protein helps me feel way more satisfied and it also means that I don’t need a salad the size of my head to be full.

Smoothie is pretty typical:

  • 2.5 C water
  • Big bunch of greens (Either spinach, kale, or chard)
  • 1.5 Frozen bananas
  • 1/2-1C Frozen fruit (blueberries, mango, peaches)
  • 1tsp Coconut Oil

Sometimes I sub in 1C almond milk but not very often.  I don’t count calories really but I try to be mindful of them. Since I have almond milk in my morning coffee, I don’t really need it in the smoothie.

The coconut oil helps provide much needed fat.  Most vitamins and minerals in fruits and veggies are fat soluble, which means our bodies can’t break them down and absorb them properly unless they are paired with a fat.  Coconut oil does the trick!

This amount makes two smoothies, one me and one for Scott.

Dinner:

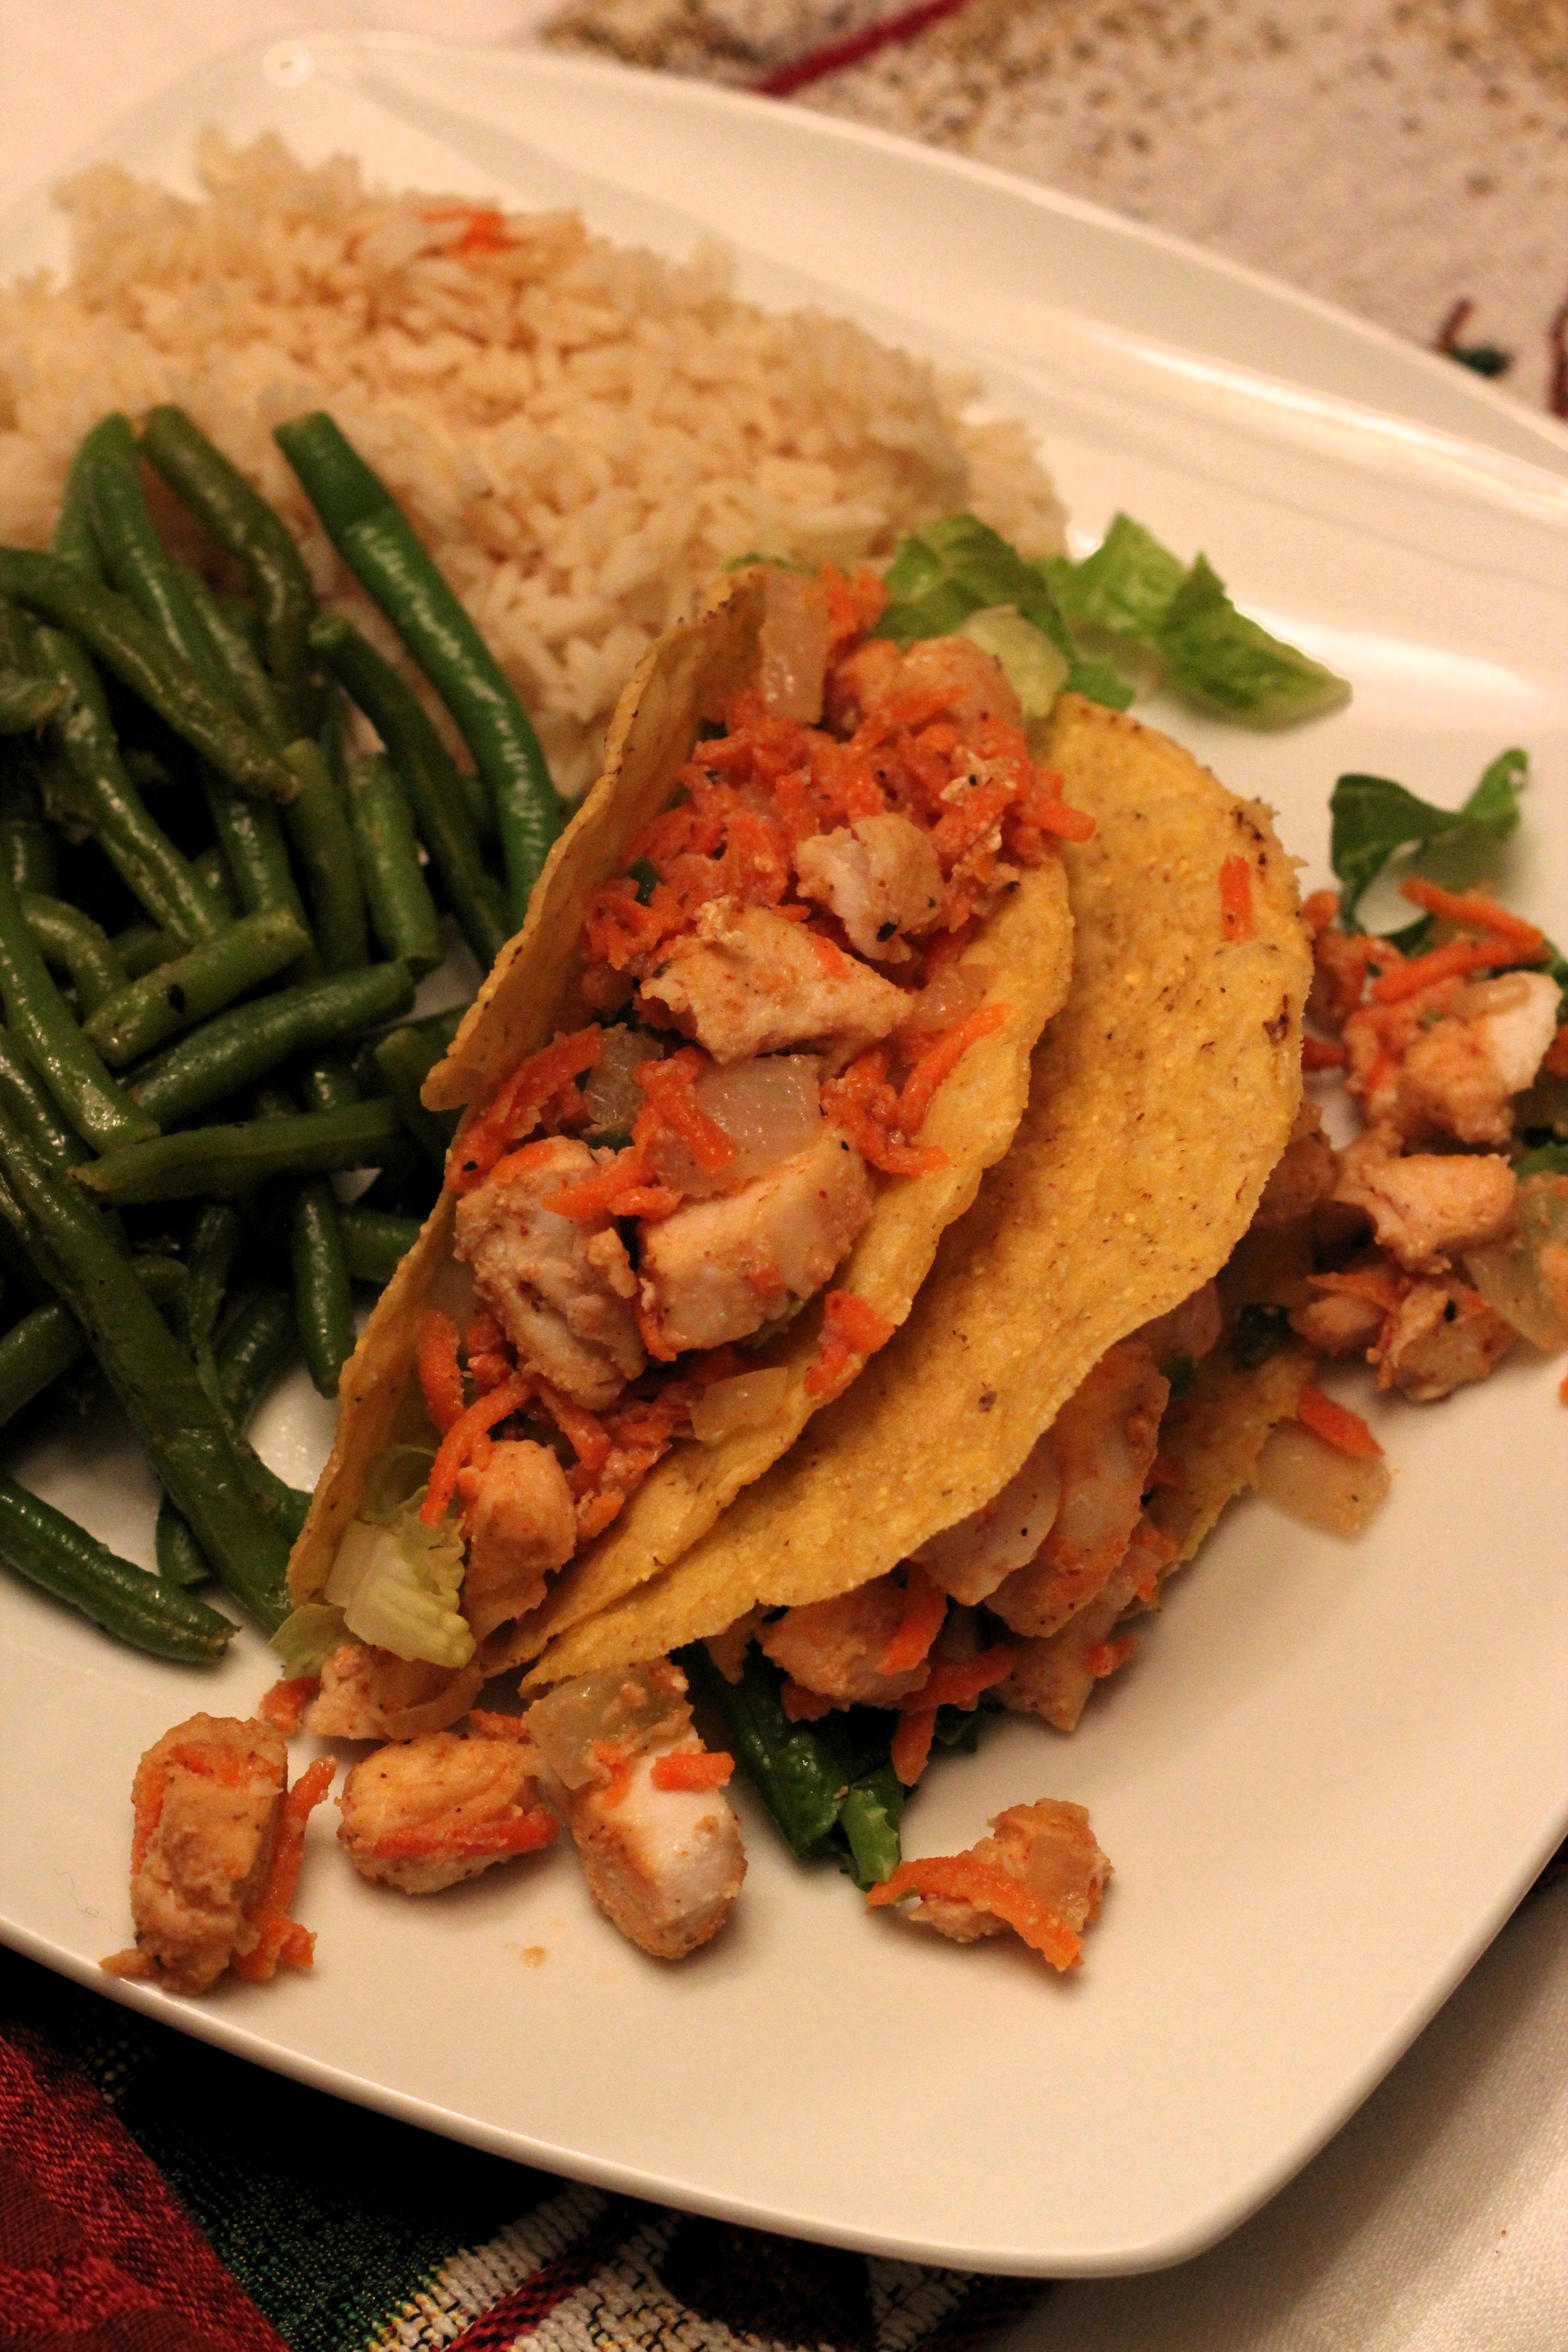
Mahi mahi tacos

(Horrible picture I know, but until I figure out a solution to take night pictures, this is the best it gets.)

Mahi Mahi tacos, rice, and some green beans.  I would have had some avocado for the mahi mahi but I was out! Darn it!  I made extra portions of fish so there would be enough for leftovers the following day.

Some dinners are a little bigger but most times it’s a protein with some veggies and occasionally starch.  Dinner is my favorite meal of the day because I like spending the time in the evenings to prepare it.  It’s my relaxing down time.

There’s a saying that goes, you should eat breakfast like a king, lunch like a prince, and dinner like a pauper.

That doesn’t really work for me.   A smaller breakfast and lunch followed by a larger dinner is what makes me feel the best.  Occasionally I’ll have an egg and some fruit for breakfast if I’m feeling a little more hungry in the morning or if I really don’t feel like yogurt.  I still keep the portions small, one egg with fruit and maybe an English muffin, this way I will still be hungry for lunch.

A larger breakfast, say eggs with bacon, toast, and potatoes keeps me full for a very long time so I typically keep that style of breakfast to the weekend.  Since it keeps me full for a while it usually results in me skipping lunch altogether and going right into dinner.  This is OK sometimes but not all the time. I really enjoy eating lunch and having that afternoon salad.

I’m also not much of a snacker.  Three full meals a day suits me just fine.  I don’t need snacks to help me get from one meal to the next.  As much as I enjoy food and eating, I don’t like eating all time and snacks make me feel that way. Like I’m just constantly eating.

Routine works for me and I don’t get bored with my breakfasts or lunch.  Plus it makes meal prep during the week a heck of a lot easier!  If I’m always having the same thing for 2 out of 3 meals, then I can focus more on dinner and planning that for the week.

Again, I’m in no way suggesting that everyone try this because what works for one person probably isn’t going to work for someone else.  We all have different tastes and different needs.

The goal is to pay attention to the meals we eat and how they make us feel.  Do we feel energized and satisfied or do we feel sleepy and blah?  Do we have energy the next day for work and working out or are we dragging our butts?  Once we figure out what makes us feel amazing it’s a lot easier to keep doing that!


Status

Thanksgiving 2014

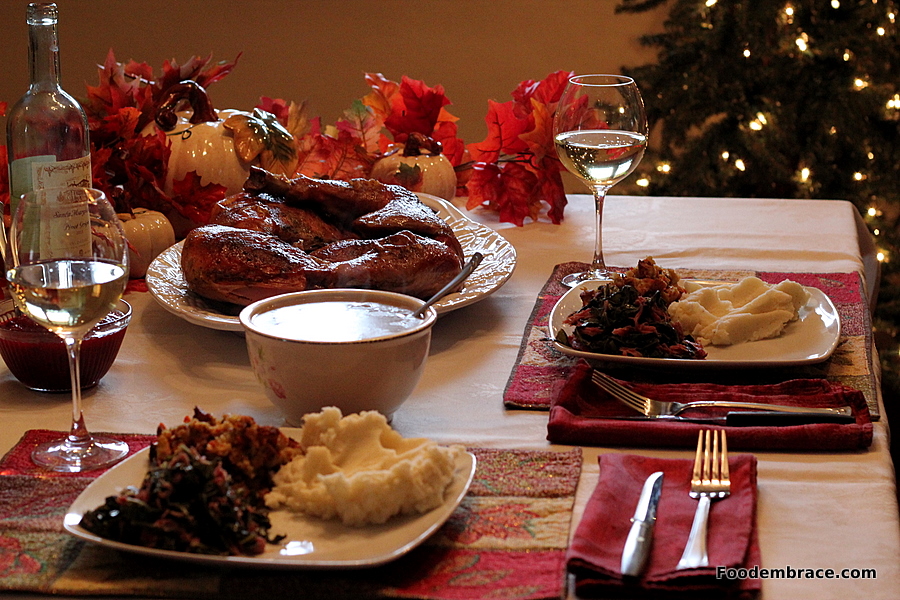
Thanksgiving 2014


This was hands down the best Thanksgiving we had since we moved to Fort Collins.  Our first year here, I was still getting my bearings around where to shop and find local ingredients.  Plus we had only been here a couple of months and I was still learning about our new city along with missing some things from our previous city.  It wasn’t much of a celebration to be honest.

Last year we were in a brand new house with two new dogs and we weren’t sure how they would handle all the new changes that come with the holidays.  This year we are settled, the dogs are settled, and I’ve got my routine figured out and that meant that Thanksgiving was awesome.

Our fridge is small and is pretty much barely functional.  I mean, as a storage unit, it works properly keeping things cold.  I didn’t think there would be room to brine but Scott worked his magic packing skills and was able to fit two huge bowls in the fridge.  For the turkey, I purchased two breasts and two legs from Whole Foods along with two wings.  The wings I used to make turkey stock and I did that using the slow cooker (more on that in another post!).

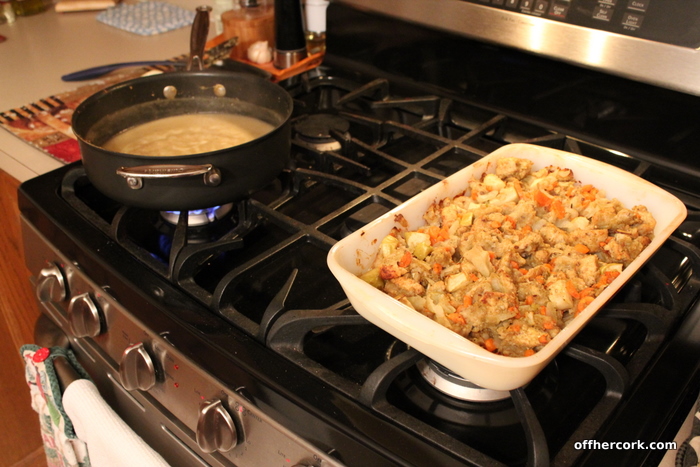
I bourbon brined the turkey and we had collards, mashed potatoes, and gravy, and cranberry sauce (new recipe!).  Scott also requested some stuffing this year so I made a small dish of that as well.  Everything turned out fantastic and the turkey was even better as leftovers.

The day was relaxing and warm.  So warm I had to open the windows to let some fresh air in to clear out the steam from cooking!  Most of the day was spent in PJs eating, drinking, and hanging out with the pups.

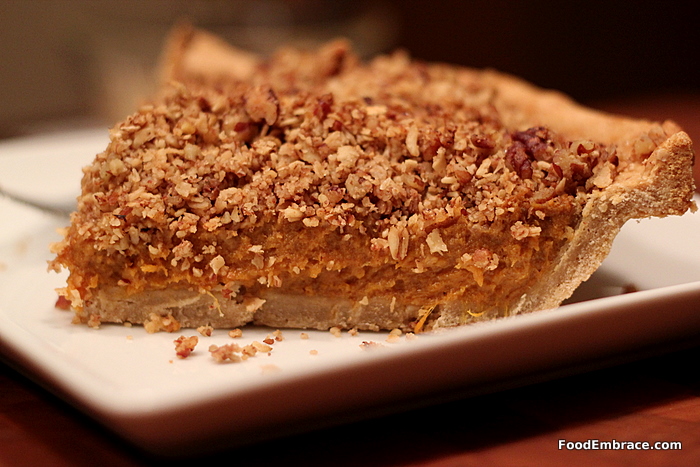
It was glorious and later we had pumpkin pie for dessert.

I could not have asked for a more perfect day.

The Christmas decorations are out and I can’t wait to unplug for a couple of weeks and just hang out.  Definitely my most favorite time of year!

Tell me about your holiday!

Status

Our Thanksgiving Menu

We are just a little over two weeks out from Thanksgiving and it’s time to start considering a menu plan!  When I first started making Thanksgiving dinner for Scott and I, it was this huge affair filled with all the typical dishes.  It was way too much food for two people to eat yet I felt like I needed to make sure we had all the classics or else it wouldn’t be a real Thanksgiving.

Over the years, I have learned that Thanksgiving dinner can be whatever you want it to be!  Now I keep things really simple with a turkey and a few side dishes that we really love.

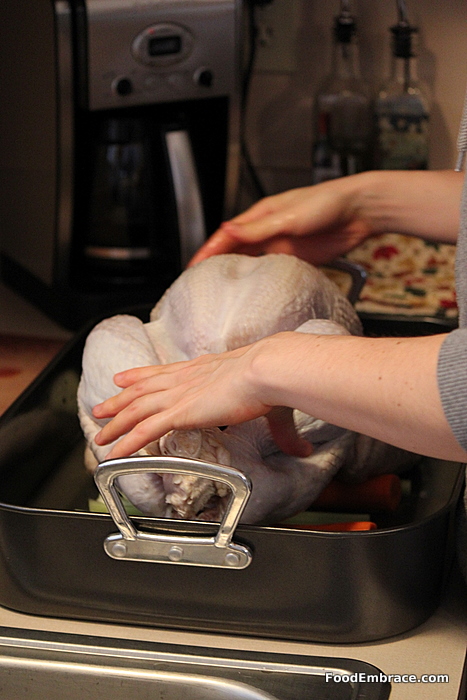
Turkey in  a roasting pan

Turkey will always be on the table for us.  This year I’m not buying a whole turkey but instead will be buying a breast with some additional legs.  My refrigerator is small and can’t accommodate a whole turkey in a brine.  However, I do have a Bourbon Brined Turkey recipe that is fantastic! If you have the space, I highly recommend you brine that bird!

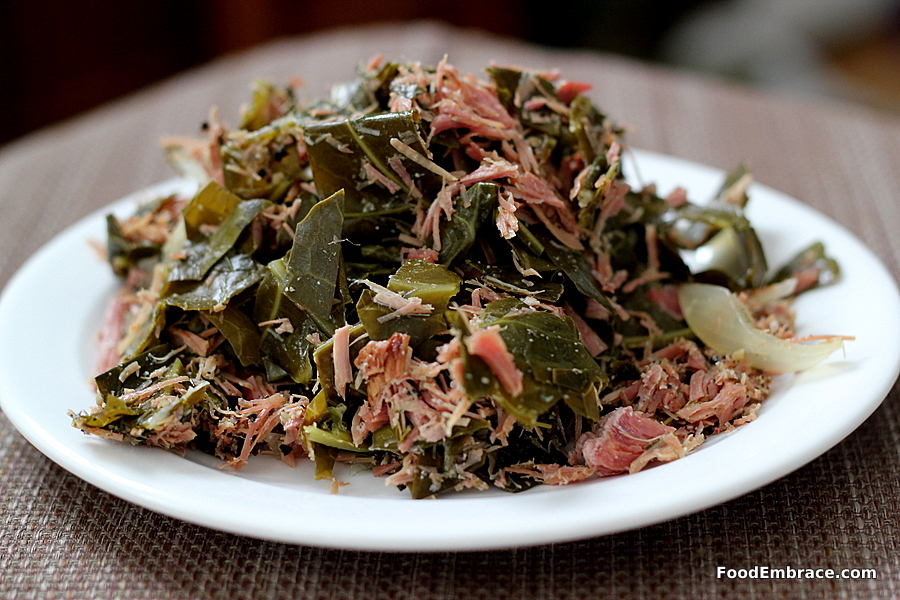
Collards


Collard greens are one of our favorite side dishes and I have been incorporating them in to our Thanksgiving feast the past few years.  They can be made in the slow cooker which makes things so much easier. This frees up space on the stove for other things like making gravy and mashed potatoes. Plus they can even be made the day before or cooked in the slow cooker over night so the only thing you have to do on the big day is reheat them (or keep them warm).

Collards provide plenty of leftovers and heck, you can even eat them for breakfast!

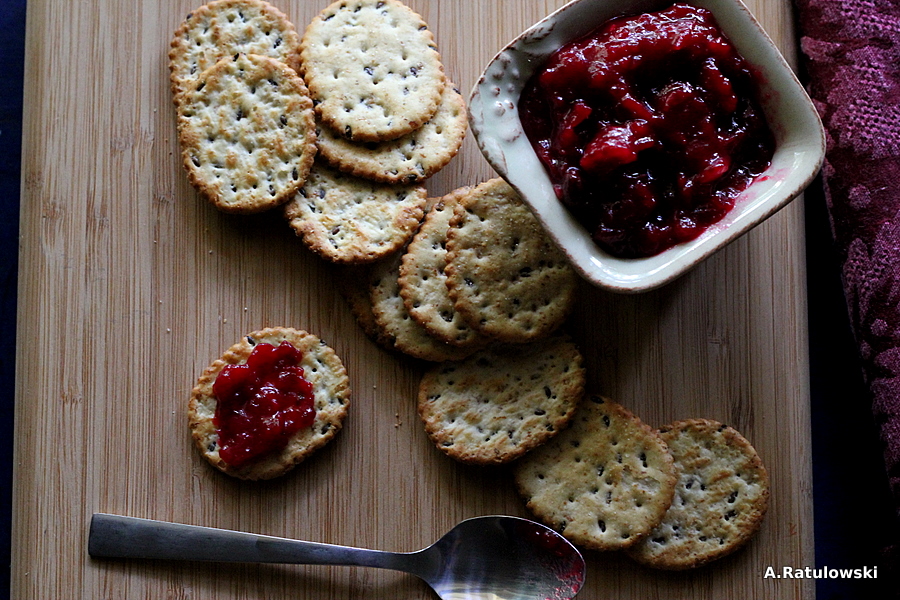
Spicy Cranberry Chutney from The Spicy Paleo Cookbook

Cranberry sauce will also make an appearance!  I prefer to have it as a breakfast item but Scott really enjoys having it has a side dish with the big dinner.  We usually have Cranberry Apple Sauce which is super simple and full of flavor.  This can also be made a day ahead and gently warmed right before serving.

If you’re looking for something totally different, Spicy Cranberry Chutney would be a great addition!

Gravy, and stuffing

Mashed potatoes and gravy is a must.  I like to prep the potatoes ahead of time so that all the starch is removed and they become fluffy and creamy.  I also prefer to use yukon gold potatoes because they create a nice buttery color when all mashed up.  I admit that I have been leaving out the stuffing so that I have room for more greens!

Gravy doesn’t need to be time consuming, I’ve recently started making blender gravy which eliminates the need for a roux!  Using homemade stock and pan drippings, this technique guarantees a smooth and flavorful gravy every time!

If you are going to stick with making a roux for the gravy, the roux can be made up to two days ahead!  Just make sure to store the roux in an airtight container.  It will be ready to go when it’s time to make the gravy.  Just gently reheat the roux in a pan and then add the liquid.

We might be skipping the stuffing this year but you don’t have to! Here is a recipe for a Savory Apple Stuffing that is perfect for Thanksgiving Day.

Sweet Potato Pie

Since sweet potatoes are such a staple at Thanksgiving, I tend to use them in a pie instead of making them as a side dish.  This year I’m working on a pumpkin cream cheese pie (recipe soon!) but this Bourbon Sweet Potato Pie is what we had last year.

Our Thanksgiving is super simple, full of flavor, and has plenty of leftovers.  If you are making Thanksgiving dinner for the first time or will be creating a meal for a small number of people, this menu is perfect for you!  Most things can be made a head of time leaving you with more time to relax and enjoy the moment of the big day.

Status

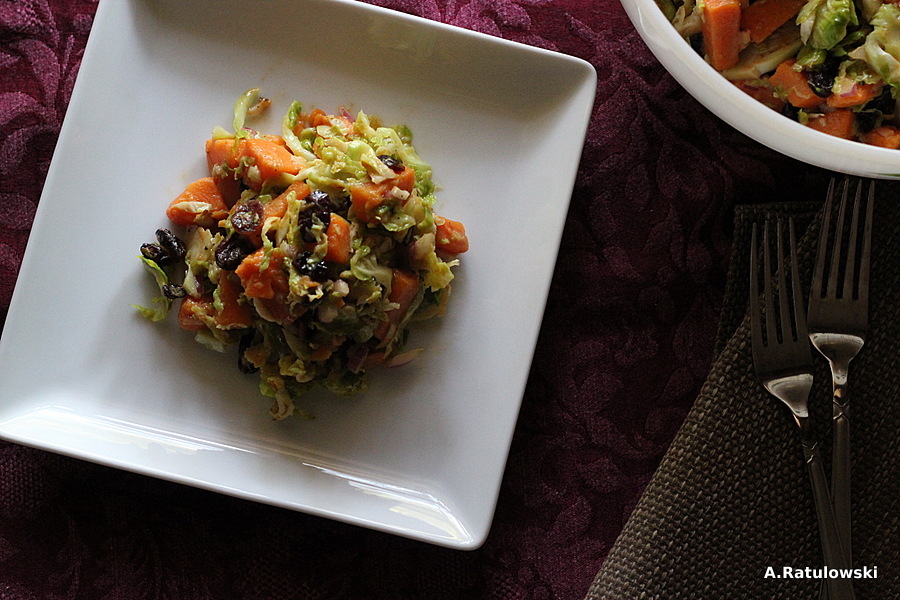
Shaved Brussels Sprouts and Sweet Potato Salad

Salads.  It’s one of those dishes that when I hear it, a few things come to mind.  I automatically assume it’s either lettuce or grain based.  Unless it’s at a summer gathering, then I think it’s either going to be potato or macaroni salad.  I’m trying to change my perception of what makes a salad so that I can experiement a little more.  Salads don’t have to be lettuce or grain based!  This might not be some amazing revelation to you but for me it opened up a lot more possibilities.

I was looking for something that I could create that would yield leftovers.  I wanted something to have at lunch that was veggie packed but not your standard boring mixed greens salad.

Since it was fall, I decided to incorporate a bunch of traditional fall ingredients like sweet potatoes and cranberries to create a salad that is great for lunch or as a side dish.  It’s also perfect for traveling so it can be taken to work (mason jar salad!) or to a party or picnic.  It’s grain free, it’s vegan, it’s Paleo.  It’s all the buzz words.

Shaved Brussels Sprouts and Sweet Potato Salad


Andrea’s Shaved Brussel Sprouts and Sweet Potato Salad

For the salad:

  • 2 Medium Sweet Potatoes, peeled and chopped
  • 1 1/2lb Brussels Sprouts, trimmed
  • 1/2 Red Onion, finely chopped
  • 1C Dried Cranberries
  • 1 tsp of Olive Oil for cooking

For The Dressing:

  • 2TBSP Dijon Mustard
  • 2TBSP Maple Syrup
  • 1/4C Balsamic Vinegar
  • 1/4C Light Olive Oil
  • 1/2tsp Salt
  • 1/2tsp Ground Black Pepper


In a small glass bowl, whisk together all the ingredients for the dressing and set aside.  Bring a large pot of water to a boil and add in the cubed sweet potatoes.  Boil until the sweet potato is just fully cooked through so that a knife pierces it easily but the sweet potato isn’t mushy.  About five – 10 minutes.  Drain the sweet potatoes making sure to remove as much water as possible.  Add to a large mixing bowl.

Using the fine grate or thin slice blade for your food processor, shred or shave (either works here) the Brussels Sprouts.  In a large skillet add in 1 tsp of light olive oil and heat over medium heat.  Add in the sprouts and cook for about 3 minutes.  Remove and add to the sweet potatoes.

Add in the cranberries and the red onion, toss to combine.  Pour the dressing over top of the salad and gently mix until everything has been coated in dressing.

Serve immediately or cover and place in fridge until ready to serve.  Serves 4 meal size portions or 8 as a side dish.

A couple of notes:

I slightly cooked the sprouts to help bring out more flavor and reduce their bitterness a bit.  This is a taste preference.  If you like raw sprouts then it’s OK to skip this step.  If you allow the salad to sit for several hours before serving, that will help breakdown the sprouts a bit.

This dish gets better the longer it has time to marinade in the dressing.

It does make for a big salad and this served two people as a meal for two lunches.

Leftovers are great but make sure to eat this in at least three days, otherwise the sprouts start getting a little funky.

Adding in some nuts, seeds, or even a little feta or goat cheese on top would make great additions to this salad!  A little twist on the traditional veggie side makes it perfect for holiday gatherings.

Have fun guys, and remember, always play with your food!  Enjoy!

Status

Zoodle Love

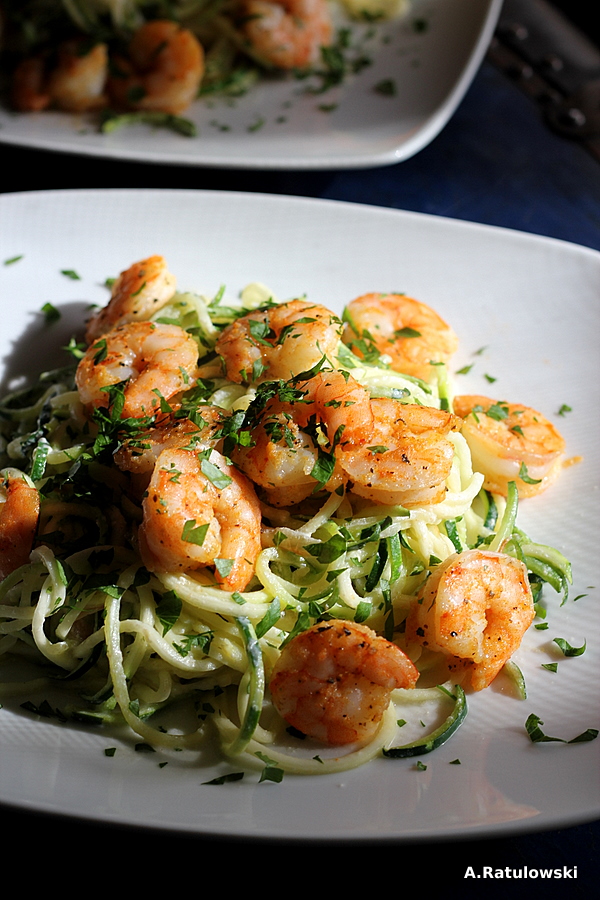
Lemon parmesan shrimp and zoodles

Heading into the time of limited sunlight and it’s getting harder and harder to photograph food.  I take pictures of the food when we eat it so depending on the time of day this can be challenging.  During mid-day I’m seeing some funky light and shadows in the house.  Once winter hits I’m not sure if I’ll have a spot in the house where I can take photos!  This will definitely be an obstacle to work through this year.

Yesterday for lunch we had Shrimp with Zoodles in a Lemon Parmesan Cream Sauce.  I had been dreaming of shrimp for days and the idea for the sauce was inspired by Inspiralized’s recipe.  The shrimp was seasoned with Flavor God’s Lemon Garlic and roasted in the oven at 400 until they were just done.

Three medium zucchinis were spiralized and lightly heated in a skillet for about 5 minutes.  For the sauce, I used the same ingredient’s in Ali’s recipe with a bit more parm added for an extra salty bite.  The sauce got added at the last minute and tossed with the zoodles.  Shrimp on top and lunch is served!

This totally hit the spot and I have to admit that I am in love with zoodles.  There’s so many things that can be done with them and it makes for a nice change from a typical lunch salad.  Still getting in a good amount of veggies and protein without having to turn to salads.  This was a quick and easy unprocessed meal!

I went to the grocery store and loaded up on all kinds of veggies for the upcoming week.  I have big plans to make some interesting stuff and hopefully I’ll have enough light to photograph it!

We’re almost through with Unprocessed month!  How have you done so far?

Status

Dog Gone Good Cuisine by Gayle Pruitt

Penny and Avery hikingI’m really picky about what food and treats my dogs get.  I read all ingredient lists on treats with the same scrutiny as if I was going to be eating it. There’s no kibble in this house, my dogs get real foods to eat.  I’ve been doing this for years.  Avery and Penny are my second and third dogs that I’ve successfully switched over to a real foods diet.

In total, I’ve been feeding dogs this way for over 10 years.  I geek out over dog nutrition and I’ll gladly talk with you about it and offer advice if you ask.  Not only am I a believer in eating real foods for myself but it also applies to my dogs.

So when I was approached to review the Dog Gone Good Cuisine cookbook by Gayle Pruitt, I jumped at the chance.  I don’t home-cook for my dogs much, they are on a more raw based diet.  However, I’m always learning and reading about dog nutrition and viewed this book as a resource.

If you’re new to a real foods diet for dogs and are thinking of making the switch, this would be a great book to help ease you down that path.  It offers a lot of homemade dishes that you can feed your dog and that you can also eat.

This cookbook also provides information about what foods and spices are OK for dogs, along with what kitchen equipment you will be using.  It prepares you for cooking for your dog without making this seem like an overwhelming or difficult task (because it isn’t).

Another thing that won me over about this cookbook is that all the dogs pictured are rescue dogs.  All my dogs are rescue dogs so I have soft spot when it comes to providing second chances to our canine companions.

I decided to go with a veggie recipe from the cookbook for my two punks.

Tarragon Carrots

Carrots and Zucchini with Tarragon
Reprinted with permission from St. Martin’s Press
© Gayle Pruitt

  • 1TBSP Butter or Coconut Oil
  • 3 Medium Carrots, washed, peeled, and sliced into thin carrot sticks
  • 2 Zucchini, washed and cut into 1/4 inch thick sticks
  • 1tsp Dried Tarragon

Melt the butter or coconut oil in a skillet over medium-high heat. Add the carrots and cook for about 1 minute.  Add the zucchini and cook for 1 minute.  Remove the vegetables from the skillet, sprinkle with tarragon, and serve.

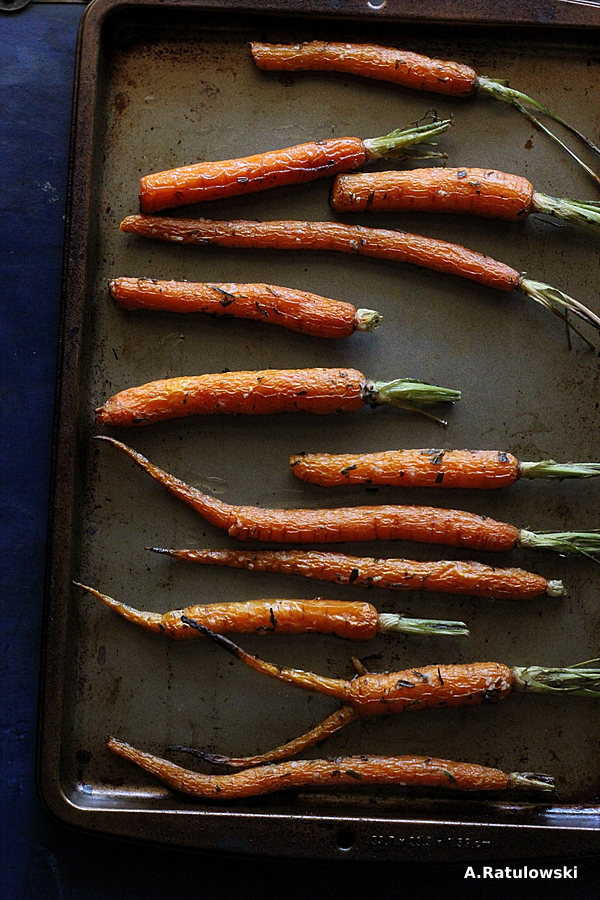
I didn’t have any zucchini but I had these great baby carrots that I picked up at the local farmer’s market.  They worked great for this recipe. Avery and Penny both love carrots and this was definitely a winner for them!

If you’re thinking about cooking for your dogs or are at least interested in learning more, check out this cookbook!  Plus you’ll get to see some great pictures of rescue dogs!


Disclaimer: I was provided a copy of this cookbook for review.  All opinions are my own.