Status

Sweet and Smoky Shishito Peppers

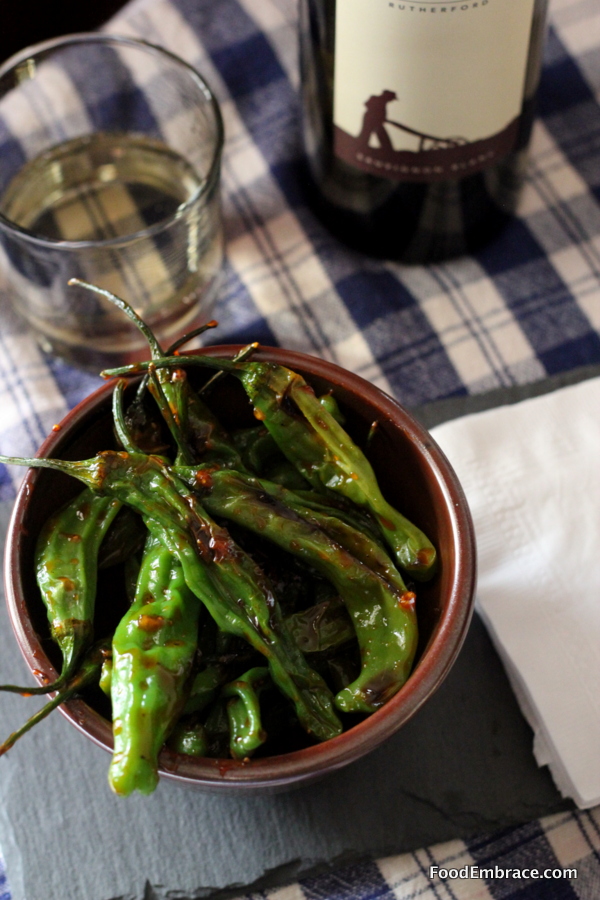
With all the holiday functions and parties that happen during this time of year, I wanted to create a quick and simple appetizer that would be great for entertaining, parties, or as a way to kick off an intimate date night at home. While out shopping I came across some awesome looking shishito peppers and knew they would be perfect to use. Most times the peppers are paired with a dipping sauce but I wanted to wrap the peppers is a sweet and sticky sauce making them easier to prepare and eat.

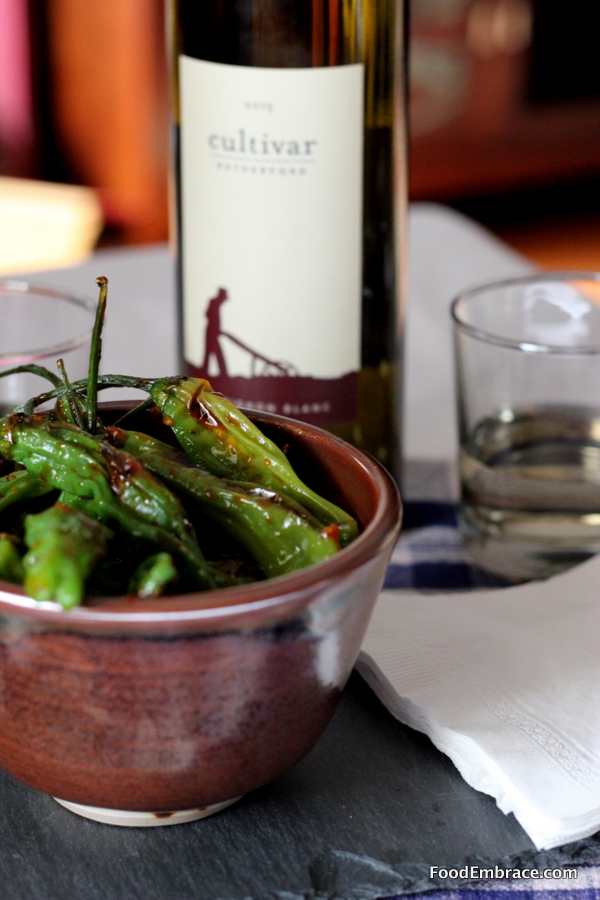
In a recent shipment from Cultivar Wines, I received a 2014 Cultivar Rutherford Sauvignon Blanc that I thought would pair nicely with this dish.

Sweet Smoky Shishito Peppers

Andrea’s Sweet and Smoky Shishito Peppers

  • 6oz Shishito Peppers
  • 1/2TBSP Light Olive Oil
  • Juice of 1 Large Lime
  • 2 Cloves of Garlic (Either use a garlic press or finely chop them)
  • 1 TBSP Honey
  • 1/2 tsp Smoked Paprika
  • Pinch of Salt (no more than 1/4 tsp)

In a bowl, combine the lime juice, garlic, honey, paprika, and salt, whisk until everything is combined and set aside. In a medium sized skillet, heat up the olive oil over medium to medium high heat for about 2 minutes (do not let the oil smoke), then add in the peppers in a single layer.  Cook peppers on each side for about 3 minutes until they blister and start to soften.  Reduce heat to medium and add in the sauce, stir and make sure all the peppers are covered.  Continue to gently stir and cook the sauce for about two minutes.  The sauce should cook down and start to coat the peppers.  Allow to cool for one minute and give another stir before plating.

Plate and serve!


Sweet Smoky Shishito Peppers

These peppers are great hot right out of the pan but can also be served at room temperature, making them perfect for entertaining and parties.

Having the sauce on the peppers means there’s less to handle and turns them into a fabulous finger food appetizer, just right for mingling and eating while standing.

You can make the sauce ahead of time making the cooking time on these even quicker.  I would recommend making a double batch because these will go quick!

These peppers and the 2014 Cultivar Rutherford Sauvignon Blanc really worked well together.  The crisp citrus notes of the wine balances out the smoky sweet sauce while the oaky herby notes compliments the earthy pepper flavor.

Have fun, and remember, always play with your food.  Enjoy!

Disclosure: I’m required to disclose a sponsored partnership between our site, Food Embrace, and Cultivar Wine. I have been compensated in exchange for this post in the form of product. All opinions presented are my own. I receive wine from Cultivar Wine as a member of the Cultivar Wine Bloggers group.

Status

Roasted Hatch Green Chili and Corn Fritters

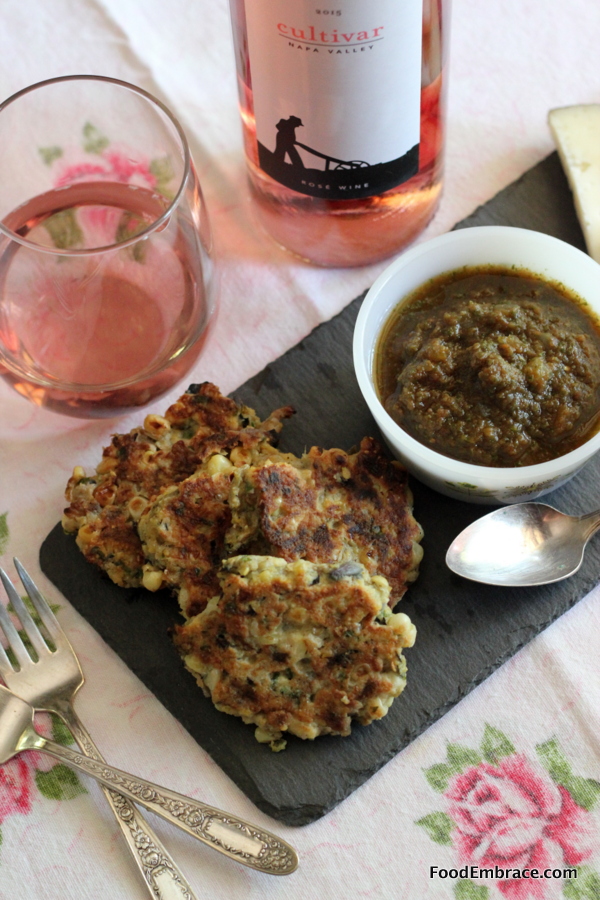
I wanted to create a dish that utilized some of the staples from the summer farmer’s market.  I decided to combine sweet corn and roasted chilies into a fritter.  This paired nicely with some Rosé that Cultivar Wine recently sent me.

Hatch Green Chili and Corn Fritters

Summer time at our farmer’s market is filled with the smell of chilies roasting over a big flame.  Hatch green chilies are a big deal and when they are in season, everyone is rushing to get their hands on some.

I thought the smokey chilies would go nicely with local sweet corn and decided to combine them into a fritter.  Perfect little side dish to summer cookouts.

Andrea’s Roasted Hatch Green Chili and Corn Fritters

  • 3 Ears Fresh Corn, kernels cut off the cob
  • 5 Roasted Hatch Green Chilies, seeds removed and chopped (Heat level optional)
  • 1/2 Small Red Onion, finely chopped
  • 1 TBSP Chopped Parsley
  • 1/2C Corn Meal
  • 1/4C All Purpose Flour
  • 1/2tsp Salt
  • 1tsp Ground Black Pepper
  • 1tsp Garlic Powder
  • 2 Eggs
  • 1/4C Water
  • Olive Oil for frying

In a medium sized mixing bowl combine the corn, chilies, onion, parsley, and spices.  Toss together then add in the corn meal and flour, gently mix until everything is distributed and coated with the flours.

In a small bowl beat the eggs and water until frothy.  Add egg mixture to the corn and chilies mixture and combine until everything is coated and a light batter forms.

In a large skillet, heat about 2 TBSP of olive oil over medium heat.  When the oil is hot, spoon some of the batter onto the skillet.  About a heaping TBSP size, as you want to keep the fritters on the smaller side.

Do this until the skillet is full but keep the fritters spaced out and do not crowd the pan.  I was able to do four fritters at a time.

Cook the fritter about 3 minutes on each side.  Remove from skillet and place on a cooling rack.  Repeat until all the batter is gone.  Adding more oil to the skillet when needed.

Amount of fritters will vary depending on size but should yield at least 12 fritters.

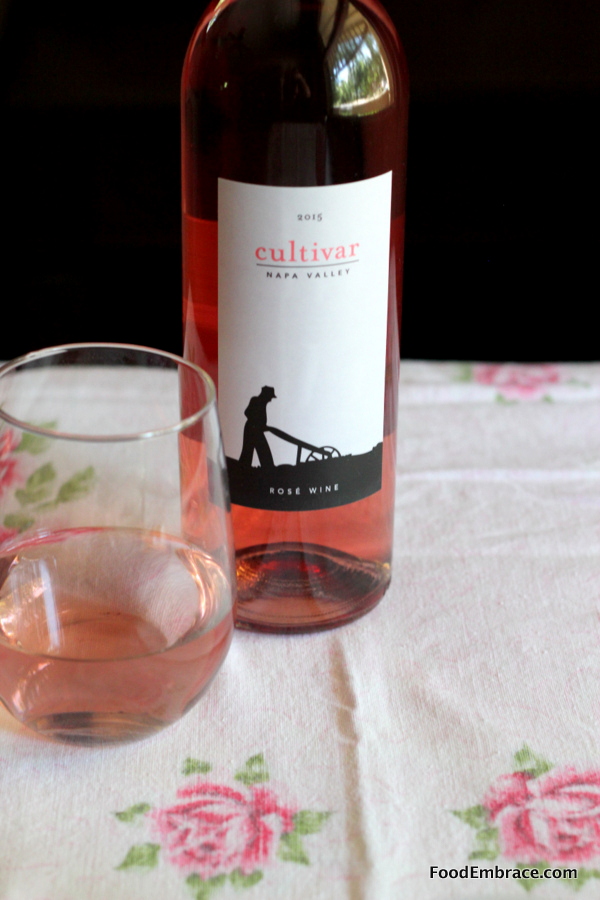
Cultivar 2015 Napa Valley Rosé

I wanted something light and summer fresh to pair with the Cultivar 2015 Napa Valley Rosé and these fritters fit the bill.  The sweetness of the corn highlighted the light sweetness of the wine while the smokey earthiness of the chilies complimented the tart fruit notes and a touch of spice on the end.

Even if you use the hot hatch green chilies, that heat will pair nicely with this Rosé.

These fritters are a fun way to take advantage of the chilies and corn that are in season right now.  Perfect for your next gathering or cookout!  They also freeze well and can be reheated in a toaster oven or in the oven at 350 for about 5 minutes.

If you’d like to try Cultivar Wine , they are offering a special promotion to my readers. Use the code CultivarWineFoodEmbrace when you order and you’ll receive 10 percent off your purchase.

Disclosure: I’m required to disclose a sponsored partnership between our site, Food Embrace, and Cultivar Wine. I have been compensated in exchange for this post in the form of product. All opinions presented are my own. I receive wine from Cultivar Wine as a member of the Cultivar Wine Bloggers group.


Status

Stuffed Chicken Breasts In A Lemon Garlic Wine Sauce

Transitioning from winter to spring in Colorado is always an adventure.  The days will be warm and sunny but the early mornings and evenings are still pretty chilly.  Sometimes we’ll have the occasional snow storm to keep us on our toes.  I wanted to create a meal that was light and fitting for spring but still hearty enough to stand up to those random snow days.

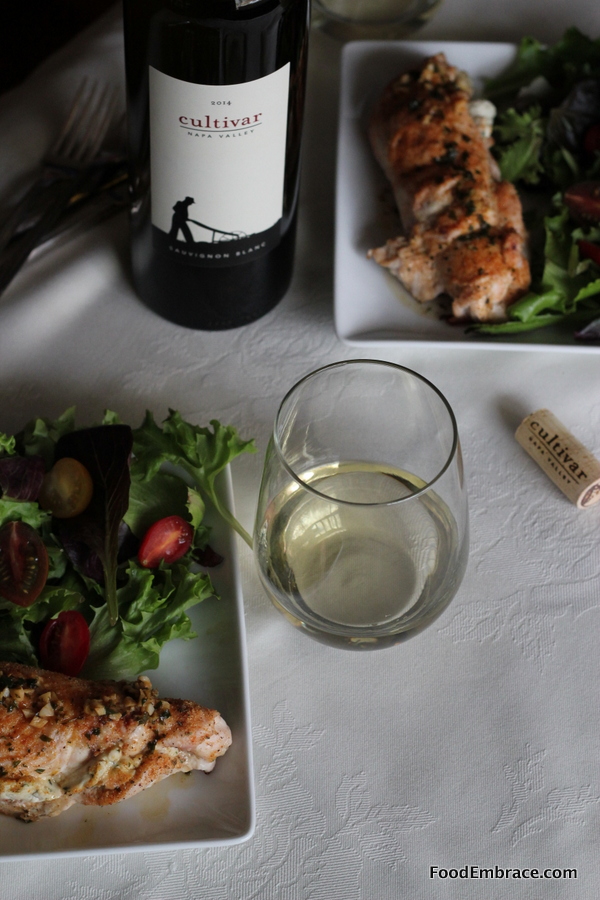
I decided on cream cheese stuffed chicken breasts and made a lovely sauce to go on top using 2014 Cultivar Napa Valley Sauvignon Blanc.  The dish came out beautifully!

Stuffed Chicken Breasts with a Lemon Garlic Sauce

Andrea’s Stuffed Chicken Breasts In A Lemon Garlic Wine Sauce

  • 2 Boneless Skinless Chicken Breasts
  • 4 oz Herb/Chive Cream Cheese (I used Kite Hill Almond Milk Cream Cheese)
  • 1/2 TBSP Garlic Blend Seasoning* (See note at bottom)
  • 1 TBSP Light Olive Oil or Melted Ghee
  • 2 Cloves Garlic, finely chopped
  • Zest of 1 Small Lemon
  • 1 TBSP Ghee or Butter
  • 2 TBSP Chopped Parsley
  • 1/2 C White Wine
  • Juice of 1/2 a Small Lemon
  • Toothpicks

Preheat oven to 4oo degrees.  Add in 1 TBSP of oil or Melted Ghee to a oven proof skillet, set aside.

Pound out the chicken breasts until they are about 1/2 – 1/4 inch thin. Thin enough to be able to roll them but not so thin that they fall apart.

Sprinkle some of the garlic seasoning blend on each side of the chicken breasts.  Divide the cream cheese into half ( 2 oz portions) and spread 2 oz on one of the chicken breasts.  Roll up the chicken and secure with toothpicks.  Repeat with the other chicken.

Place the stuffed chicken breasts in the skillet and place in the oven.  Cook for about 15 minutes or until cooked all the way through.  Remove the skillet from the oven and place the chicken on plates allowing to rest as you make the sauce.

In the same skillet that you used to cook the chicken, heat over medium heat and add in the ghee or butter.  Then add in the parsley, garlic, and lemon zest.  Stir and cook for 1 minute, then add in the wine.  Allow to simmer for three minutes and then add in the lemon juice.  Cook for an additional minute and then pour the sauce over the chicken and serve.

This makes a good bit of sauce so there will be extra for serving!

* I used Flavor God’s Garlic Lover’s seasoning but you can use any garlic blend you like.  Or you can season simply with salt, pepper, and garlic powder.

Pan sauces with meats is one of my favorite combinations so I tend to make a good bit of sauce because I like having extra for dipping or drizzling on some greens or broccoli.

The 2014 Cultivar Napa Valley Sauvignon Blanc  brought this dish to life. The clean crispness of the wine lightened the decadent cream cheese while the bright citrus notes complimented the lemon and made this dish pop.

This chicken is perfect for those early spring days when it’s starting to be light out longer but the evenings remind us that winter is still there in the background.

If you’d like to try Cultivar Wine , they are offering a special promotion to my readers. Use the code CultivarWineFoodEmbrace when you order and you’ll receive 10 percent off your purchase.

Disclosure: I’m required to disclose a sponsored partnership between our site, Food Embrace, and Cultivar Wine. I have been compensated in exchange for this post in the form of product. All opinions presented are my own. I receive wine from Cultivar Wine as a member of the Cultivar Wine Bloggers group.
Status

Maple Bacon Wrapped Goat Cheese Stuffed Dates

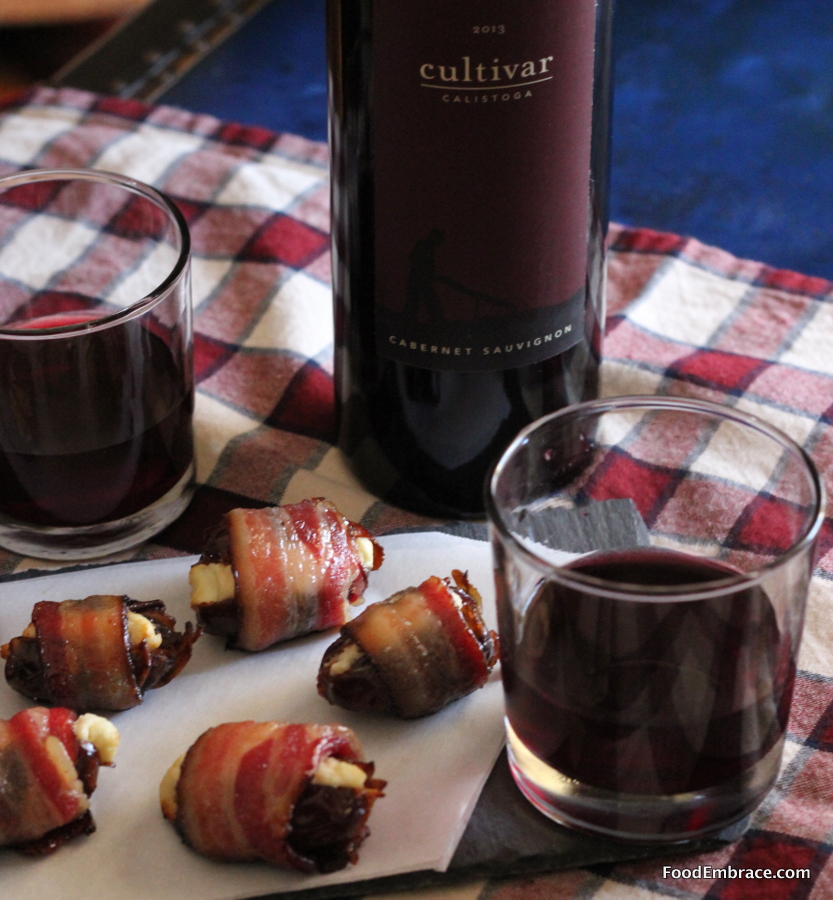
I wanted to make a snack that would be the perfect little bite. Something that could go before a meal or be a nice treat after. I had some dates and decided to stuff those with creamy earthy goat cheese then wrap them in savory smokey bacon.  These turned out better than I could have hoped and paired so well with the 2013 Calistoga Cabernet Sauvignon that Cultivar Wine recently sent me.

Cultivar Wine with Stuffed Dates


My husband is a HUGE fan of these little dates.  He basically wants them available at all times so he can enjoy a date or two in the evenings. This is very high praise, he doesn’t usually request things to have on hand.

They are super simple to make but give the illusion of being very fancy. Their decadent taste certainly helps support the hype. Perfect for get-togethers and special occasions.  Or just because it’s Tuesday, your choice. No judging from me.

Andrea’s Maple Bacon Wrapped Goat Cheese Stuffed Dates

  • 12 Dates, split and pitted (**See Note)
  • 6 Slices of Bacon, cut in half
  • 4 oz Goat Cheese
  • 1 TBSP Maple Syrup
  • 2 tsp Light Olive Oil

Preheat oven to 375 and line a small baking sheet with foil, brush the olive oil all over the foil. Make sure the dates are not cut in half but just split down the middle lengthwise.  Fill each date with some goat cheese (about 1/2 tsp each) and then wrap in bacon. Make sure the seam side is down when you place the dates on the baking sheet.  Continue until all dates are stuffed and wrapped.

Place baking sheet in oven and bake for about 15 minutes. Watch to be sure the bacon doesn’t burn. Right before removing the dates from the oven, brush each date with maple syrup.  Continue to bake for another two minutes. Remove from oven and allow to cool.  Serve immediately or can be stored in the fridge in an air tight container.

**I used regular dates but you can use medjool dates if preferred. Those are larger so you may need more goat cheese for the filling.

You can get even fancier and used bourbon barrel aged maple syrup if you like.

I highly recommend making a big batch of these if you will be having them at a gathering because they will go quickly! One batch is perfect for date night but you’ll need more for a bigger crowd.

Since these guys are on the sweeter side I decided to pair them with Cultivar Wine’s 2013 Calistoga Cabernet Sauvignon which worked beautifully.  The black pepper and tobacco notes brought out the smokiness of the bacon and maple syrup while the dryer finish helped balance out the sweetness.  The wine also accentuated the creaminess of the goat cheese and complimented its earthy flavor.

You can also make these dates ahead of time and then gently reheat them at 350 for about 5 minutes before serving.

If you’d like to try Cultivar Wine , they are offering a special promotion to my readers. Use the code CultivarWineFoodEmbrace when you order and you’ll receive 10 percent off your purchase.

Disclosure: I’m required to disclose a sponsored partnership between our site, Food Embrace, and Cultivar Wine. I have been compensated in exchange for this post in the form of product. All opinions presented are my own. I receive wine from Cultivar Wine as a member of the Cultivar Wine Bloggers group. 
 

Status

Smoked Salmon and Blue Cheese Ball

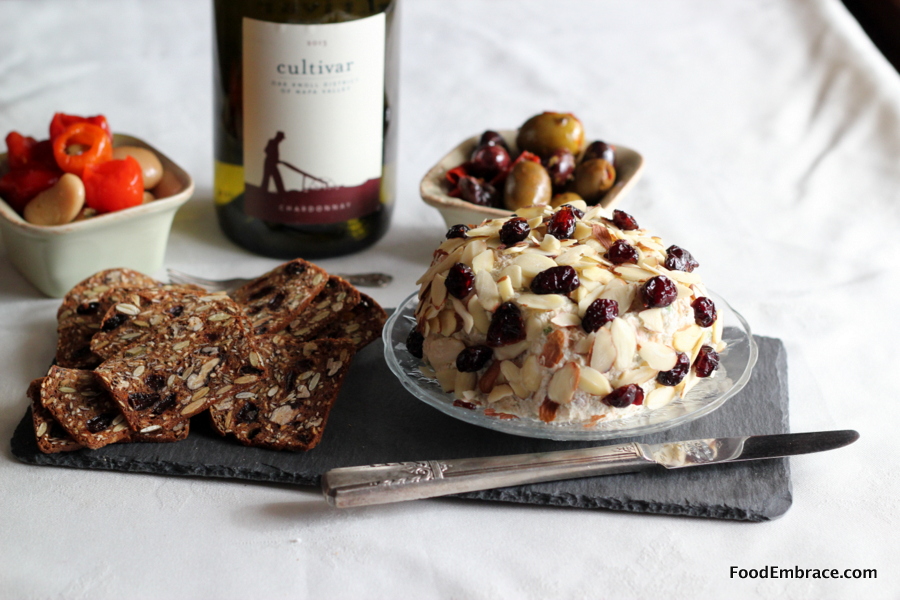
This smoked salmon and blue cheese ball is full of bold flavors and pairs perfectly with the 2013 Cultivar Oak Knoll Chardonnay that I received as part of their Cultivar Wine Bloggers.

Smoked Salmon and Blue Cheese Ball


During the holidays when I was a kid, one of the things that I looked forward to the most was the cheese ball and salmon ball that my mom made as part of the holiday table.  We only had it once a year and it was glorious.  I liked the cheese ball a lot but the salmon ball was my jam.  It was the only time I enjoyed eating salmon (I’m a grown adult now so things have clearly changed) and I lived for that salmon ball.

My mom was a proper 1960s-70s housewife so of course we had cheese ball when entertaining.  Sometimes jello molds as well but we don’t talk about those.

The cheese ball has died away and I’m not sure why.  Oh sure you may see some store bought concoction with it’s bright orange color and dotted with almonds sitting all alone on a table at a random gathering, but a cheese ball that someone made that’s actually delicious is no where to be found.

I decided to change that this year and created a dressed up version of the salmon ball my mom used to make.  This makes a lot which is perfect if you’re hosting a party or bringing a dish to one.  You can easily cut this recipe in half to create a smaller ball for smaller gatherings.

I used smoked salmon and blue cheese and paired this with 2013 Cultivar Wine Oak Knoll Chardonnay.  The butteriness of this wine balances out the sharp smoke of the salmon and brings out it’s briny bite.  The crisp citrus notes help tone down the blue cheese and helps cut through the creaminess of the spread.

This dish is great for entertaining or just to have as a snack while you binge some Netflix. No judgment here.

Andrea’s Smoked Salmon and Blue Cheese Ball

  • 8 oz Cream Cheese
  • 1/2 C Blue Cheese Crumbles
  • 6 oz Smoked Salmon* (see note at bottom)
  • 2 Green Onions, chopped, both white and green parts
  • 1 TBSP Prepared Horseradish
  • 2 tsp Lemon Juice
  • 1 TBSP Dried Dill
  • Sliced almonds for garnish
  • Dried cranberries for garnish

Add all ingredients except salmon and green onions, to a food processor and process until smooth.  Remove mixture from processor and add to a bowl.  Add in the salmon and green onion, mix till everything is combined.

Place mixture on some plastic wrap and shape into a ball.  Wrap in plastic wrap and place in fridge.  Allow to set up for at least 4 hours before serving.  Best if made the day before.

Carefully remove from wrap and place on a plate.  Stud with sliced almonds and dried cranberries.  Serve with crackers and veggies.  Keeps for 4 days.

*The smoked salmon I used is from the Honey Smoked Fish Company so it’s not the typical thinly sliced looks almost raw smoked salmon that you’re probably used to seeing.  I personally love this kind of smoked salmon and eat it all the time.  If you can’t find this style of smoked salmon you can certainly try using the other version.  You’ll want to chop that up before adding it to the mixture.  I can’t guarantee the outcome though since I haven’t tested that out.

Dried cranberries are a great addition to this recipe so I recommended being generous when adding them at the end.  That punch of sweetness is a lovely pairing with the blue cheese.

If you’re interested in trying out Cultivar Wine, as a reader of Food Embrace, you will be given 10% off your order.  Use the code, FoodEmbrace at checkout.

Disclaimer: I’m required to disclose a sponsored partnership between our site, Food Embrace, and Cultivar Wine. I have been compensated in exchange for this post in the form of product or experience. All opinions and recipes presented are my own.


Status

Mussels with Pesto and White Wine


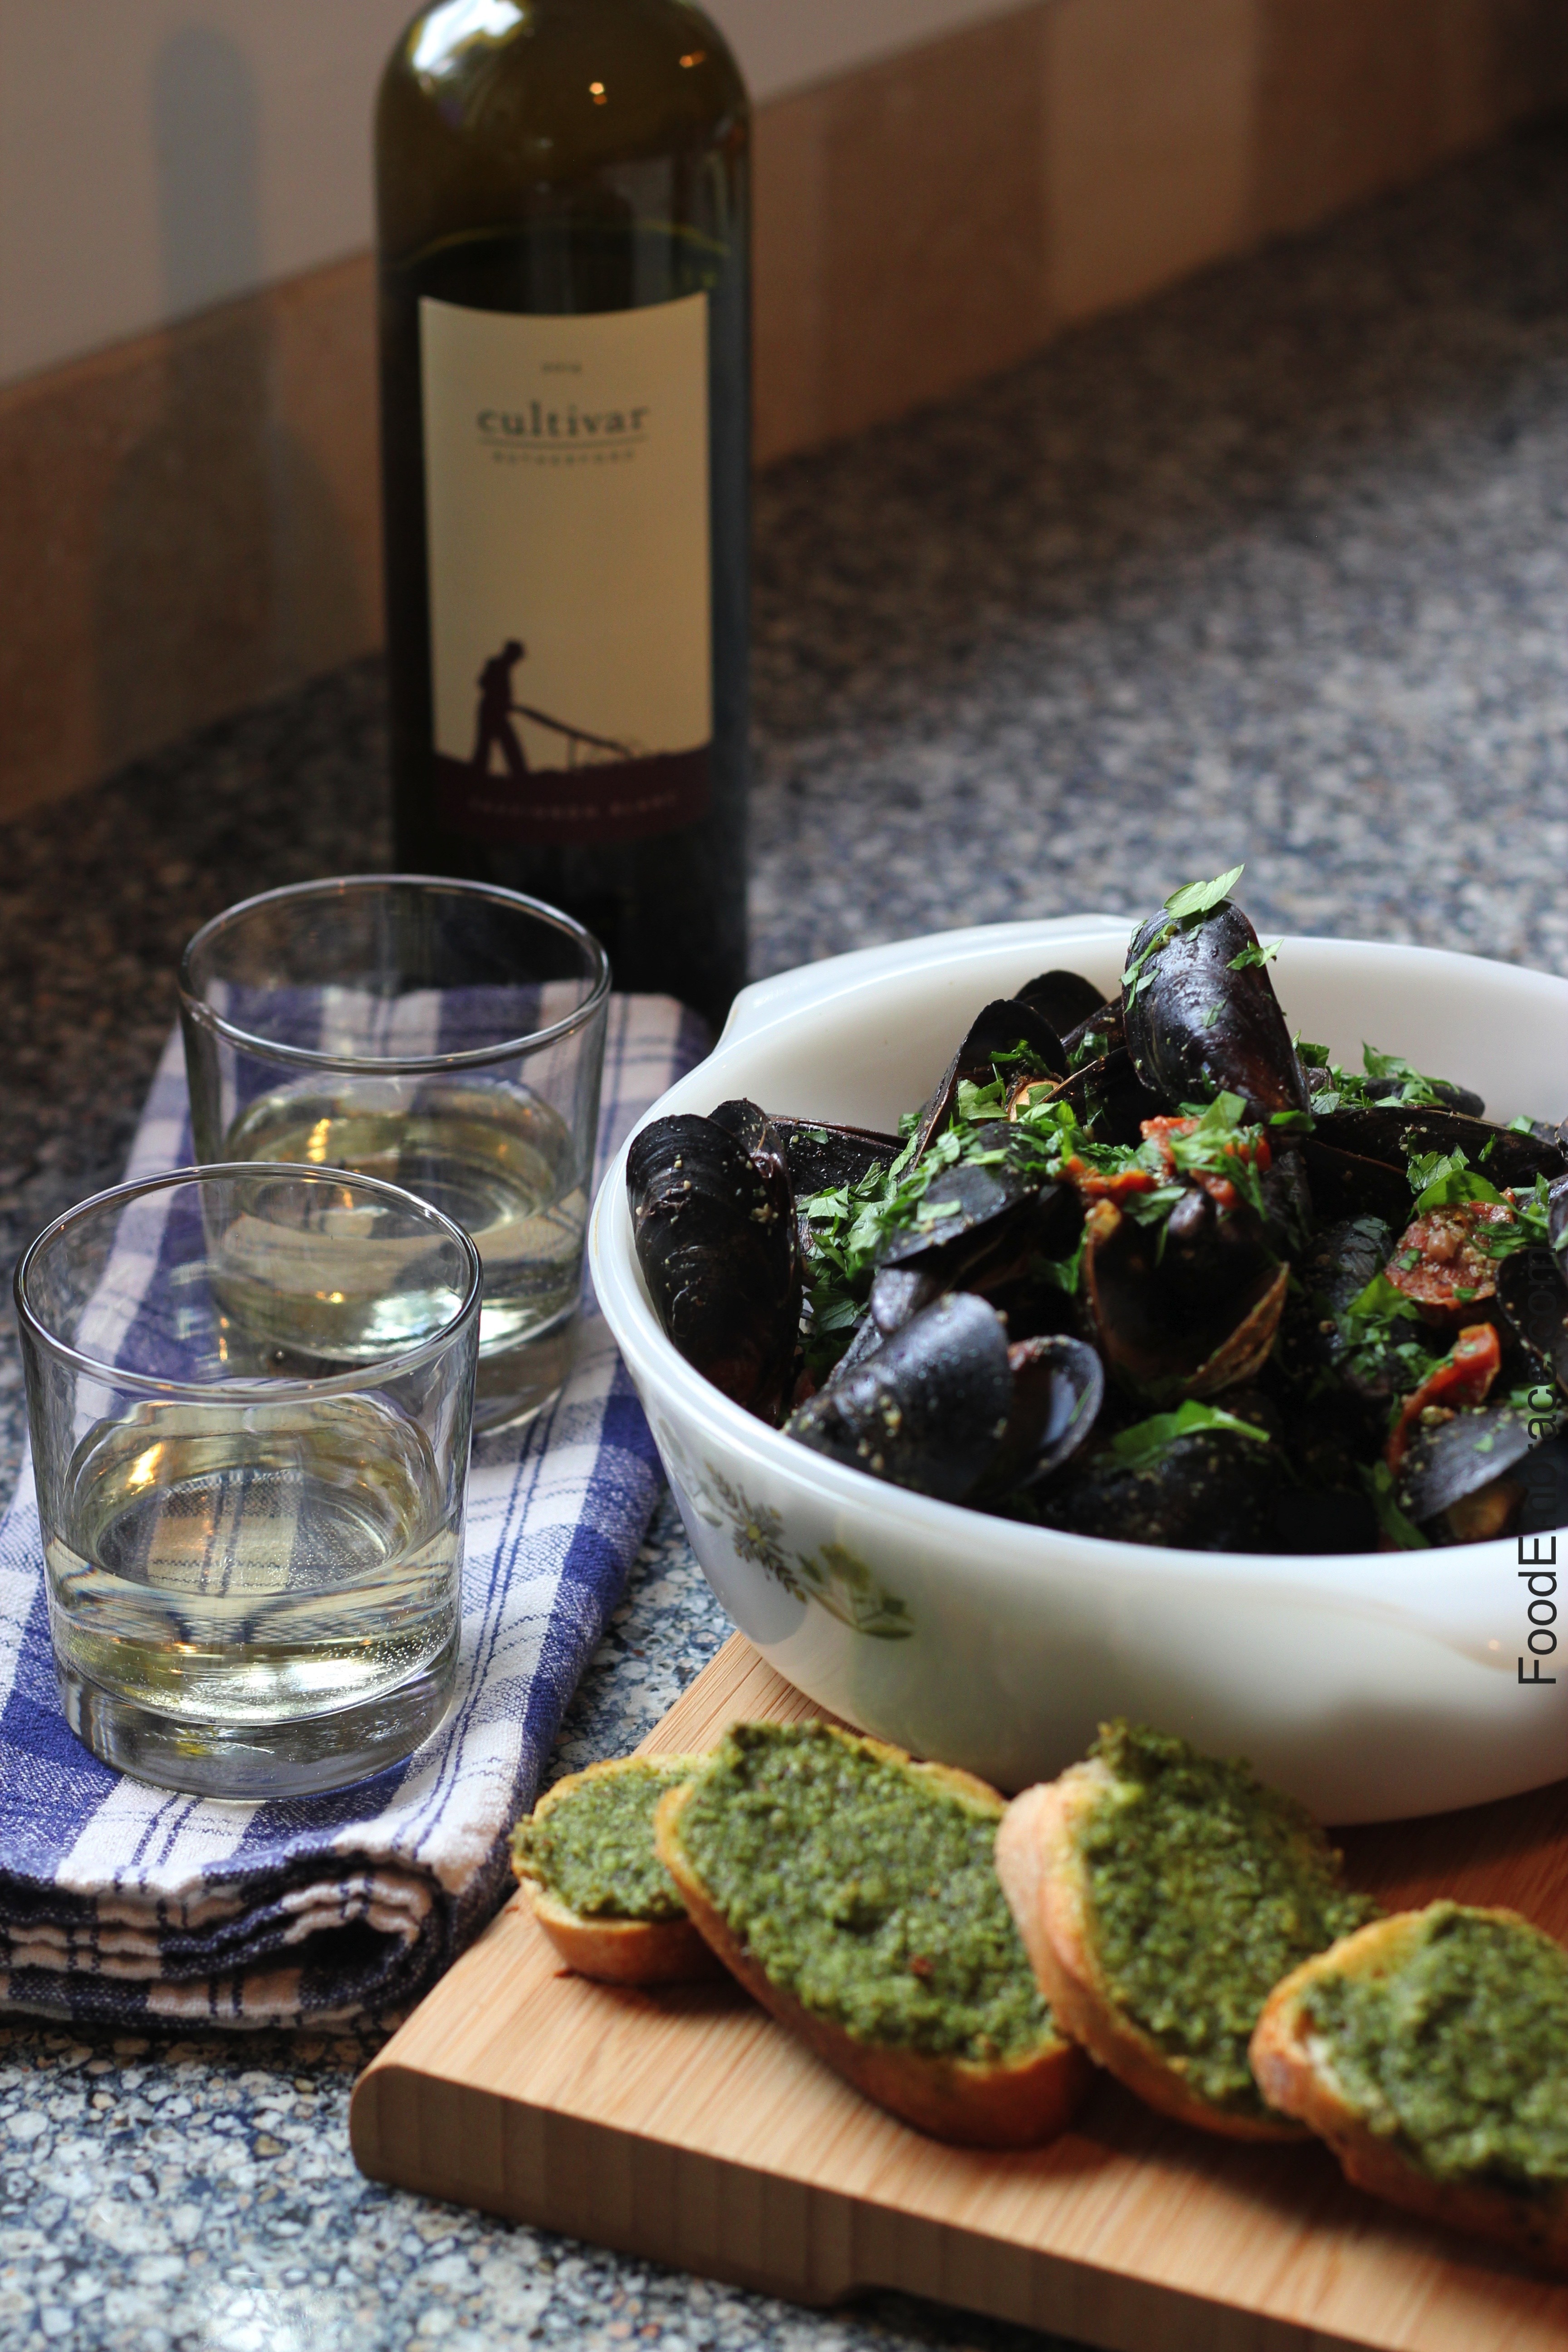
Mussels with 2014 Cultivar Rutherford Sauvignon Blanc

I went to the 2014 Cultivar Rutherford Sauvignon Blanc  immediately because I will admit up front, I’m not a huge sauvignon blanc fan so I was curious about what this wine was going to be like.  Sauv Blancs that I’ve had in the past have been really tart with some strong grapefruit flavors, which are off-putting flavors for me.

The 2014 Rutherford is not even close to tasting that way. In fact, this wine blew me away and has made me rethink Sauv Blancs, willing to give them more of a chance.  This wine has some deep and complex characteristics to it.  The oak shines through but doesn’t over power.  There is some light citrus notes but they are mellow and smooth. This is a great wine for sipping and savoring.

To balance out the oak I thought this wine would be great paired with some steamed mussels. I added some pesto and sun dried tomatoes for some added depth.  The slight salty nuttiness of the pesto enhanced the richness of the wine.

This meal looks fancy but comes together in about 15 minutes.  Quick and delicious!

Andrea’s Mussels with Pesto and White Wine

  • I used this recipe for pesto. You can sub in spinach for kale if you like.
  • 2lbs of Fresh PEI Mussels, cleaned
  • 1/4C Chicken Stock
  • 1/4C White Wine
  • 1/4C Pesto
  • 1/2C Chopped Sun Dried Tomatoes
  • 2TBSP Olive Oil for cooking

In a large high sided sauté pan, heat the olive oil over medium heat.  Add in the pesto, stock, wine, and tomatoes. Gently stir then add in the mussels.  Cover and allow the mussels to steam until they open and are cooked.  About 10 minutes.

Remove from heat and serve with crusty bread.  Garnish with parsley and additional parmesan if desired.

I also sliced up a baguette and spread some of the pesto on the slices.  Baked at 400 for about 10 minutes until the slices of bread were crispy and the pesto had become bubbly.

The wine worked beautifully with this dish!  The slight sweet brininess of the mussels combined with the rich and oaky wine made for a fantastic date night dinner.

If you’re interested in trying out Cultivar Wine, as a reader of Food Embrace, you will be given 10% off your order.  Use the code, FoodEmbrace at checkout.

I am part of the Cultivar Wine Bloggers Club and receive some bottles of wine quarterly to sample and pair with recipes and foods.  This time I decided to pair the 2014 Cultivar Rutherford Sauvignon Blanc with fresh PEI mussels.


Disclaimer: I’m required to disclose a sponsored partnership between our site, Food Embrace, and Cultivar Wine. I have been compensated in exchange for this post in the form of product or experience. All opinions and recipes presented are my own.

Status

Halfway Point No Alcohol Challenge

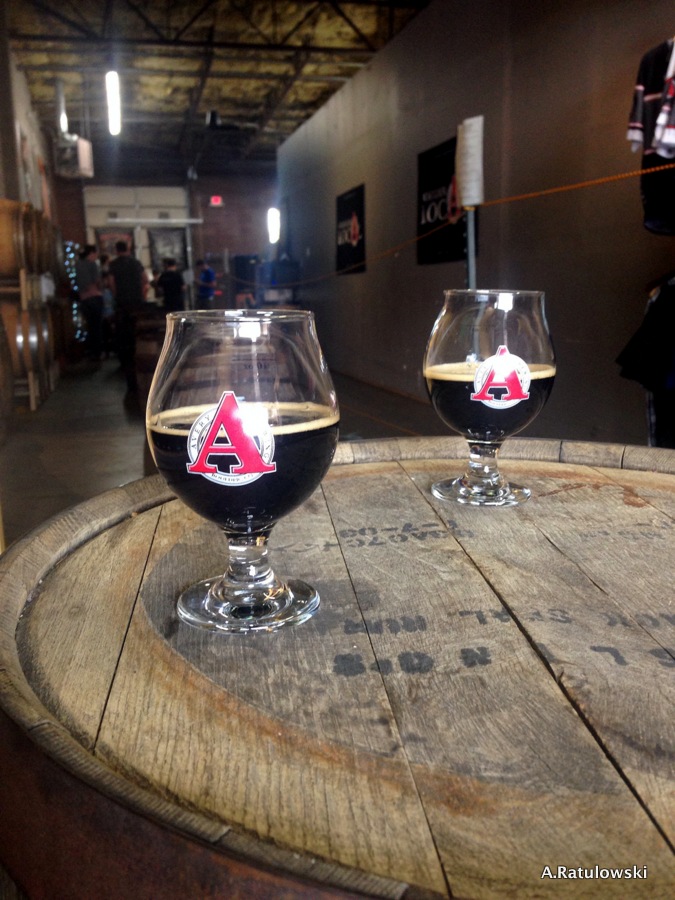
Avery Barrel Aged Beers

Earlier this month I announced that I was going alcohol free for February. I’ve had two cheats days (hate that term but it applies), one was at a media event where I had some wine because I’m not passing up free wine!  And the second was for Scott’s birthday, we went out to celebrate and I had a couple of beers.  Not a big deal and not something I’m beating myself up over.

Other than that, no alcohol.

I’m extending the challenge to include the first week of March because of a new fitness challenge that I’m doing.

Surprisingly I’ve learned a lot and it’s only been a few weeks.

I miss wine more than I miss beer.  This was a STOP THE PRESSES moment for me.  I love beer and have expanded my palate and educated myself on it more over the past two and a half years.  Yet at the moment I really would like to have a glass of red wine and not beer.  When the challenge is over I’m probably going to opt for wine and pass over beer.

I’ve realized that it isn’t the alcohol content (ABV) of beer that was causing me digestive issues, it was the beer itself. Wheat and all it’s gluteny goodness wasn’t playing nice with my digestive tract. I have to limit my beer intake and when I do have it, I cannot combine that with other wheaty things (no pasta, no breads, etc) or else the results are not good.

So far the challenge hasn’t been terrible though I do have moments where I stomp my feet and just want a glass of wine.  I would be lying if I said that I wasn’t looking forward to the end and counting down the days till I can partake.

Scott is doing this with me and that has been a huge benefit.  I’m not sure I would have lasted if he was sitting there having a drink of his own.  That would be too tempting!

Two more weeks and then this lady gets a drink!

Slow Cooker Chuck Roast with Red Wine Sauce

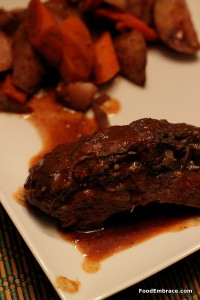
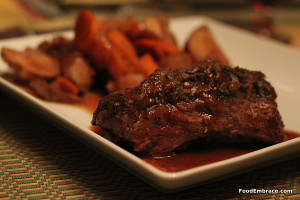
Chuck Roast with Tomato Wine SauceI had an open bottle of red wine and a little two pound chuck roast, both of which needed to be used up.

I decided to try to combine the two and see what I could come up with.  I added some tomato sauce to the wine to help extend it, added some veggies, tossed everything in the slow cooker and hoped for the best.

It turned out delicious!

I love using the slow cooker especially on days when I’m at work all day long.  Coming home to dinner practically ready and serving itself is a huge time saver.

Andrea’s Slow Cooker Chuck Roast with Red Wine Tomato Sauce

  • 1 2lb Chuck Roast
  • 1 8oz Can of Tomato Sauce (your favorite brand)
  • 1C Red Wine (Whatever you have on hand)
  • 1/2 Medium Onion, cut in chunks
  • About 4 Large Carrots, also cut in to chunks
  • About 5-6 Small-Medium Potatoes, chuck in to chunks
  • 1/2tsp Salt
  • 1/2tsp Ground Black Pepper
  • 1tsp Ground Garlic
  • 2tsp Italian Seasoning

Pour the tomato sauce and red wine in the slow cooker and mix.  Add in the chuck roast followed by the veggies.  Sprinkle with the seasonings and cover with the slow cooker lid.

On low, cook for about 6-7 hours.

If you’re home, every few hours bast the veggies and roast with the sauce.  If you’re not around, don’t worry about it.

When the roast and veggies are done, strain as much of the juice from the slow cooker as possible.  Add to a medium sized sauce pan and bring to a simmer.  Reduce by half.

Cut the meat into portions and serve along with the veggies.  Use the sauce on top and enjoy!

Chuck roast with root veggies

This dish really couldn’t be easier and it’s totally adjustable.  You can use a bigger roast, just add in more wine and sauce.  You can add in as much veggies as you like.  I didn’t really keep track of how much I used, my goal was to have enough for leftovers.  The above amounts are guesstimates.

I served up the leftovers as sandwiches.  I shredded the roast, added that to the sauce and heated.  Placed that on buns with a little swiss and heated it up in the oven till the cheese was melty.  Served with leftover veggies, it was a great meal!

Easy slow cooker meal that looks and sounds fancy!

Have fun guys, and remember, always play with your food!  Enjoy!

Wine Fest 2013

Fort Collins Wine FestHere in beer country, there’s an event next month that I’m really looking forward to and it’s all about the wine!

While my time has been spent drinking and sampling beer since we moved, rest assured that I am still drinking wine.

I love learning about wine and expanding my palate by experiencing new varieties.  Next month I’ll be able to do just that at Wine Fest!

Wine Fest is a fundraising event for Disabled Resource Services which is an organization that provides support to those who have disabilities.  By providing an advocate and support system those who have disabilities can learn how to be independent.

All proceeds, 100%, from Wine Fest go right to Disabled Resource Services.

I was contacted asking to help spread the word about this great event and I could not pass this up.  It’s a great opportunity to meet folks in the community, taste some fabulous wine (and beer! There is a beer tasting as well.), and show support for a local organization.

Details of the event:

When: Friday, March 22nd, 2013
Where: The Hilton Fort Collins
When:  Private Wine Tasting 5-­‐6pm. Tickets are $55
Private Beer Tasting 5-­‐6pm. Tickets are $40
VIP Admission 6-­‐10pm. Tickets are $85
General Admission 7-­‐10pm. Tickets are $65


There will also be lots of fun activities going on within Wine Fest, such as Black Jack tables and a casino wheel, live music, and a wall of wine raffle!  You can see a full list of attractions along with their descriptions.  Personally I want a wall of wine!

Scott and I will be there for sure and I look forward to seeing you there as well!  Please come out and support a good cause while having fun tasting wine and nibbling on some treats!

Food Embrace readers even get a discount!  If you click on the Wine Fest image on the right side bar, that will take you to the ticket purchasing page.  Food Embrace readers receive $10 off on tickets along with two FREE raffle tickets for the wall of wine!

Big savings plus entries to win a prize!  So go ahead and get your tickets so we can meet up and chat!

For more information about Wine Fest and to stay informed about updates leading up to the event, please follow Wine Fest on these social media accounts:

I’m excited about this event and hope to meet you there!


Disclaimer: I was provided with a ticket to Wine Fest in compensation for this post.


Bison Red Sauce

One of my most fondest and vivdest memories I have of my grandmother is her making a meat sauce to go over pasta.

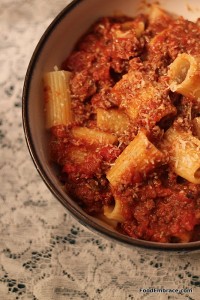
A little straight up Polish lady who made pasta and red sauce often.  Her pasta of choice was rigatonis or “sewer pipes” as she called them.

Not the most attractive nickname, I know, but they are big pasta tubes so it makes sense.

The house always smelled so amazing with the sauce simmering away and it made the atmosphere warm and inviting.

Whenever I smell a similiar red pasta sauce, it brings me right back to my Grandma’s house and her telling us that sewer pipes were for dinner.

I was feeling very nostalgic one evening and decided to create my own.

Andrea’s Bison Red Sauce

  • 1lb Ground Bison (Can use beef if you cannot get bison)
  • 3/4 Large Onion, chunked
  • 1 Green Pepper, chunked
  • 1 Red Pepper, chunked
  • 2 Cloves of Garlic
  • 1 28oz Can of Crushed Tomatoes
  • 1 15oz Can of Tomato Sauce
  • 1 14.5oz Can of Diced Tomatoes
  • 1 6oz Can of Tomato Paste
  • 1C Red Wine
  • 1C Beef Stock
  • Big Pinch of Red Pepper Flakes
  • 2TBSP of Italian Seasoning
  • 1tsp Garlic Powder
  • 1TBSP Worcestershire Sauce
  • Pinch of salt and pepper
  • 2 TBSP Olive Oil

In a food processor, combine onion, garlic, and peppers and pulse until finely chopped.  In a large soup pot, add in 1TBSP of olive oil and heat over medium heat.  Add in the bison and cook for about two to three minutes, just to get some color on the meat.  Remove from pan and drain if there’s a lot of liquid in the pan.  If not, add in remaining 1TBSP of oil and the chopped veggies.

Sprinkle veggies with salt, pepper and red pepper flakes.   Saute for about five minutes, stirring occasionally.  Let the veggies start to soften and reduce the amount of moisture they have.  Add bison back in along with the tomato paste.  Combine and saute for about 3-5 minutes.  Add in the red wine and scrape up any bits on the bottom of the pan.  Cook for about 2-3 minutes.  Add in the other tomato products at this point.  Combine. Add in the Italian seasoning, garlic powder, and worcestershire sauce.  Combine and then add in the beef stock.  Gently combine and bring mixture up to a simmer.

Simmer sauce for 45 minutes to an hour, stirring occasionally.

Remove from heat and serve over pasta.

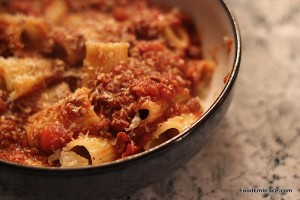
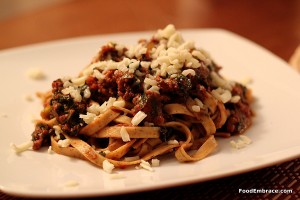
Oh this sauce!  It was just how I hoped it would turn out.  It’s a thick and rich meaty sauce perfect for a hearty pasta and scooping up with garlic bread.

This makes a good bit of sauce so you’ll have plenty leftover for freezing.

You can stick with rigatonis or branch out and use a ribbon style pasta.

We also had this over some fettucini and it worked beautifully!

This summer when I can get some fresh tomatos, I’m definitely making this again.  For the time being the canned tomatoes worked well.

Have fun guys, and remember, always play with your food!  Enjoy!