Status

Typical Day of Eats

I’m going to start posting more of my eats on the blog this year and I wanted to start off with what a typical day looks like.  This way if I say, “Standard breakfast and lunch”, you know what that means and won’t get bored seeing those same things over and over again.

Dinners are more varied, more fun (for me anyway), and our biggest meal of the day.

Breakfast:

greek yogurt, granola, banana

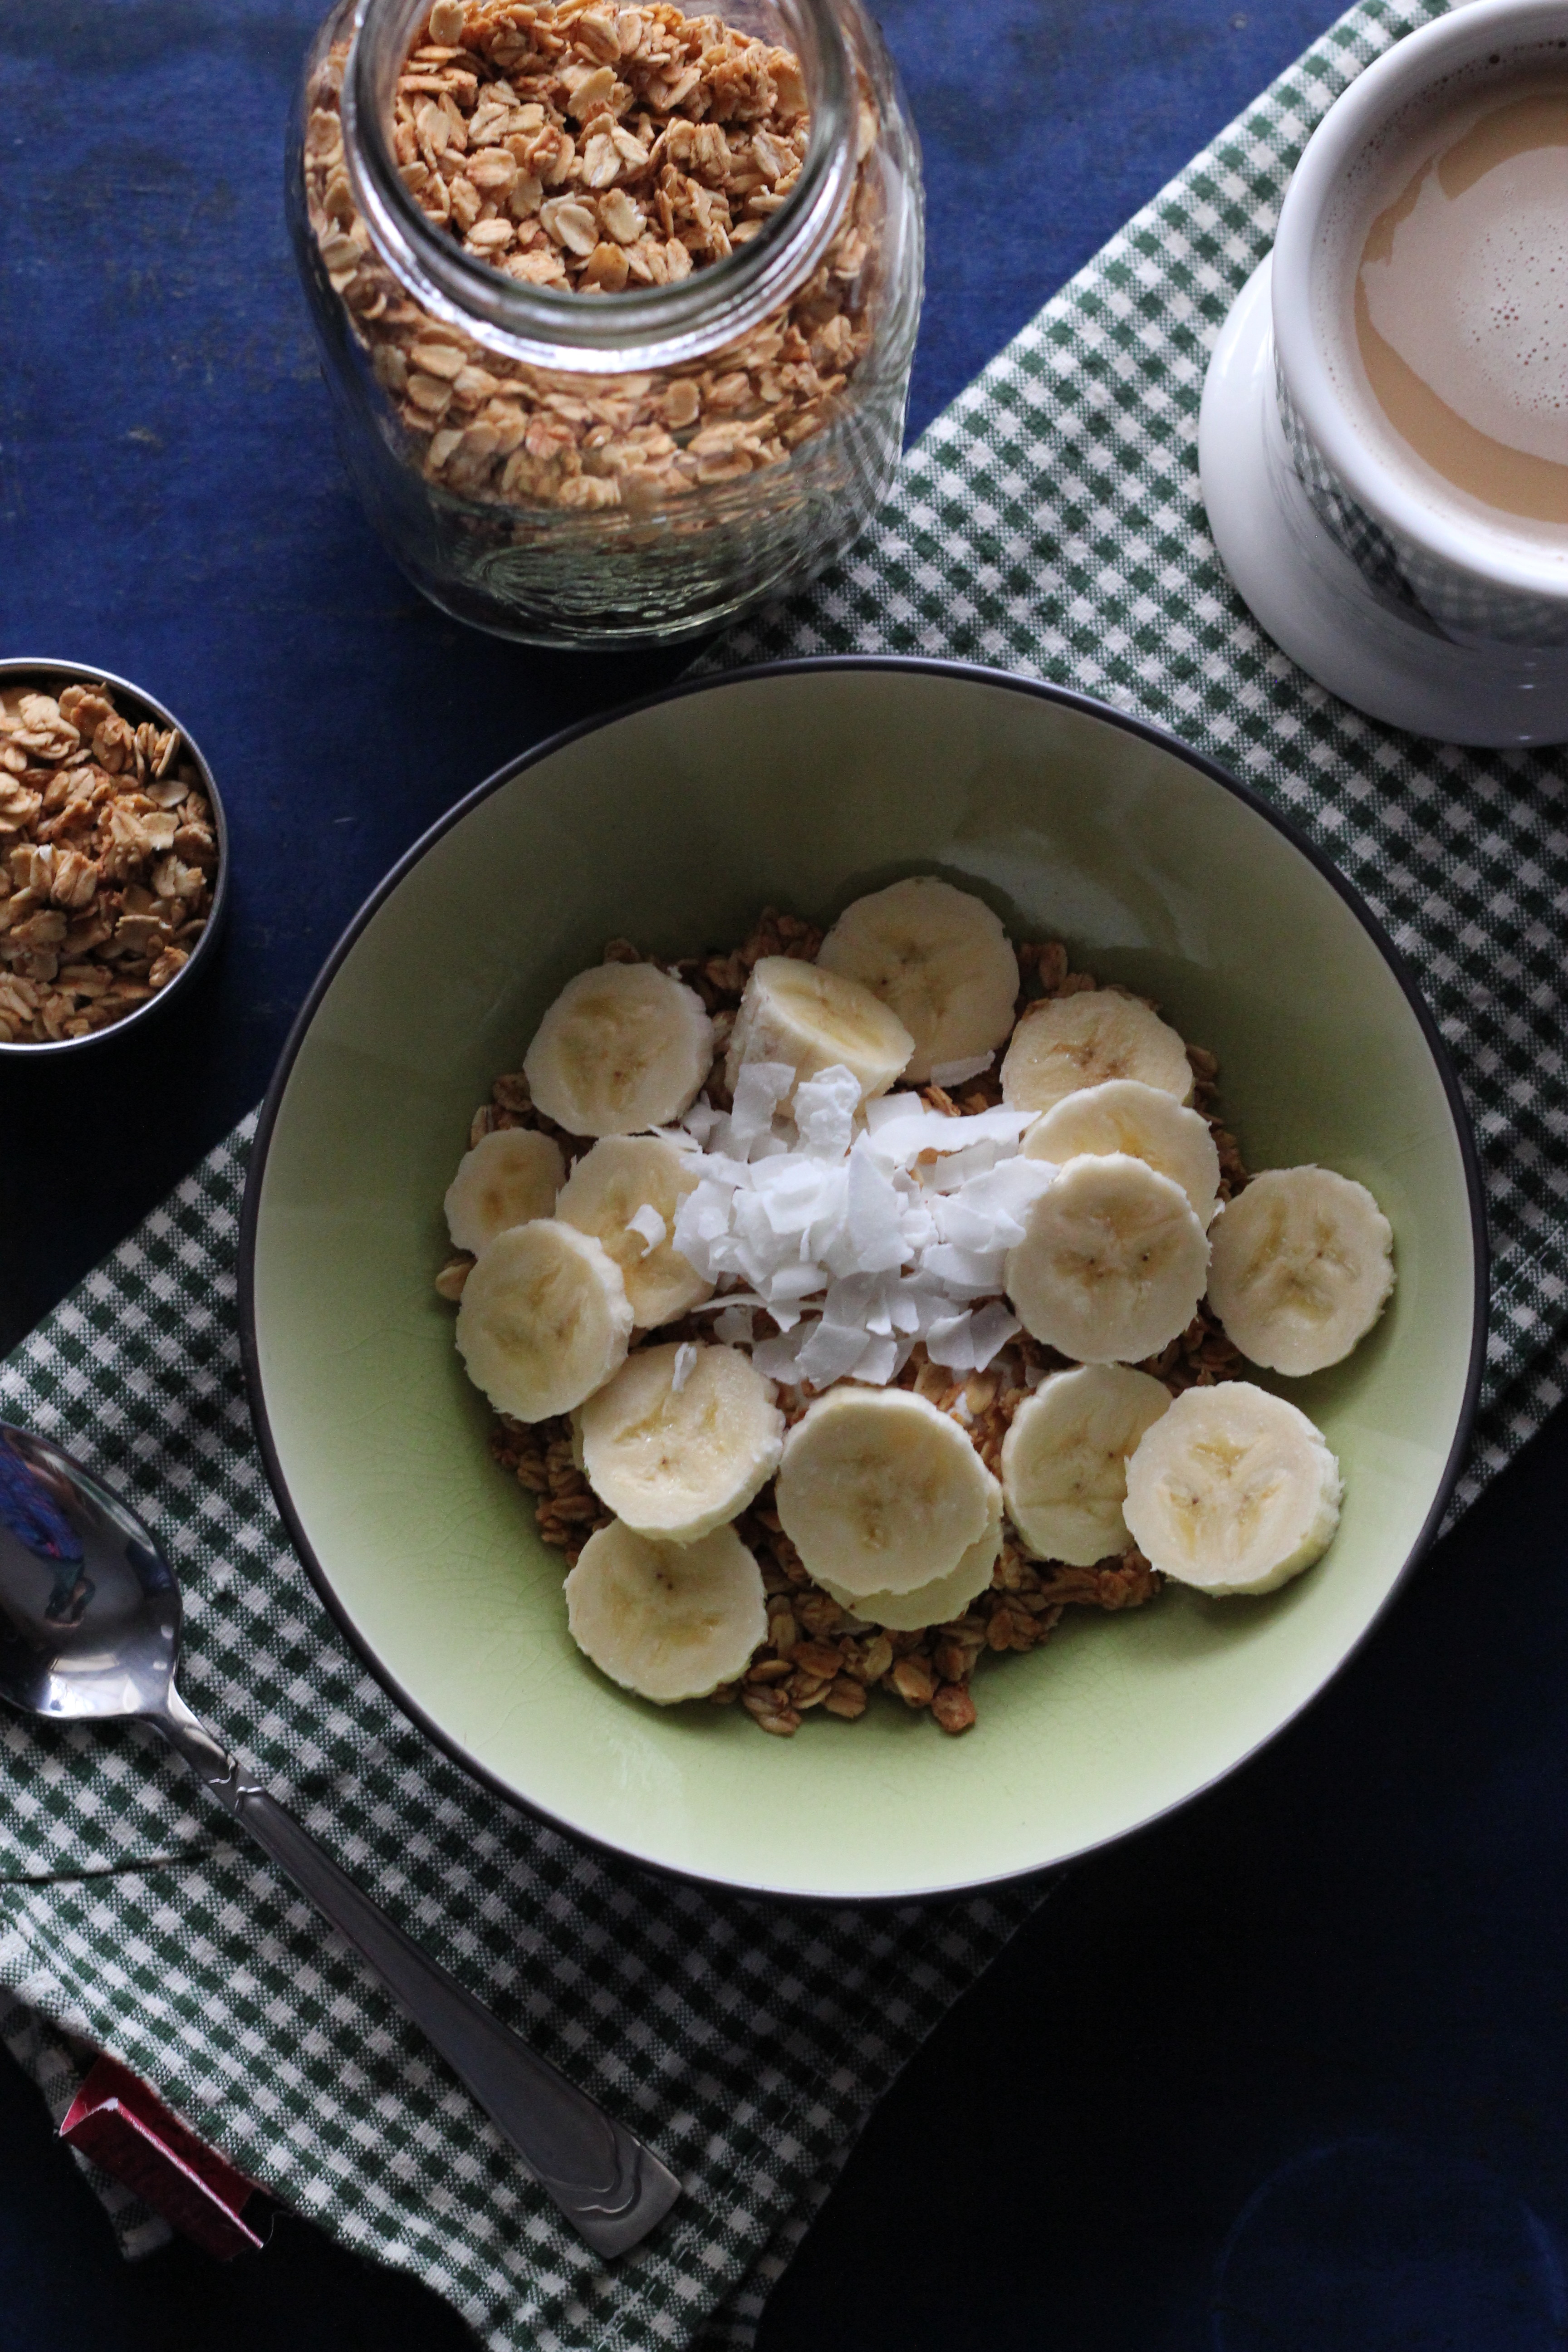
2% Greek yogurt with homemade granola and sliced banana with a little sprinkle of unsweetened coconut chips. Coffee with almond milk on the side.  Not a huge breakfast but the fat in the yogurt helps keep me full and satisfied.  I also add eggs to the granola mix when I make for added protein.  Right now the granola is just toasted and spiced oatmeal.  If you like, you can always add nuts, dried fruit, and heck even chocolate chips if you want.
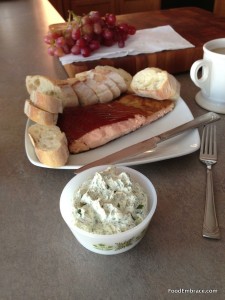
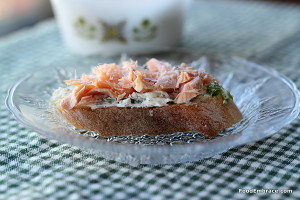
Lunch:

Salad and smoothie

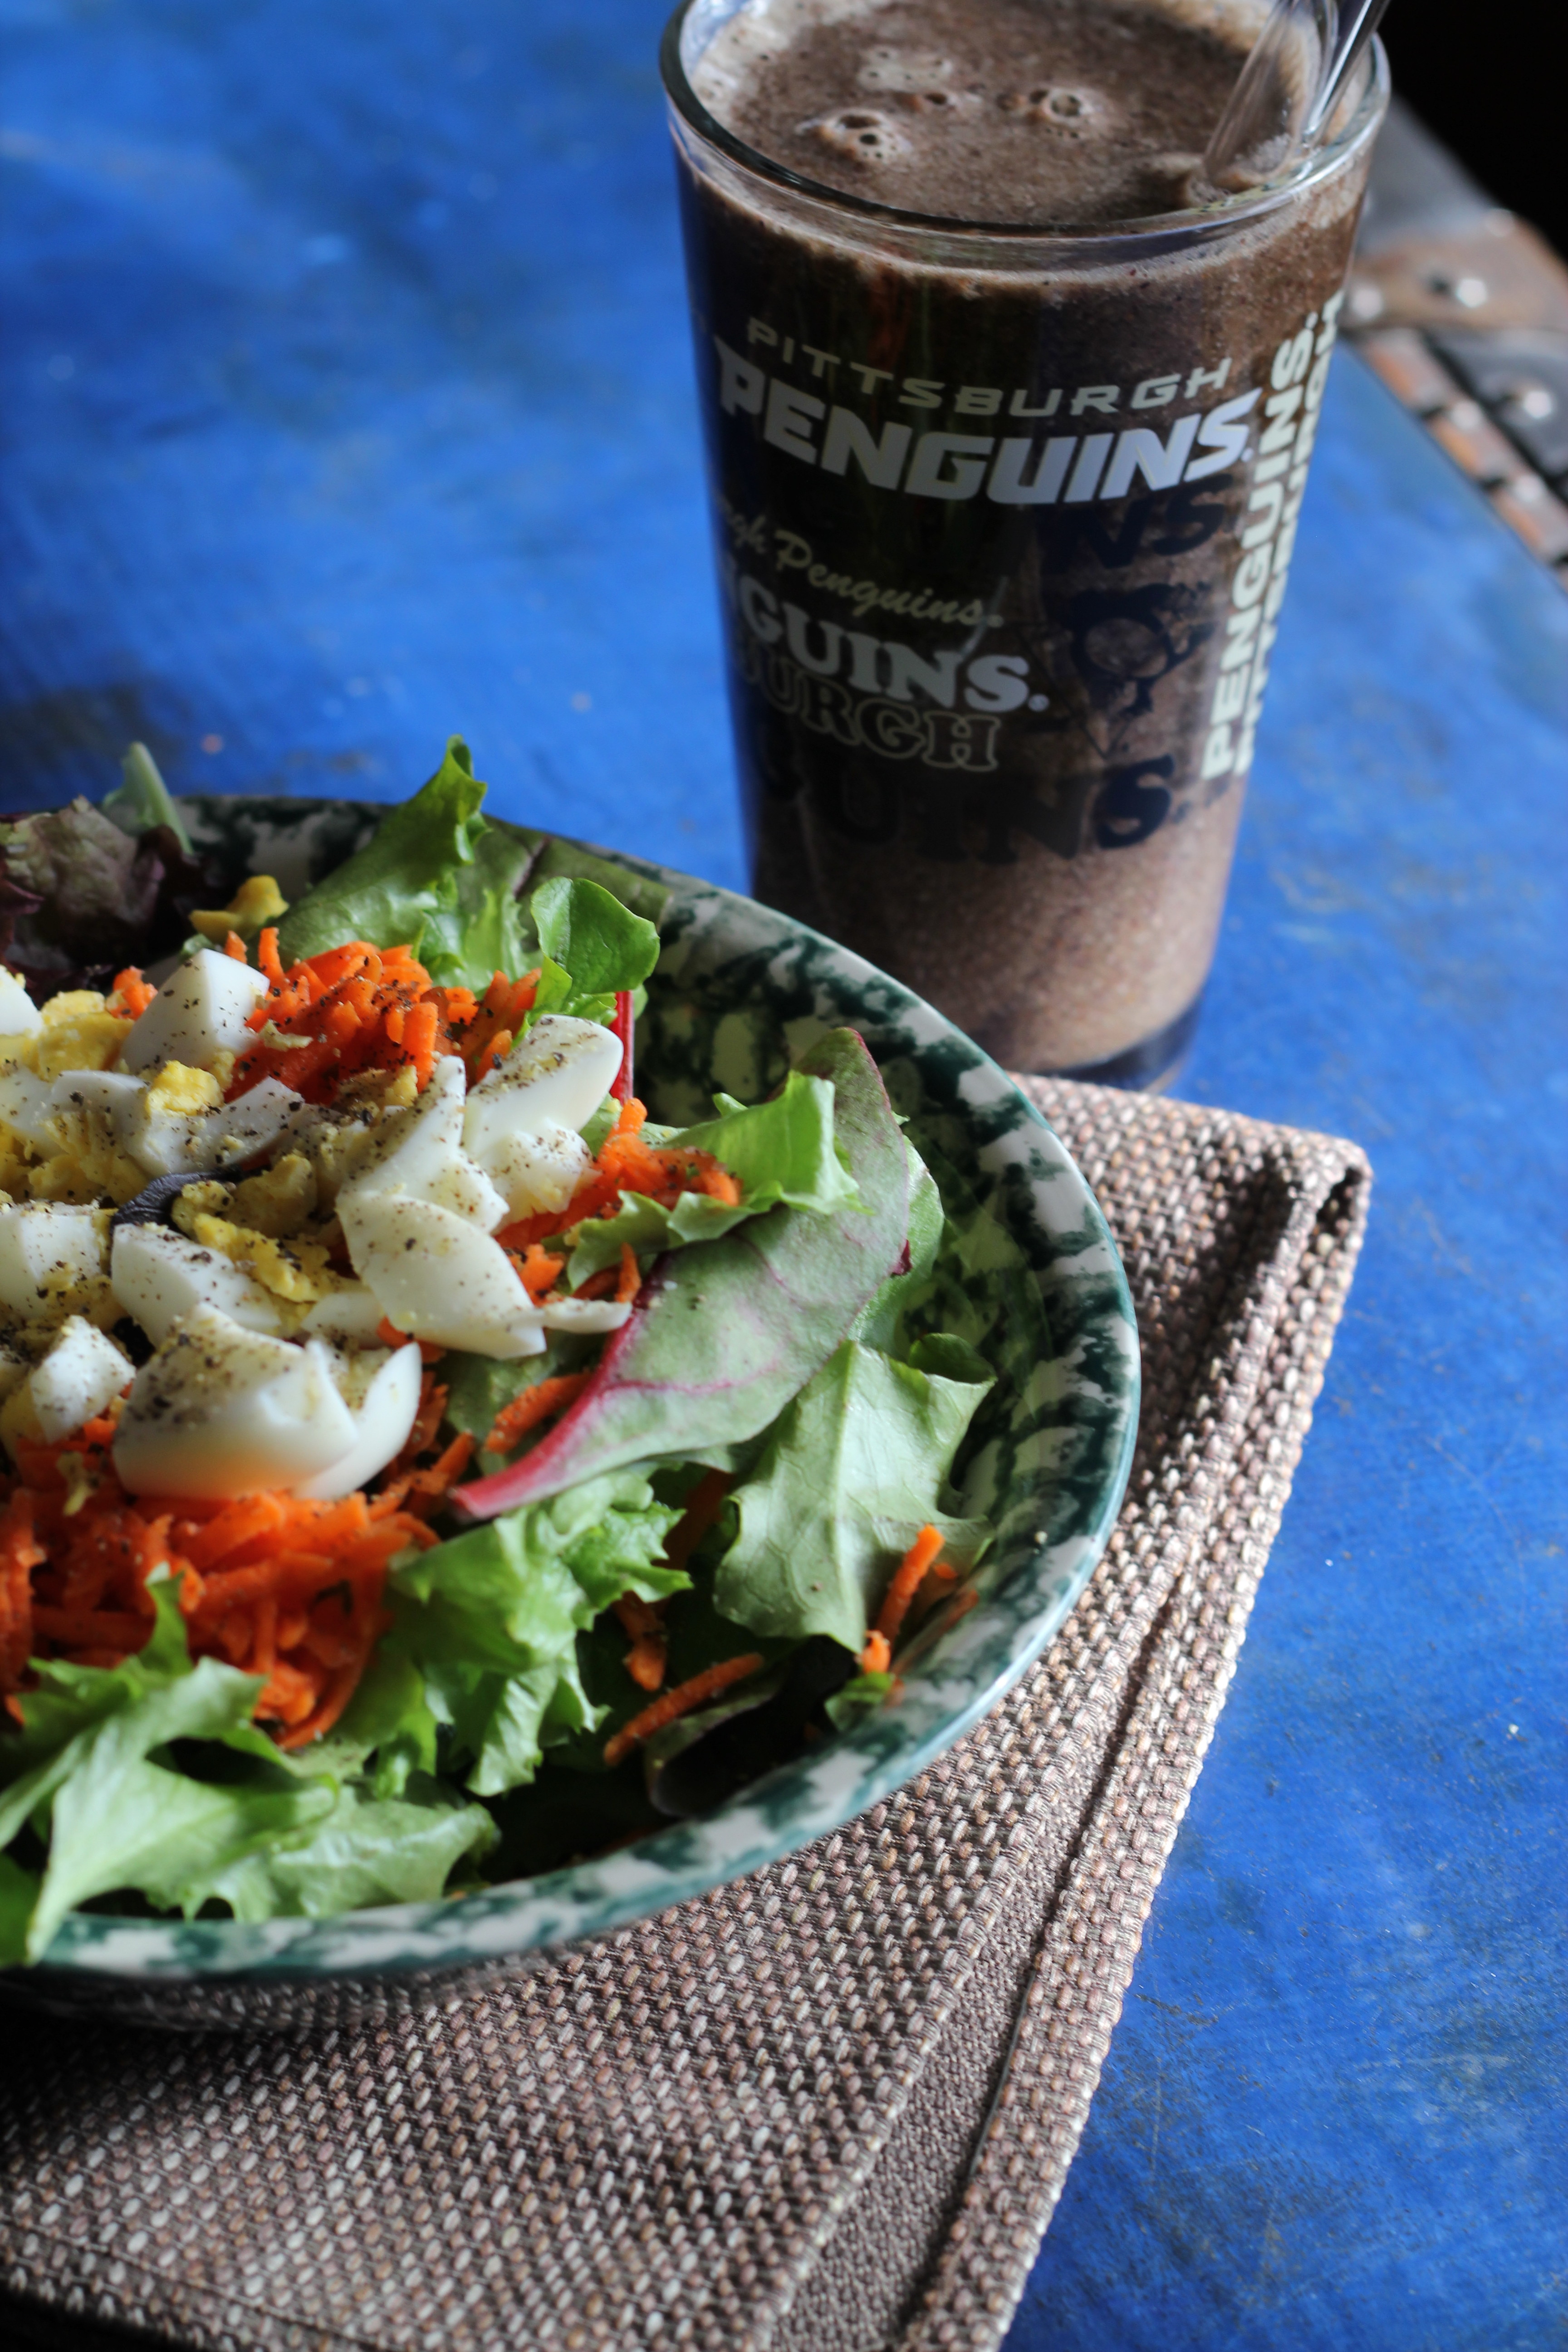
Salad with small amount of protein (2-3oz) and a smoothie.  The protein in the salads vary from hard boiled eggs, to salmon, to leftover chicken.  Sometimes even beans. Depends on what I feel like that day and what I have on hand that is the easiest to grab.

The protein helps me feel way more satisfied and it also means that I don’t need a salad the size of my head to be full.

Smoothie is pretty typical:

  • 2.5 C water
  • Big bunch of greens (Either spinach, kale, or chard)
  • 1.5 Frozen bananas
  • 1/2-1C Frozen fruit (blueberries, mango, peaches)
  • 1tsp Coconut Oil

Sometimes I sub in 1C almond milk but not very often.  I don’t count calories really but I try to be mindful of them. Since I have almond milk in my morning coffee, I don’t really need it in the smoothie.

The coconut oil helps provide much needed fat.  Most vitamins and minerals in fruits and veggies are fat soluble, which means our bodies can’t break them down and absorb them properly unless they are paired with a fat.  Coconut oil does the trick!

This amount makes two smoothies, one me and one for Scott.

Dinner:

Mahi mahi tacos

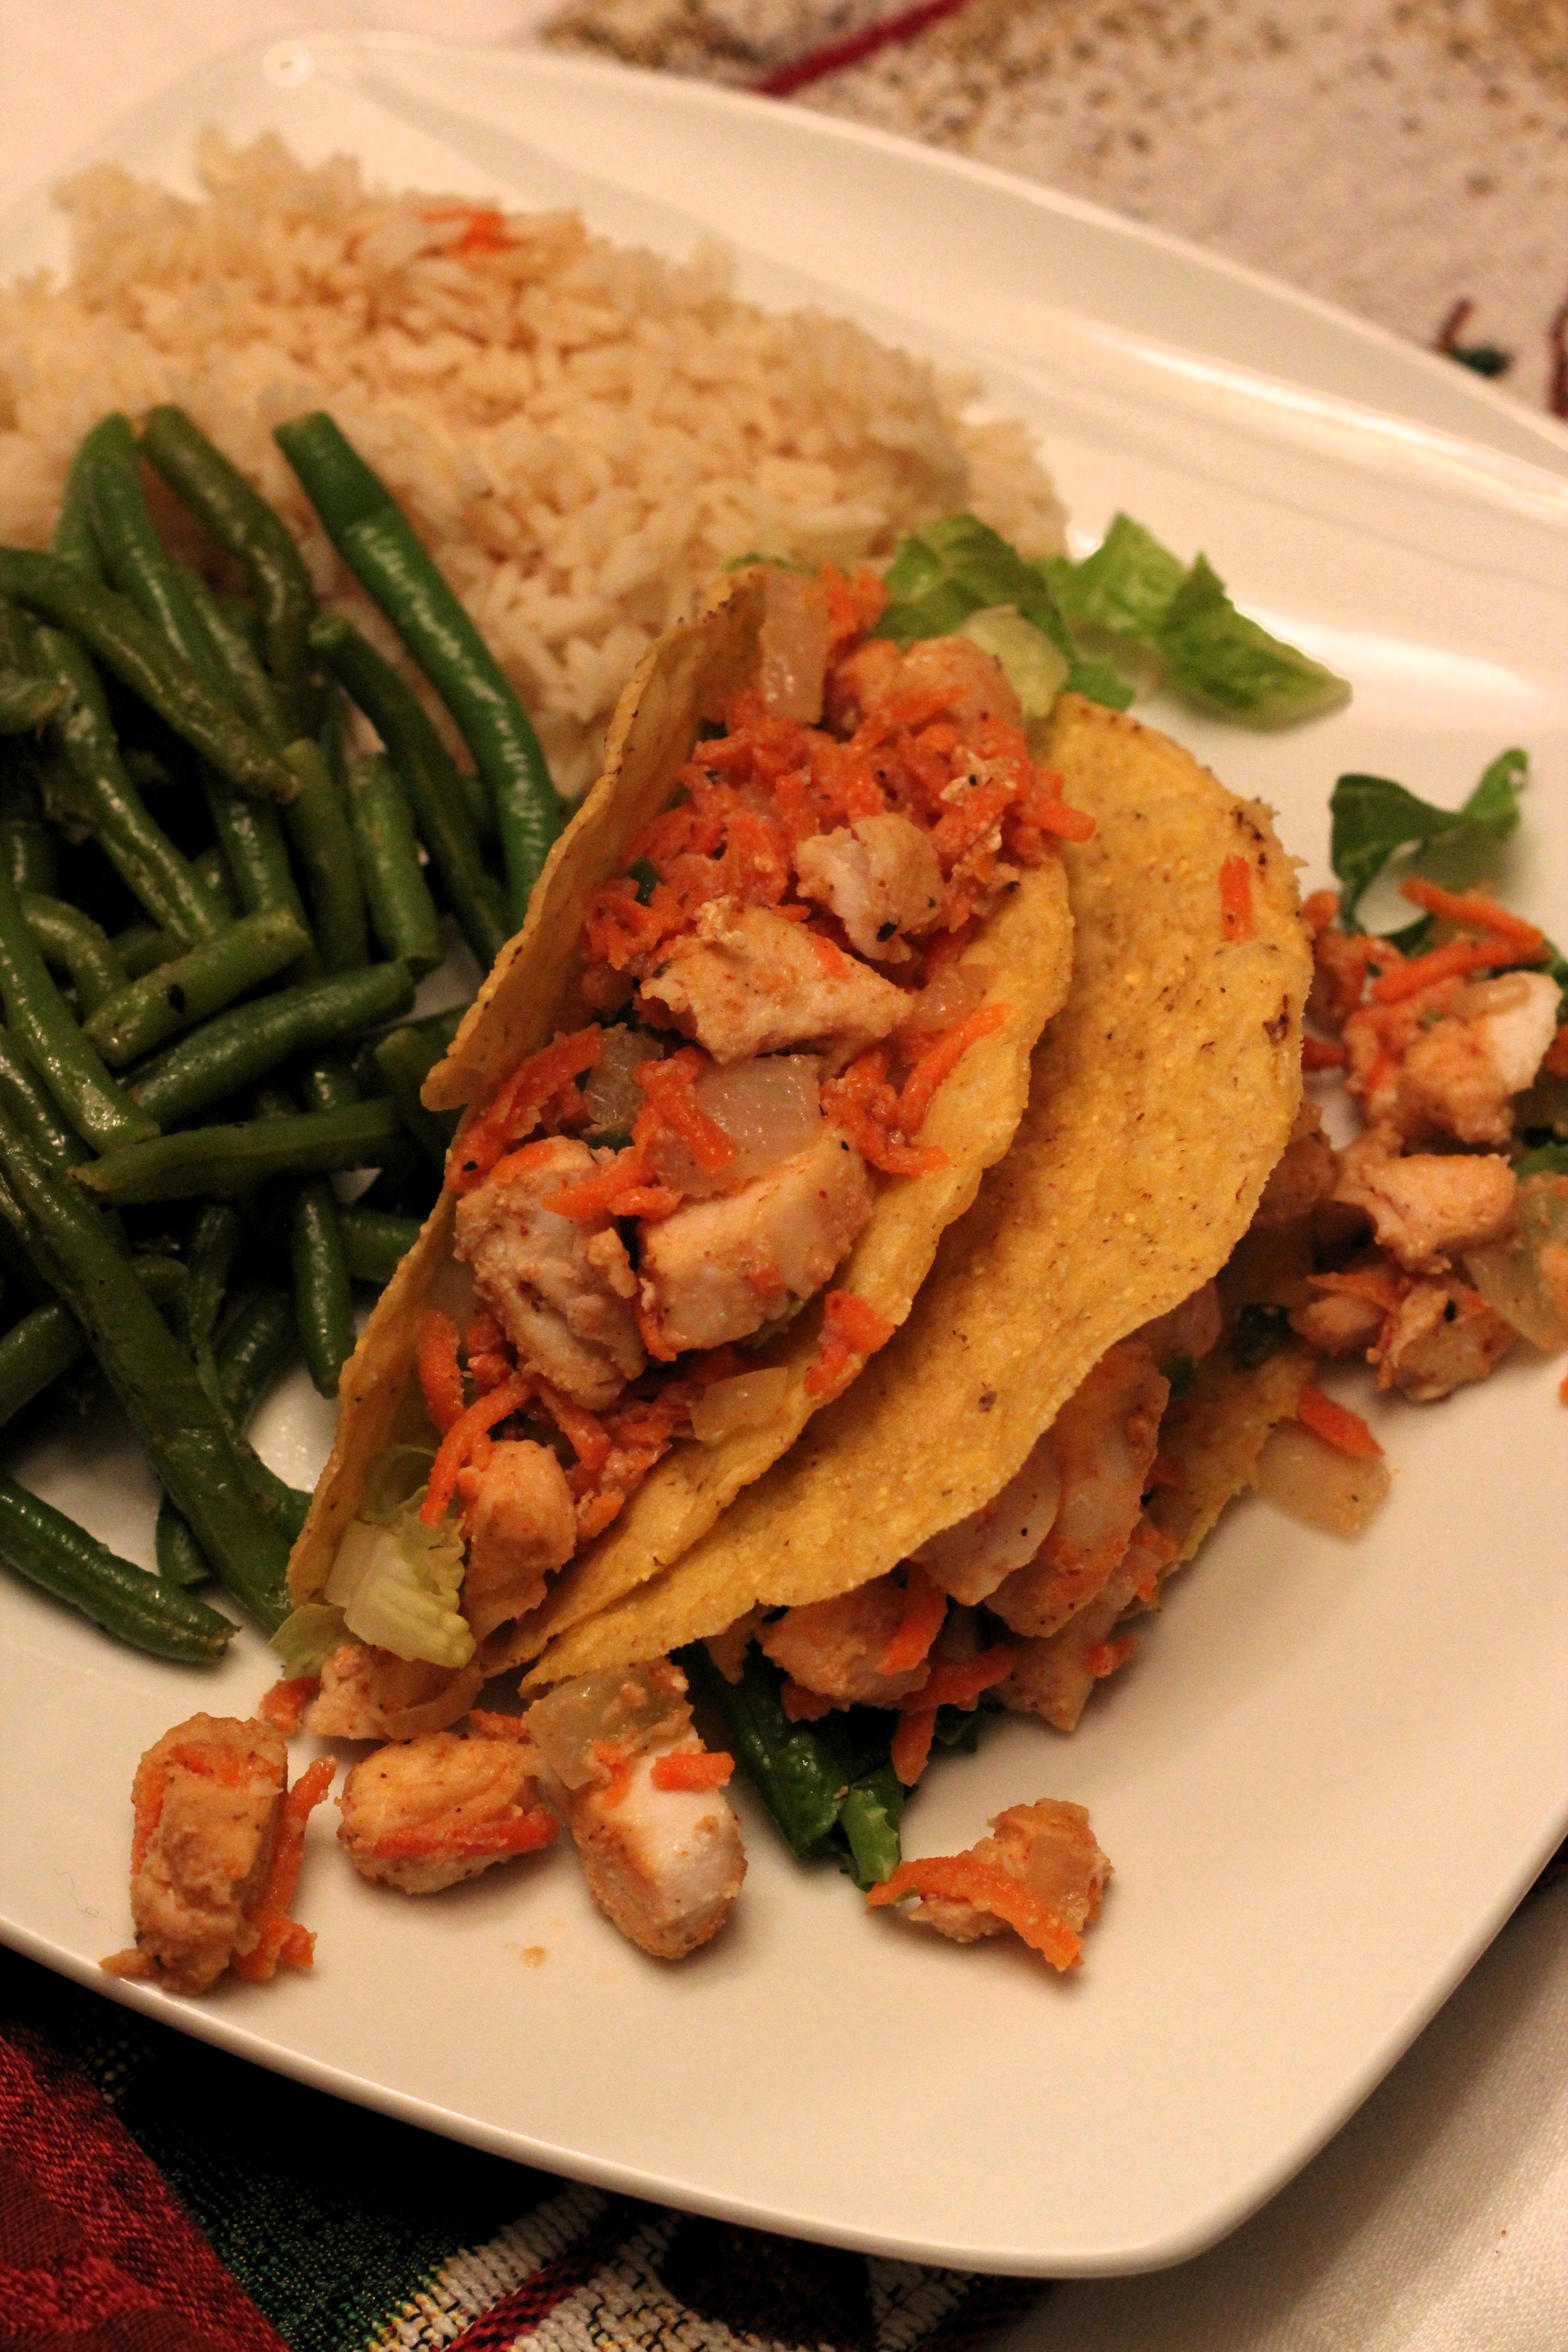
(Horrible picture I know, but until I figure out a solution to take night pictures, this is the best it gets.)

Mahi Mahi tacos, rice, and some green beans.  I would have had some avocado for the mahi mahi but I was out! Darn it!  I made extra portions of fish so there would be enough for leftovers the following day.

Some dinners are a little bigger but most times it’s a protein with some veggies and occasionally starch.  Dinner is my favorite meal of the day because I like spending the time in the evenings to prepare it.  It’s my relaxing down time.

There’s a saying that goes, you should eat breakfast like a king, lunch like a prince, and dinner like a pauper.

That doesn’t really work for me.   A smaller breakfast and lunch followed by a larger dinner is what makes me feel the best.  Occasionally I’ll have an egg and some fruit for breakfast if I’m feeling a little more hungry in the morning or if I really don’t feel like yogurt.  I still keep the portions small, one egg with fruit and maybe an English muffin, this way I will still be hungry for lunch.

A larger breakfast, say eggs with bacon, toast, and potatoes keeps me full for a very long time so I typically keep that style of breakfast to the weekend.  Since it keeps me full for a while it usually results in me skipping lunch altogether and going right into dinner.  This is OK sometimes but not all the time. I really enjoy eating lunch and having that afternoon salad.

I’m also not much of a snacker.  Three full meals a day suits me just fine.  I don’t need snacks to help me get from one meal to the next.  As much as I enjoy food and eating, I don’t like eating all time and snacks make me feel that way. Like I’m just constantly eating.

Routine works for me and I don’t get bored with my breakfasts or lunch.  Plus it makes meal prep during the week a heck of a lot easier!  If I’m always having the same thing for 2 out of 3 meals, then I can focus more on dinner and planning that for the week.

Again, I’m in no way suggesting that everyone try this because what works for one person probably isn’t going to work for someone else.  We all have different tastes and different needs.

The goal is to pay attention to the meals we eat and how they make us feel.  Do we feel energized and satisfied or do we feel sleepy and blah?  Do we have energy the next day for work and working out or are we dragging our butts?  Once we figure out what makes us feel amazing it’s a lot easier to keep doing that!


New Smoked Salmon Experience

Smoked SalmonOn New Year’s Day, we had something new for breakfast, smoked salmon with cream cheese on baguette slices.

Nothing fancy and something that people have been eating for breakfast forever but for us it was new.  I spied some local smoked salmon (the company was local, the salmon was wild caught) while out shopping and decided to get some to try out.

I love smoked salmon but have only had the traditional thin slices of smoked salmon, the kind that still looks like it’s raw even though it is not.

I enjoy that style a great deal but only can eat so much of it before the texture starts to squick me out.

The new style I bought looked and flaked like regular cooked salmon.

Smoked Salmon

It was delicious! I made a quick little cream cheese spread to go with it, nothing complicated. I mixed some chopped green onion and dried dill with about 4oz of cream cheese.

The filet that I purchased was large and there was no way that we could get through it all.  I portioned out the leftovers and stuck them in the freezer for another day.

I’m already dreaming of all the things I can make with this new style of smoked salmon!

Do you enjoy smoked salmon? I know some folks can find it a little over powering in flavor.

Leftover Idea: Fish Po’ Boys

Crispy breaded fish is something that I really enjoy having on occasion.  By making my own breadcrumbs, using local eggs, along with sauteeing the fish in olive oil and a smidge of butter, I can feel good about serving this to my family.

Even though I love it, sometimes leftovers need a little dolling up and superstar treatment.

Enter in the Fish Po’ Boy!

The Po’ Boy is a sandwich popular in New Orleans and consists of a toasty roll with a fried fish fillet and a sauce on top.  That’s the basics of the dish anyway.  So to create a fish po’ boy at home, you just need a few simple things on hand.

Andrea’s Fish Po’ Boy:

  • Leftover crispy fish
  • Crusty Bread of your Choice
  • Lettuce
  • Tomato
  • Red Onion
  • Dressing (Below)

Put together sandwich by layering the lettuce, tomato, onion, and then the fish on top of that.

Andrea’s Fish Dipping Sauce:

  • 2TBSP Greek Yogurt (We like Fage)
  • 1TBSP Grainy Mustard
  • 1TBSP Prepared Horseradish
  • 2TBSP Dill Relish
  • Salt and pepper to taste
  • 1/2 TBSP Dried Dill

Mix together and slather all over the bread for the sandwich. This will make enough for a sandwich, if you want more for dipping, you’ll have to increase the ingredients until you get the desired amount you are looking for.  Also this is all to taste, so if you want more dill and less horseradish, go for it!

PS: This also makes a great dipping sauce for the fish and chips/fries if you have ’em!

Assemble sandwich and serve!  Believe it or not, this tastes even better the next day!

Have fun guys, and remember, always play with your food! Enjoy!

Tuna Noodle Casserole

Tuna Noodle Casserole is a new one for me.  I didn’t eat it growing up.  My mom might have made it once but eating warm tuna sort of threw me for a loop and I didn’t dig on it.  At all.  No one must of liked it because she never made it again. My previous tuna experience was tuna salad which of course is cold, that I can handle. Warm tuna, not so much.

I know it’s a staple and source of comfort food for many though and that includes Scott.  They apparently had it in their dinner rotation and somehow a box with a giant hand on it was part of the equation.

I never made it for him because I couldn’t get past the idea of warm tuna.

Then a few months ago I decided to give it a try.  Hey I’m eating lots of new stuff I never liked before, might as well hit up tuna noodle and see what it has to say for itself.

A meal made of some pantry goods is a great way to use up products while keeping costs low.

Andrea’s Tuna Noodle Casserole

  • 1 6.5oz Package of Tuna
  • 1 12oz Package of Whole Wheat Egg Noodles
  • 1/2 Large Onion, chopped
  • 2 Medium Carrots, chopped
  • 1 1/2C Peas (fresh or frozen)
  • 2C Chopped Green Beans, bite size pieces (fresh or frozen)
  • 2 Cloves Garlic, grated
  • 2 Tomatoes, seeded and chopped
  • 3TBSP All-Purpose Flour
  • 1 1/2C Chicken Stock
  • 1/2C So Delicious Unsweetened Coconut milk
  • 1/2C Shredded Cheddar, plus more for topping
  • 1tsp Soy Sauce
  • 2tsp Garlic Powder
  • 2TBSP Dijon Mustard
  • Big Pinch of Red Pepper Flakes
  • Salt and Pepper to taste
  • Olive Oil for sauteeing (About 2TBSP)

Preheat oven to 400 degrees and bring a large pot of water to boil.  Add in the noodles and cook about halfway through.  Drain and set aside.  In a large high sided skillet, heat the olive oil over medium heat.  Add in onions and carrot, plus seasonings.  Stir and allow to sautee for about 3-4 minutes.  Add in the green beans, peas and grated garlic, combine and cook for about a minute.  Sprinkle in the flour and stir until all the other ingredients are coated.  Cook for about 1-2 minutes.  Slowly add in the chicken stock while stirring the ingredients.  Add in the soy sauce and dijon once the chicken stock is added and combined.  Stir, then slowly add in the coconut milk and stir.  Allow to simmer for about 2 minutes.  The mixture should thicken by this point, add in the tuna and stir mixture.  Then add in the 1/2C cheddar and stir until the cheddar is melted.  Add in the noodles to the mixture, combining the ingredients well.  In a large, greased (with nonstick spray or olive oil) casserole dish, add in the tuna noodle mixture.  Place dish in oven and cook for about 10 minutes or until bubbling.  Sprinkle with more cheddar on top and add on the chopped tomatoes.  Place back in oven till the cheese is melted and the tomatoes are warmed through.

Remove and serve!

First of all you know I cannot make a casserole style dish without some veggies to go with it.  I think peas may be common in tuna noodle but I’m not positive.  I was flying without a net on this one!

I was really pleased with the way this turned out!  It was exactly what I expected tuna noodle casserole to be like! I was able to handle the warm tuna with no problem. The dish has protein, veggies, and whole grain pasta which makes it a great healthy alternative to traditional tuna noodle casserole.  Apparently that has like potato chips or something on top?  Oh my!

Next time I might do it minus the tomatoes.  Not that they were bad but I think I might like the dish without them a little more.

This dish makes great leftovers which are so much better the next day!  Easy to reheat in the microwave and great to eat while snug on the couch watching a movie.

Naturally, like all my recipes, this is wide open to interpretation. If you want to use milk instead of coconut milk, please do! More cheese? Do it! No veggies or more veggies, knock your socks off! Remember recipes are guidelines, not set in stone.

Did you eat tuna noodle casserole growing up?  Did you like it or hate it?  Have you made it since?

Have fun guys, and remember, always play with your food! Enjoy!

Purchasing Smoked Salmon

The smoked salmon post generated a lot of feedback from you guys!  Two readers chimed in wanting to know more about smoked salmon.

Linzi asked:

I’ve been wanting to make a sandwich like that..yummy! Where do you typically find your Salmon? In the seafood area of the grocery store or somewhere else. That has been my biggest challenge. Knowing where to find it.

Great question!

I do typically find smoked salmon in the seafood department of the grocery store.  It is typically sold in vacuum sealed packs and can be found next to the area that also has crab and other seafood items that are prepackaged and ready to eat.

Occasionally the seafood counter will have smoked salmon in the case and you can ask them to slice you some.  I have never done this though, all the smoked salmon I’ve bought have been in packages.

Melissa asked:

MMMMM! I enjoyed sampling from a classic smoked salmon platter at a party the other night: smoked salmon, a creamy dip, red onions, capers, and crackers. I want to buy some smoked salmon for myself but hesitate because I assume it’s expensive. Any tips on a good affordable brand?

This is another great question! I think this also shows how most people view smoked salmon, that it’s expensive.  I for one had that same notion.  Now I will start off by saying that smoked salmon isn’t super cheap and probably not something you will be purchasing weekly.  However it isn’t crazy expensive either.

I have successfully purchased packages of it at Whole Foods, located in a cold case in the fish department.  I can purchase WF brand wild Alaskan smoked salmon for $4.99.  I can get four meals out of that one package, so that is a really great deal!  They also have Atlantic smoked salmon for $7.99.  I have not purchased that before so I cannot give details on how many meals it provides.

I have seen larger packages of smoked salmon at Sam’s Club which would be ideal for gatherings and parties.

Now that you have purchased smoked salmon, what can you do with it?

  • Sandwiches are always a great and quick option.
  • Lots of people mention eating it on a bagel with some cream cheese.
  • You can add it to scrambled eggs for some extra protein and twist to traditional scrambled eggs.
  • Add it to salads.
  • Have with some crackers and cheese.

The possibilities are only limited by your imagination. Play around with smoked salmon and get creative in the kitchen!

Keep in mind that once the package is open, the salmon needs to be eaten within the next few days.  It can turn quickly, so open it when you know you’ll be able to use it up.

Do you like smoked salmon? Any fun tips or ideas to share?

Tuesday Tip: Using oat bran instead of breadcrumbs

Oatbran I’m constantly on the lookout for healthy substitutions for things in cooking and in baking.  Although admittedly,  I haven’t baked anything in a very long time and I’m hoping to change that soon!

One thing I love is a breadcrumb topping.  Either on baked mac ‘n cheese, or perhaps as a coating to something, I love the crispy crunchy texture it gives food.  Crispy and flavorful is about all it brings to the table and these days I’m looking for multitasking.  I turned to one of my good friends, oat bran.  Oat bran is finely ground and in my opinion, resembles that of course bread crumbs.  Why couldn’t I use this instead of breadcrumbs?  I pondered.

I decided to find out.

I mixed it with a bit of seasonings, coconut and coated some tilapia with it.

Coconut baked tilapia

The result was crispy baked tilapia.  Not only did the oat bran work replacing empty calorie breadcrumbs but it’s also bringing protein and fiber to the table.  Multi-tasking indeed!

Andrea’s Coconut Baked Tilapia

  • 4 tilapia filets
  • 1C oat bran
  • 1/2C shredded coconut
  • Sprinkle sea salt
  • Ground black pepper to taste
  • Small pinch of cinnamon

Preheat oven to 400 degrees.  Line a cookie sheet with foil and place a metal cooling rack onto the lined cookie sheet. Spray the cooling rack with nonstick spray.  In a large shallow dish, combine all the ingredients except the tilapia.  Once the ingredients are combined, dreg the fish through the coconut mixture and place on the cooling rack.  Once all the fish are coated, place in oven and bake until cooked through, about 10 minutes.  Fish will start to flake with a fork when cooked.  If your oven runs hot, knock the heat down to 375 and extend cooking time by a couple of minutes.  The coconut can burn easily, so keep an eye on it. Allow to cool for 2minutes and then serve.

Crispy coconut baked tilapiaThe oat bran worked amazingly well!  I used sweetened coconut for some extra sweetness (and because I have yet to find unsweetened) but feel free to use whatever you like.  If you are looking for a super coconut taste, add in more shredded coconut and a little less oat bran.  Also you can add in whatever seasonings and herbs you like, the coconut and oat bran are just the base.  Feel free to experiment!

My oat bran substitution for breadcrumbs was a success!  I am definitely going to play around with this more and see what other things I can create!  Give it a try the next time you need a crunchy breadcrumb topping! Or perhaps use oat bran instead of breadcrumbs for meatballs, veggie patties, and things like that. :D

Chipotle Glaze

Chipotle Glaze

Chipotle Glaze

This was another idea I came up with while working and thinking about what to make for dinner.  At least I’m a great multitasker!  Scott and I love fish and seafood.  Because it’s such a great protein source along with all the other goodies it contains, I try to make sure we get fish at least twice a week.  We were having salmon one night and I wanted a different way to serve it up.  I usually marinade the salmon in a teriyaki mixture because it takes to that flavor so well.  But this time I wanted something a little different.

Since I’ve been working on my heat tolerance level, I decided to try something new with the salmon by creating a sweet and spicy glaze.  Glazes aren’t something I really work with too much and I thought it was about time I changed that up.  I pulled out some chipotles and put together this really great tasting glaze.

Andrea’s Chipotle Glaze

  • 1 chipotle in adobo sauce
  • 1/2 TBSP of the adobo sauce
  • 1TBSP honey
  • 1 garlic clove
  • 1/2TBSP soy sauce
  • 2tsp grill seasoning (salt free!)
  • 1/2tsp smoked paparika
  • 1/2tsp garlic powder
  • 1tsp olive oil
  • 1tsp of lime juice
  • Pinch sea salt

Put all ingredients in a mini-food processor and pulse until a nice thick sauce is formed.

Simple right?  And this glaze could be used on anything from tofu to chicken. I used it on salmon steaks and here’s what I did:

Chipotle Glazed Salmon

Chipotle Glazed Salmon

Andrea’s Chipotle Glazed Salmon

  • 2 salmon steaks
  • Chipotle glaze

Preheat oven to 400.  Line a cookie sheet with nonstick foil and place the salmon on top.  Brush the salmon with some of the glaze reserving about 1/3.  Allow the salmon to cook for a few minutes and then add the rest of the glaze.  Finish cooking the salmon, about 7-9 minutes total cook time. Allow to rest for a minute and serve!

The glaze worked exactly how I was expecting it too and it was so tasty!  I was a bit worried if it would be too spicy for me and it was not at all.  It was spicy and sweet, the prefect balance.  Completely full of flavor and made one of the best salmon dishes we’ve had yet.  The smokiness of the adobo sauce provided a nice background while the honey helped the glaze stick and provide nice carmelization as the salmon baked.

I wasn’t done with it though.  I wanted to know how this was going to work with something grilled.  An even bigger test.  I still wanted to work with seafood and decided to try this out on some shrimp, but how? I finally decided to make some shrimp and pineapple skewers.

Because I wasn’t brushing this on but using it as a quick marinade and coating, I needed to bump up the glaze amount a bit.  Here’s what I did:

Andrea’s Chipotle Glaze for marinading

  • 2 cloves of garlic
  • 3 chipotle peppers
  • 1TBSP sauce (plus a pinch more)
  • 1.5TBSP soy sauce
  • 1TBSP honey
  • 1.5 tsp olive oil
  • 1tsp garlic powder
  • 1tsp smoked paprika
  • 2tsp grill seasoning
  • Pinch seasalt

Add all ingredients to a mini food processor and pulse until you get a sauce mixture.  By upping some of the ingredients, you get a little bit more of a sauce which makes it more appropriate for a marinade.  Seafood you only want to sit in the marinade for a few minutes. Things like pork, chicken, and steak can handle it for a bit longer.

Shrimp and pineapple skewers

Shrimp and pineapple skewers

Now I made shrimp and pineapple skewers with this and grilled.  Here’s what I did:

Andrea’s Chipotle Glazed Grilled Shrimp and Pineapple Skewers

  • This makes 4 shrimp and pineapple skewers
  • 1C pineapple chunks
  • 1/2-1 lb of EZpeel shrimp
  • Chipotle marinade

If you’re using bamboo or wooden skewers, soak them for about 15 minutes in water first.  Then rub them with a little bit of olive oil. This helps prevent food from sticking to them and from burning on the grill.  In a medium sized bowl, combine all the ingredients.  Allow to sit for about 5 minutes.  Then assemble the skewers alternating pineapple and shrimp and plate.  Pour the remaining sauce over the skewers and squeeze a little lime juice over top. Place skewers on a hot grill.  Cook about 2 minutes on each side.  You’ll notice the shrimp turning pink and that means they are cooked and done on that side.  Shrimp do not take long to cook at all, be careful not to overcook them. When cooked, remove from grill and allow to rest for a minute, then serve!

Sweet and spicy

Sweet and spicy

These were perfect!  Slightly spicy with a sweet finish from the honey and the pineapple.  Grilled pineapple is such a surprisingly tasty experience.  The smokiness from the grill and the sweetness from the fruit make for a great flavor combination.  The shrimp were juicy and flavorful.

In the glaze, I used seasalt but if you don’t have any, kosher will work fine.  Just a very small pinch because there is plenty of salt action from the soy sauce.

You’ll also notice that for the skewers, I added the lime juice last. When working with seafood, the citric acid will start to “cook” the seafood which can result in a mushy texture after you actually cook it with heat.  Save the lime for right before cooking.  If you’re working with something other than seafood, you can add the lime juice before cooking.

There you go guys!  Two great applications for my Chipotle Glaze!

Chipotle Glazed Salmon

Chipotle Glazed Salmon

Chipotle Glazed Grilled Shrimp and Pineapple skewers

Chipotle Glazed Grilled Shrimp and Pineapple skewers

Enjoy guys!  And remember, always play with your food!

Asian Tuna Salad

Asian Tuna Salad

Asian Tuna Salad

Me: Hey? Do you want tuna sandwiches for lunch?

Scott: Sure.

*chop, chop, mix, assemble and serve*

Scott: What’s this?

Me: Huh? It’s a tuna sandwich.

Scott: Oh.

Me: Why? Doesn’t it look like a tuna sandwich?

Scott: No.

Me: No? What would your tuna sandwich look like?

Scott: Mayo on each slice of bread, scoop out the tuna from the can and stick on the bread. Put the two halves together and eat.

Me: Oh. How about I’ll do the cooking from now on?

And that’s pretty much how our conversation went the first time I made tuna salad sandwiches for Scott and I those many years ago when we moved into our first apartment right out of college. Tuna with some huge globs of mayo slapped on some bread? No thank you. And I’ve been playing with tuna salad ideas ever since.

This recipe came to me because I had a craving for some tuna salad and also knew I had some veggies that needed to get used up. I pondered it, and the result is this Asian inspired recipe.

Andrea’s Asian Tuna Salad

  • 1 pkg. of Sweet and Spicy tuna
  • 10 baby carrots shredded
  • 2 green onions chopped (both white and green parts)
  • 1 stalk of celery chopped
  • 2 TBSP of chopped cilantro
  • 2 Cups of shredded cabbage
  • 1 1/2 tsp of sesame seeds
  • 1/2 tsp of garlic powder
  • 1 1/2 tsp of soy sauce
  • 1/4 cup mayo
  • pinch of salt and black pepper to taste

In a medium sized mixing bowl, combine all ingredients well. Serve as a sandwich or on a bed of greens as a salad.

I used Starkist Sweet and Spicy tuna but I’m sure you could use regular tuna as well. And if you want, you could use 2 cups of prepackaged coleslaw mix which would already have the carrots and cabbage combined. I used fresh because I feel it has a better crunch. But if the carrots and cabbage don’t look good that day, feel free to use some of the coleslaw mix.

I’m trying to get more veggies and fruits into my diet (and Scott’s!), so I try to put them in where I can. I thought this would be a great opportunity to add some greens to this dish by way of the cabbage. Cabbage is such a great veggie and so good for you that we eat it regularly here at OHC. It pumps up the volume of the salad and gives it a nice crunch and texture. Most times when you think of tuna salad you think of a gloppy mess of tuna and mayo. I tried to avoid that as much as possible in this salad. I only used 1/4 cup of mayo which binds everything together but doesn’t overpower the dish. Resulting in a nice light and crispy tuna salad.

Asian Tuna Salad in a pita

Asian Tuna Salad in a pita

Enjoy guys! And remember, always play with your food!