Status

Coffee and Almond Milk


Almond Milk and CoffeeGiving up milk in my morning coffee left me sad.  I like my morning coffee to be creamy with a little sweetness.  I don’t add sugar to coffee but was able to get that sweetness from the milk.  Taking that away meant that I needed a substitute and the search for something suitable took me months.

I tried everything and was coming up short.

I tried bulletproof coffee and I tried coffee with just a little bit of coconut oil and a dash of coconut sugar.  All of this was fine but it wasn’t good.  I wanted good.

Morning coffee is one of my favorite routines and eases me into the day.  I’m not dependent on coffee and I don’t have withdrawals when I go without.  I really just enjoy the whole process of it.  Grinding the beans, that first smell of brewed coffee, and making a cup to take to my desk.

I love this whole thing about mornings.

So when looking for a replacement to milk, I didn’t want coffee to become this process and something that isn’t sustainable.

With bulletproof or coconut oil coffee, the blender was needed which meant another thing was dirty and needed washed.  Plus, how would I make this while traveling?  Too much of a process and not sustainable.

I started testing out non-dairy milks.  Most of the almond milks I tried ended up having a weird taste in coffee. Coconut milk from the dairy aisle tasted like a mess of chemicals.  None of those played well in coffee, the milk sank, separated, and never mixed unless I used the blender.   Vanilla almond milk + a pat of butter in the blender tasted like a latte but that became a whole process and I’m not looking for added fat in my coffee.  That might be a nice special treat but not daily.

Canned full fat coconut milk was awesome but not cost effective.  Even the cheapest can is $0.99 and that only lasts for about a day.

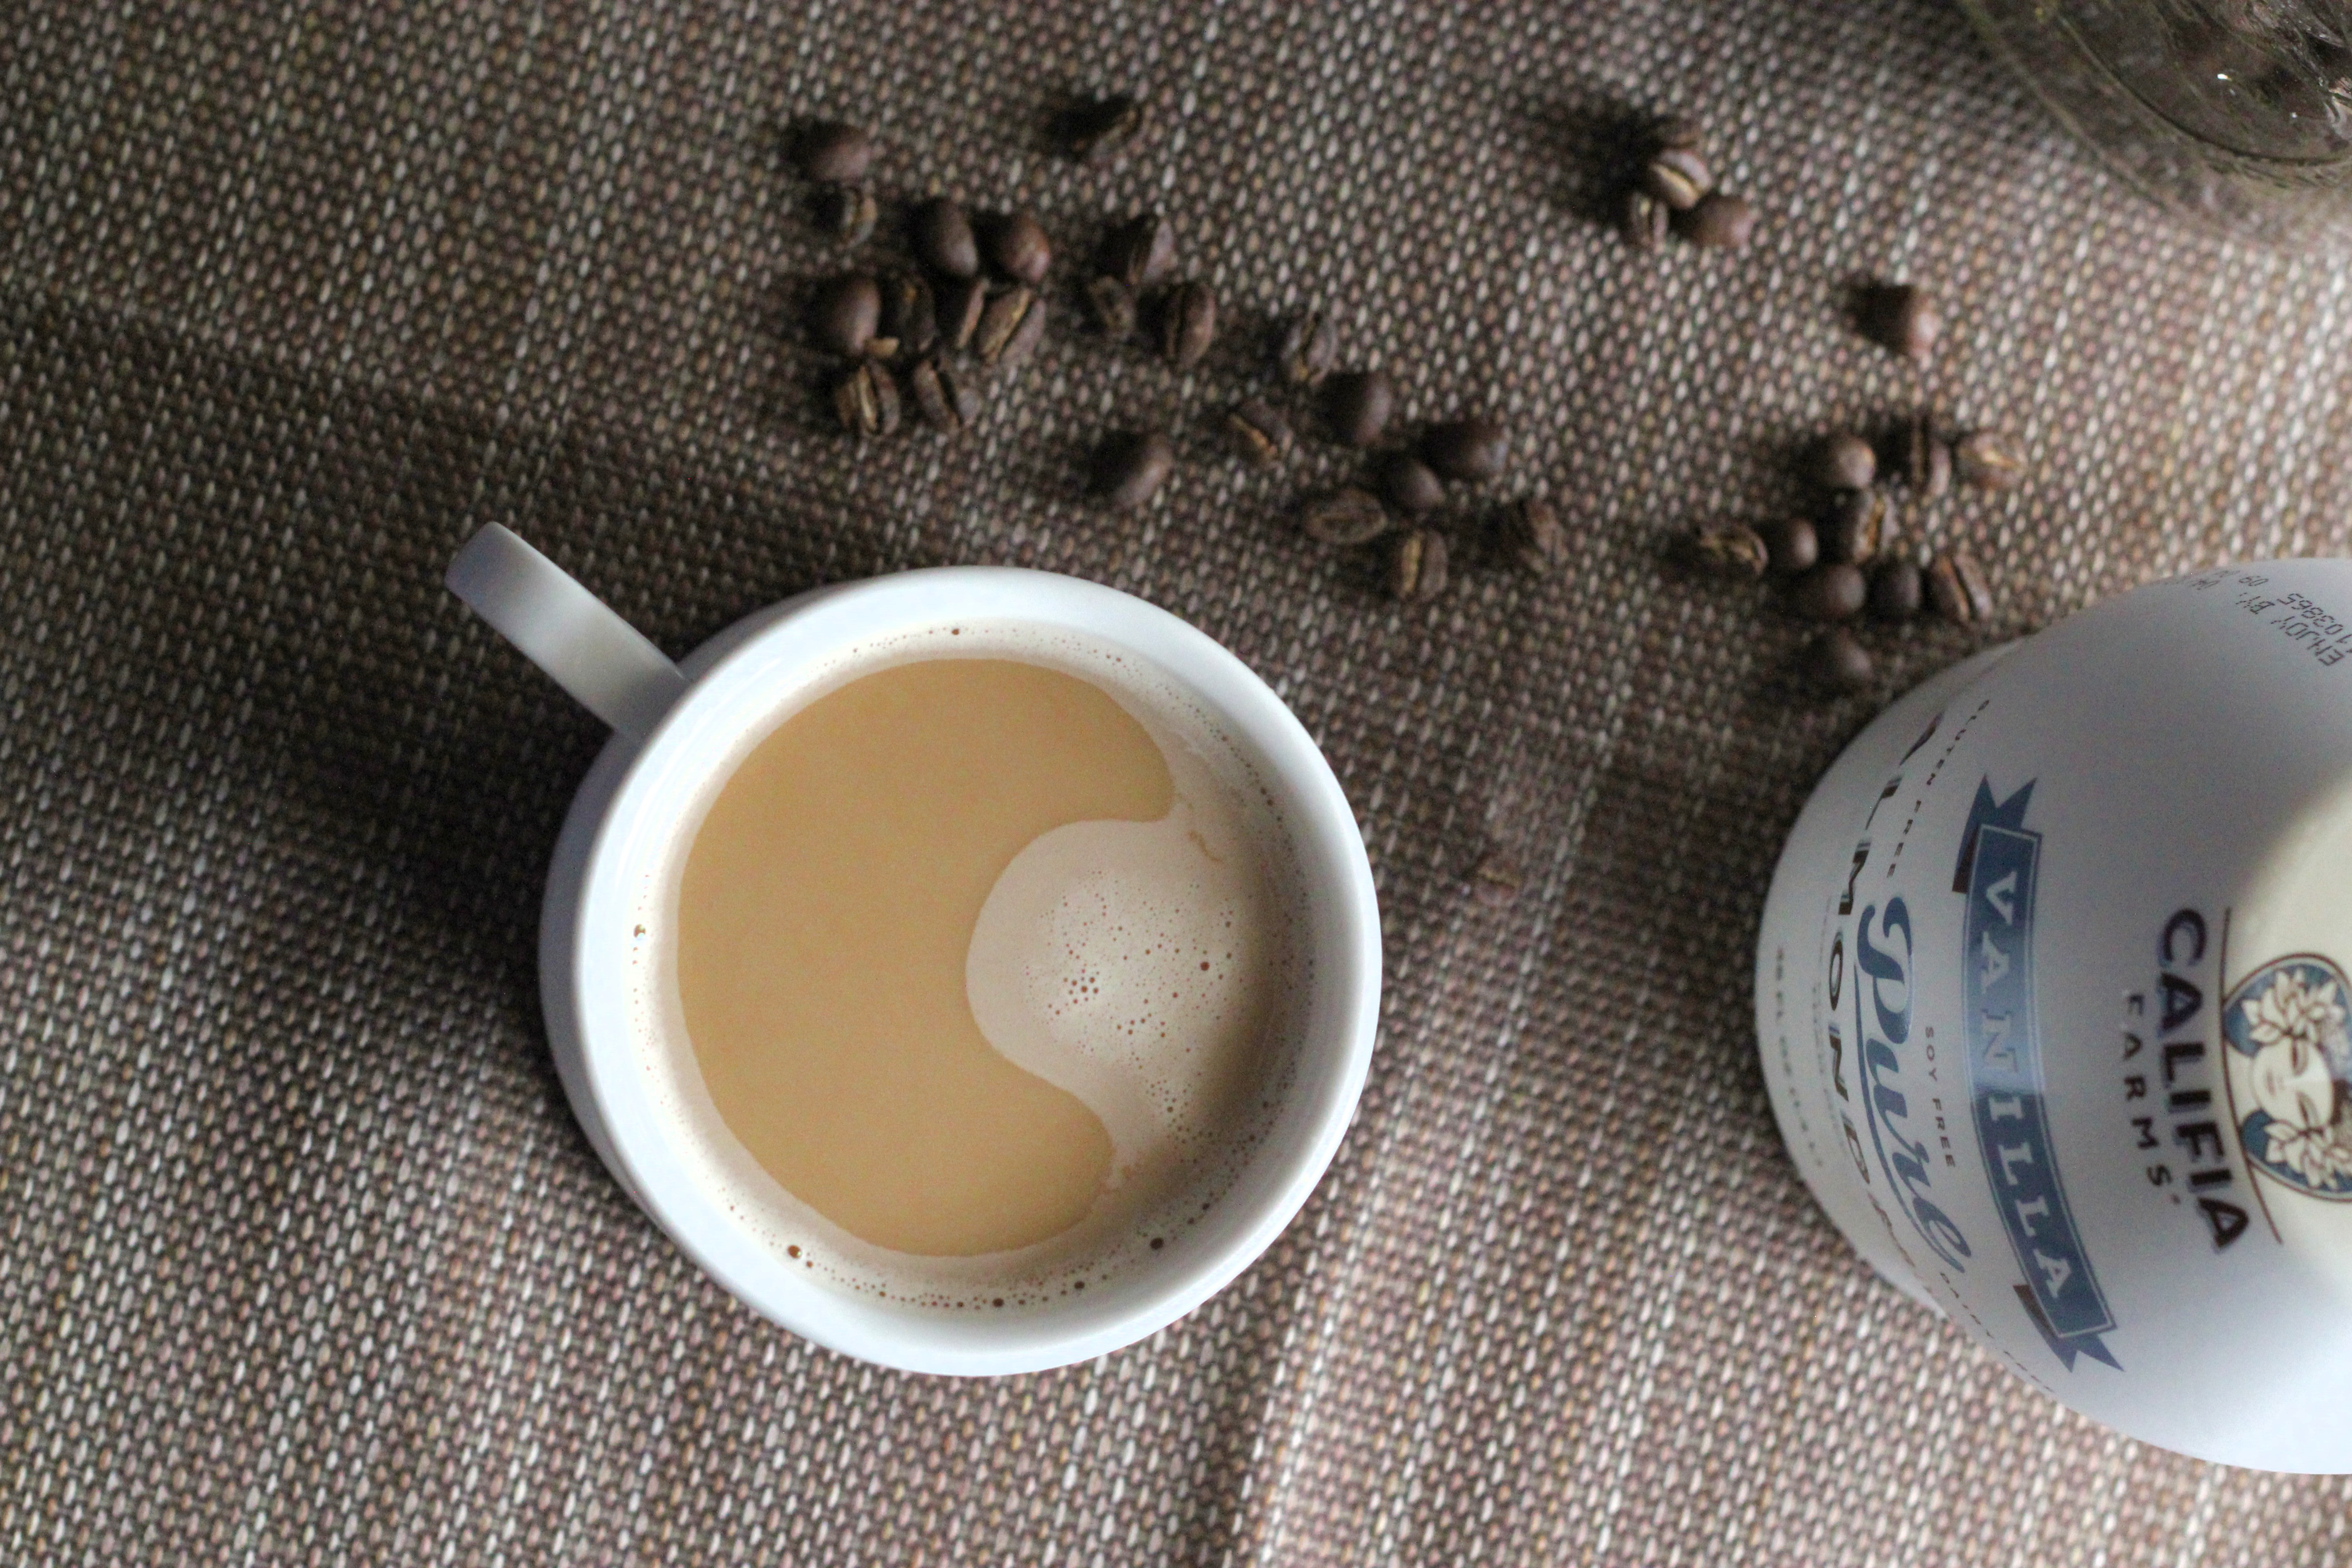
Finally, FINALLY, I found a good solution.  Califia Farms makes almond milk that plays nicely with coffee and you don’t have to bust out a blender either.

It is a little bit more pricy but worth it.  Their flavored milks have very little sugar which is nice especially if you’re trying to reduce your sugar intake.  I prefer the vanilla almond milk but have also used the toasted coconut as well and they both work well to make tasty coffee.

Yes there is an adjustment period going from milk to almond milk, but it doesn’t last long.  I heat the almond milk up slightly (don’t take it past a simmer or it starts to break down) and then pour the coffee right on top.  They blend together and I’m back to having creamy slightly sweet coffee in the mornings.

Not a big process since the blender is no longer needed.  Also sustainable because most coffee houses offer almond milk as an alternative to cream.

Does it taste like real milk? No, that’s why there is an adjustment period.

I can only find this brand at my local Whole Foods but since it brought back the joy of morning coffee, it’s worth it.

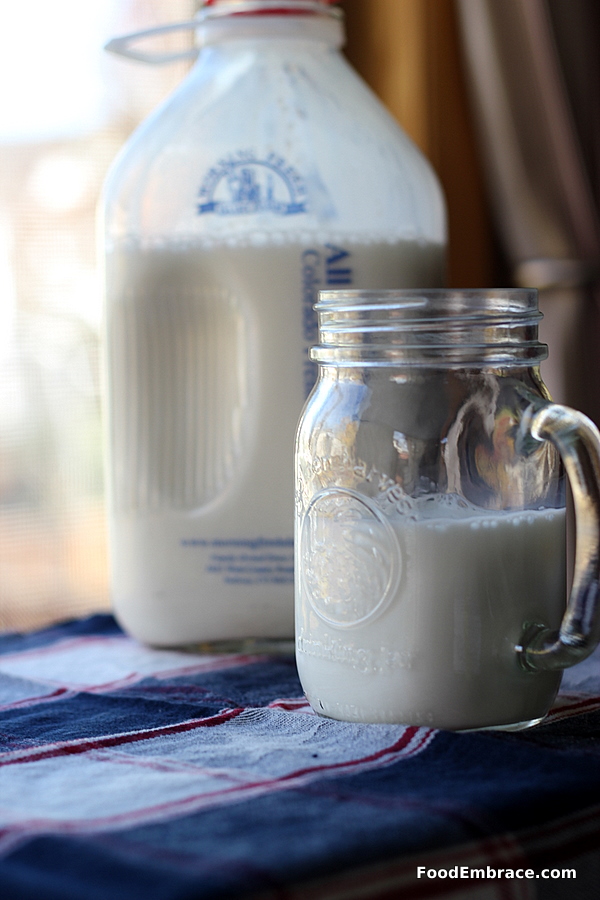
If you’re wondering, Scott is able to handle milk just fine so he uses 100% grass-fed milk in his coffee.  I also can only find that at Whole Foods.

It did take several months for me to find a good replacement but now I’m back to being a happy girl with her morning cup of coffee!


Disclaimer: This is NOT an ad for Califia Farms, they don’t even know I exist.  I really enjoy their almond milk and am sharing that with you.

Status

Putting Milk Aside


Fresh Milk When we first moved to Colorado we started using milk in our coffee.  It was so easy and convenient because it was delivered right to our door each week.  The milk we got delivered wasn’t too bad, not fully pastured but I believed it to be pretty close and it was local.  I assumed this had to be better for us than the soy milk we were previously using for coffee and cooking.

As much as I enjoyed the milk, it didn’t love me apparently.  I started having digestive issues.  I didn’t equate it to the milk until two years later.  Yeah that’s a long time but I didn’t have any of the typical symptoms of someone who can’t tolerate milk.

There was no bloating (that I noticed at the time), no gas, stomach pains or cramps.  Nothing like that.  But it was clear that my digestion was way off and not where it should be.

Then I started not being able to tolerate other foods that I loved, like seeds and nuts.  Anytime I had those, I was immediately running to the bathroom.

That was my wake-up call.  Something isn’t right and I need to do something about it.  I decided to cut out milk as that made the most sense since that was the only big dietary change I’d made in the last two years.

Scott and I used to drink milk all the time until we learned that conventional milk at the store is horrible, so we gave it up cold turkey and went straight to soy milk.

Until this move, we hadn’t had milk consistently in coffee for over 10 years (only on the rare occasion when out for breakfast).  That’s a long time.  Not that we gave up dairy completely we just weren’t consuming straight up milk any longer.  Diving headfirst back in to milk consumption, I think it was too much of a shock to my system.

I gave it up for a couple of weeks and then tried to reintroduce it back in.  That didn’t go over so well so I decided to cut it out completely.

I have learned that I do not process large amounts of dairy very well.  I overlooked my symptoms because they weren’t the “standard issue” that you typically hear about with milk intolerance. These were the symptoms I suffered from:

  • Nagging blemishes on my chin that wouldn’t go away.
  • Bad digestion and needing to use the restroom multiple times a day.
  • Hair loss, I was pulling hair out by the handful whenever I washed my hair.
  • Constant bloated stomach.

Once I eliminated milk all of those things went away.  I didn’t even realize I had a bloated stomach until I cut out milk!  A week of no dairy and my stomach didn’t feel “as big” as it used to.  The hair loss surprised me the most. I was shocked to find it was related.  This whole process was very eye opening.

I do not have to eliminate all dairy.  I can handle yogurt just fine.  I can also do butter and cheese in small amounts. The main issue was straight up whole milk in my morning coffee every day multiple times a day.  It was just too much for my system to handle and my body couldn’t process it at all.

I’m currently working on repairing and restoring my digestive tract.  It was mistreated for two years so it’s taking some time to get it back to normal.  At this point I’m able to handle small amounts of seeds again in salads and I can also handle almond milk and almond butter.  I have a little ways to go before I can do whole nuts again.

But this left me lacking something for my morning coffee!  I’ll be chatting about making the switch to almond milk later this week.


New Smoked Salmon Experience

Smoked SalmonOn New Year’s Day, we had something new for breakfast, smoked salmon with cream cheese on baguette slices.

Nothing fancy and something that people have been eating for breakfast forever but for us it was new.  I spied some local smoked salmon (the company was local, the salmon was wild caught) while out shopping and decided to get some to try out.

I love smoked salmon but have only had the traditional thin slices of smoked salmon, the kind that still looks like it’s raw even though it is not.

I enjoy that style a great deal but only can eat so much of it before the texture starts to squick me out.

The new style I bought looked and flaked like regular cooked salmon.

Smoked Salmon

It was delicious! I made a quick little cream cheese spread to go with it, nothing complicated. I mixed some chopped green onion and dried dill with about 4oz of cream cheese.

The filet that I purchased was large and there was no way that we could get through it all.  I portioned out the leftovers and stuck them in the freezer for another day.

I’m already dreaming of all the things I can make with this new style of smoked salmon!

Do you enjoy smoked salmon? I know some folks can find it a little over powering in flavor.

Ranch Dressing

ranch_dressing Growing up Ranch Dressing was the only salad dressing in the house. Occasionally some Italian dressing would appear but only if pasta salad was in the near future.

The only time I ever had “fresh” Ranch Dressing was out at a restaurant someplace.

I never tried making my own until a couple of years ago.  I was using lemon juice, coconut milk, and Greek yogurt to make the dressing.

It was a fail each and every time.  It just didn’t have the right tanginess that I was looking for.

Since we started getting milk again, I decided I was going to have another go at making Ranch Dressing.

While it’s not perfect just yet, I’m on the right track!

My basic recipe includes:

  • Whole Milk
  • Sour Cream
  • Green Onions
  • Garlic Clove
  • Italian Seasoning
  • Lots of Fresh Ground Black Pepper

Ranch DressingEverything gets combined in a blender and then drizzled over a salad.

It’s a work in progress for sure but I’m close to perfection.  Even though it isn’t perfect, it is tasty and we have no problems going through a jar of it.


Embracing Milk

Back in the day Scott and I drank a lot of milk.  By a lot, I mean the two of us would polish off 3 gallons of milk in a week.

So yeah, a lot.

Both of us grew up in households where milk was served at dinner and sometimes at lunch.  Pop or fruit juices (aside from oj) were not allowed at the table to have with meals. They were considered treats.  A rule that seems to have gotten lost past our generation.

However several years ago as I started looking into food a bit more, I learned that milk wasn’t so great.  Milk from factory-farmed cows were full of stuff you do not want to put in your body.  We stopped drinking milk cold turkey and switched over to soy milk.  We liked soy milk and stuck with that for many many years.

When we lived in Ohio, we had access to amazing grass-fed dairy from a local farm.  We still didn’t switch over from soy milk completely though.  Scott used half-and-half in his coffee and I used the cream to make butter.  That was the extent of our milk intake.  I still used soy milk or coconut milk for cooking and baking.

Moving to Fort Collins, finding soy milk proved challenging.  Oh there’s soy milk here but the brand we like isn’t easy to find and when we did find some it was really expensive.  A lot more than what we paid in Ohio.

Always keeping a budget in mind, I wasn’t fond of the increased price. Nor did I like the treasure hunt we had to do in order to find some.

This actually came at a great time.  I had been considering ditching the soy milk anyway.  As we move towards less processed foods and back to a more traditional unprocessed way of eating, soy milk doesn’t really fit with that philosophy.  It has thickeners, sweeteners, and additives that I don’t really want to consume any longer.

Milk only has milk.

So we have dropped the soy milk and switched back to milk fully.  We are able to get milk delivered to us each week fresh from a local dairy.  The dairy raises and owns their own cattle along with growing and producing all the food that the cattle eat.  The milk we get was just milked from the cow 24 hours prior.

I know that some people are not a supporter of dairy and I’m aware of studies that suggest dairy isn’t all that great. I also know that soy milk isn’t all that great either.  I’ve done the research.  We all need to do what is right for our families.  For us, this is working right now and this is a choice that we are happy with.

I’m back to having a large glass of milk each night with my dinner.  I never realized how much I missed milk.  I look forward to that glass of milk each night with dinner.  It’s bliss!  We’re not quite up to where we used to be in terms of consumption.  Only about half that.  We get a gallon and a half of whole milk delivered to us each week.

I admit that I love having fresh milk delivered to my door!

Do you drink milk? Have you ever moved away from dairy only to reintroduce it back into your diet?


Making Butter and Homemade Buttermilk

Making butter at home is super easy though it can be a little messy, but don’t let that dissuade you!

When you make your own butter you get to control the ingredients which means you can get a better product.

Try to find cream from grassfed cows.  The cream tastes better which means the butter will taste better.  It will also be a pretty yellow color without the need for additives to get it that way.

If you cannot find grassfed cream, look for the best possible source of cream you can find. See if there are any local dairies in your area.  You can check Local Harvest and Eat Wild to discover local producers.

I purchased whipping cream by the half gallon, so my post today will be based off of that.

You’ll want to get whipping cream to make your butter.  You need the fat in this to create your butter.

What you’ll need:

  • Stand mixer (you can use a hand mixer but it takes a long time to get butter, just a heads up)
  • Wire strainers
  • Large bowl
  • Paper towels or dish clothes that you use for food prep
  • Containers for buttermilk
  • Plastic wrap or containers for butter

I work with 4 Cups of cream at a time.

I place the cream into the stand mixer bowl, attach the whisk attachment. I start at speed 2 for a bit and once it starts to get fluffy and thicken up I increase the speed to 4.  I do not go past 4.

Let this work and work and work.  It takes about 10 minutes, possibly a little less.  The whipped cream will keep getting thicker and thicker.  Eventually it will break down, this is the stage you want to get to.

When the cream breaks, it will look like this.

That right there is your butter sitting in some buttermilk.  This is where the strainers come in handy.

Place one strainer over a large bowl and pour out the buttermilk and let the butter sit in the strainer.

Push down and squeeze the butter through your hands to get out most of the buttermilk.

Then (and this is the messy part), place the butter in another strainer and take to your sink.  Run cold water over the butter and squeeze and knead the butter with your hands.  This works out any leftover milk solids in the butter.  You want to do this until the water you’re squeezing out starts to run clear.  When the liquid coming out of the butter is clear this means the butter is free of milk.  Milk left in the butter won’t affect the taste but it can cause the butter to have a shorter shelf life.

Then with paper towels or dish cloths, dry out the butter.  The goal is to get the butter as dry as possible.

Do the exact same thing for the next four cups of cream that you have waiting.

I portion out the butter into small amounts and put the buttermilk in an air tight container.

I wrap the butter in plastic wrap and store in the freezer until I need it.  Then since it’s already portioned out, I am able to pull out how much I need.

The buttermilk will last you about a week.

I don’t salt my butter but I know some folks do.  I like it fresh and unsalted.  If you are doing any baking, the butter is already at room temp so you would be able to get started right away.

From start to finish this takes me about 45 minutes and that includes the cleanup.  I usually get close to 1 Quart of fresh buttermilk and about 2 Pounds of butter.  Not to shabby!

I totally encourage you to give making butter a try!  Like with everything else, with practice it becomes easier and more streamlined the more you do it.  Give it a shot and let me know how it goes!

Peach and Goat Cheese Ice Cream Sandwiches

I’m not quite sure how I got the notion but the idea to create goat cheese cookies popped into my head and I could not leave it be.

I started dreaming of a lovely cookie that was sort of like a shortbread and sort of like a sugar cookie.

But with goat cheese.

Once the idea was there it was not to be ignored and I soon found myself in the kitchen making some cookies.

My idea worked and I was rewarded with golden cookies that are perfect with tea and as a late night little munch.

Considering I’m not a huge baker, I’m considering this a triumph!

Earlier this summer, I was contacted by Yagoot Frozen Yogurt Company asking if I would be willing to create a recipe using their yogurt.  Yagoot is based out of Cincinnati and also has a store in the Easton Shopping Center near Columbus, OH.

I knew right away that I wanted to make ice cream sandwich cookies using my new goat cheese cookie recipe.  I headed over to Yagoot in Easton to pick up some pints of frozen yogurt.  I spied the Summer Peach flavor and immediately knew I would be using that.

Andrea’s Goat Cheese Cookies

  • 4oz of Goat Cheese, room temperature
  • 4TBSP Butter, at room temperature
  • 1 Egg
  • 3tsp Vanilla Extract
  • 1C White Whole Wheat Flour
  • 1/2C Unbleached All-Purpose Flour
  • 1/3C Organic Cane Sugar
  • 1tsp Baking Powder

In your stand mixer bowl, add in the goat cheese, butter, egg, sugar, and vanilla.  Beat on low until everything is smooth and creamy.

In a medium size mixing bowl, add in the flours and baking powder.  Whisk until everything is blended and airy.

Put the stand mixer on low and slowly add in the flour mixture until everything is combined.  The dough should be a little stiff.

On a lightly floured surface, place dough and start to roll out into a log shape.  Roll it till it’s about a foot long and 1/2 inch in diameter.

Wrap in plastic wrap and place in the fridge for about 2 hours.

Preheat oven to 350 and line two baking sheets with parchement or silpat.  Slice the log into slices about a 1/4 of an inch thick.  Place on cookie sheet and bake for about 10 minutes or until the cookies start to crisp up and brown on the edges.

If you can only fit one cookie sheet in your oven, place the remaining cookies back in the fridge until you are ready to slice and bake.

Allow about 4 minutes to cool and then serve.


Ice Cream Mixture:

  • 1/2 pint of Yagoot’s Peach Flavored Frozen Yogurt
  • 2oz of Plain Goat Cheese at room temperature
  • 1/2 tsp Ground Cinnamon
  • 1/2 tsp Vanilla Extract
  • 1/2 TBSP Organic Cane Sugar

With a hand mixer or stand mixer, place all ingredients in a bowl and mix until the goat cheese is combined.

Sometimes goat cheese has a tendency to break down into little balls of goat cheese when it combines with something cool.  This is okay!


Assembling the Ice Cream Sandwiches:

  • Cookie Sheet
  • Parchment Paper to line the cookie sheet

Scoop a little bit of the frozen yogurt onto a cookie and top with another cookie.  Gently press down and place the ice cream sandwich on the cookie sheet.

Repeat until all the frozen yogurt is used.  This will make between 8-10 sandwiches depending on how much frozen yogurt you use for each sandwich.

Work quickly because the frozen yogurt melts fast!

Once you’re finished, place the cookie sheet with the sandwiches in a freezer and freeze for at least two hours giving the frozen yogurt a chance to set back up.

Serve as a cool treat or a sweet ending to a summer meal!


The goat cheese freezes a bit when the cookies go back in the freezer and so you get little crunchy tangy bites of goat cheese while eating the ice cream sandwiches.

A great little summer treat with a twist!

Yagoot is graciously giving away a $20 gift card to readers of Food Embrace!  Keep in mind Yagoot is only available in Columbus and Cincinnati right now.  If you’d like to enter to win the gift card all you have to do is:

Comment, telling me what flavor if yogurt you’d like to try!

Contest ends on Friday, August 24th, at 5pm EST.  I’ll contact the winner by email so make sure you leave a valid email address in the comment!

WINNER: Random Number Generator picked Comment Number 3! The winner is Joe!  Thanks for commenting Joe!

Have fun guys, and remember, always play with your food!  Enjoy!


Disclaimer: Yagoot Yogurt contacted me and asked me to create a recipe using their product. They supplied me with a gift cards in order to purchase the product and for supplies needed to create the recipe.

Review: Traderspoint Creamery Yogurt

Let me start off by saying that this was the most difficult thing I have tried to take a picture of so far. I could not get a straight picture and was about to lose my cool while stomping off to get the tripod. Then I realized that the sticker on the bottle was crooked and not my picture taking.

Whew!

So I apologize for the crooked picture but it’s not my fault and I’m okay with that.

I stumbled upon this yogurt from Traderspoint Creamery, while I was picking up some Snowville half and half for Scott’s coffee.  I thought this was just a milk company and then I noticed that this bottle said yogurt on it.

Oh?

I’ve been looking around for a new yogurt for a little while now.  I still love Fage but sometimes I want something a little sweeter and not so thick.  I’ve been displeased with yogurts lately and all about abandoned my mission.  Then the florescent store lights shined down up this gem.

100% grassfed cows and certified organic.  Pretty close since this dairy is just over in Indiana.  I can live with that.  They have different flavors of yogurt and even have a full-fat variety.

Traderspoint advertises that their yogurt is more like European style yogurts and that it has won numerous awards.  I read the ingredient list and that was fine, so I decided to give it a try. I bought the low-fat vanilla yogurt.

Believe me when I tell you that at this point, this is hands-down the best yogurt I have ever tasted.  It is thick and dreamy.  It tastes like vanilla cream.

No really, it tastes like cream.

If this is what European yogurt is like then I want it all the time.  The yogurt I’m used to has a harsh tang to it that I know turns some people off.  I don’t mind it, yogurt is something I really enjoy.  But this? This is amazing yogurt that I swear would turn any yogurt hater into a yogurt eating fool.

I love that it comes in a glass bottle but at the same time it does make it difficult to stir the yogurt.  I used a butter knife the first time and now it’s low enough that I can just gently shake the bottle to combine everything.  It pours right out and is smooth like, well, like good cream.

I can’t get enough of it! When I pull it out, even Scott has to pour himself a couple spoonfuls because you just can’t pass it up.  So good!

If you’re lucky enough to see this creamery in your local dairy section, give it a try because it’s worth every penny.

Disclaimer: I purchased this yogurt on my own and reviewed it on my own. Traderspoint Creamery is in no way associated with this review. 

Slow Food Columbus Presents Snowville Butter Making Class

Last week, Nicole emailed me asking if I wanted to attend a butter making class with her.  She had an extra ticket because her mom ended up not being able to go.  I have been interested in making butter for a few weeks now ever since I learned that you can freeze butter.

Did you know this? I did not. It was the one thing preventing me from making my own butter because I would have so much, I wasn’t sure what I would do with it all.  Now that I can freeze butter, BRING IT!

This sister wants to learn how to churn her own butter!

I told Nicole that I would love to attend the class with her and I showed up bright and early (as early as one can be for a 1pm class) on Sunday armed with mason jars ready to fill my brain with butter making knowledge.

Plus I got to spend the afternoon with these two lovely ladies!

Nicole on the left and Wendy on the right.  If you recall, I met Wendy at the Market District opening. I was happy to see her smiling face walk in the door because that meant I got a chance to chat with her and another friend was taking the class!

This class filled up with people coming in long after it started.  This was the third class that Slow Food Columbus and Snowville put on.  Their first two were so successful and sold out quickly, so they decided to add on a third.

The class was led by Snowville representative and honest dairy milk advocate, Warren.  I had the pleasure of sharing a dinner with Warren, gosh two years ago now, at a Hills Market function.  I was very happy to be able to have the chance to attend one of his classes.

The class was two hours long and the majority of the time Warren was talking to us about dairy and the difference between grass-fed and feed-fed dairy.  He gave us a brief history of the dairy industry, what pasteurization for milk means and how Snowville handles their cows and milk.

Once Warren gets going, time can get away from him but only because he’s so passionate about what he does.  The butter making portion of the class ended up being a little rushed but that was okay because we still learned a great deal.

We each brought QT sized mason jars, which were then filled about 1/3 of the way with Snowville Whipping Cream.  We sealed the lids up tight and got our shimmy-shake on.  You can make whipped cream and butter just by shaking a jar.  Did you know that?  I shook and shook and then my cream entered the whipped cream stage.

Don’t stop there! Keep going!

Keep going and then the cream will break and separate into two elements, butter and buttermilk.

Once we got to this stage we stopped and were instructed to finish the process at home.  They were also demonstrating the process at the kitchen.

This huge jar of whipped cream was going to be transferred to a stand mixer so that it could be taken to the next stage of separation.

Once separation occurs, drain off the buttermilk and squeeze the butter to release more buttermilk.  Then you repeat the process a few times and you have butter!

Basic explanation but I intend to do a more in-depth one all about butter.

When I got home I drained off the buttermilk from the mason jar and rinsed off the butter until all the buttermilk was released.  I was left with fresh butter!

Spread on bread and enjoy!

Have you ever made your own butter? Are you interested in learning?

Pimento and Cheese

getting started

getting started

I was first introduced to pimento and cheese when Scott and I lived in North Carolina.  I was working an overtime shift at my PT job at White Barn Candle (with an adjoining Bath&Body Works) and was on a short 15minute break.  I was starving and for some reason that is escaping me now, we had food in the back.  Someone brought in pimento and cheese sandwiches and I inhaled two of them.  I thought they were really good and told Scott all about them when he came to pick me up that night.

I started making them and fiddling around with recipes.  Turns out that Scott is pimento and cheese’s number one fan.  I’m surprised that he likes them so much because there’s not really much too them.  Another surprise?  I don’t really care for them. :p  I guess it was just the fact that I was starving and my blood sugar was too low when I had them the first time.  I can eat one sandwich with a little bit of spread, but that’s about it.  Otherwise it’s just not my bag.  But as I mentioned, my husband loves them and because I am a most fabulous wife, I make him his beloved pimento and cheese every so often.

Here’s my recipe and it’s so easy peasy, you can make this stuff in no time flat.

Andrea’s Pimento and Cheese

  • 8oz diced pimentos, drained
  • 1 3/4 C of shredded cheddar (use the good stuff)
  • 3 TBSP of mayo
  • 1/2 TBSP of spicy grainy mustard
  • 1 tsp of worcestershire sauce
  • 1 TBSP of buffalo sauce
  • Salt and pepper to taste
  • Pinch of red pepper flakes

In a medium sized mixing bowl, place all ingredients and combine.  Refridgerate for at least an hour.  Spread on crackers, use as a dip for veggies, or make sandwiches.  Enjoy!

Pimento and Cheese

Pimento and Cheese

As I mentioned in the recipe, spring for the good cheddar and grate it yourself.  The cheese and pimentos are the main ingredients in this dish so it makes sense to use quality ingredients.  However, that doesn’t mean you have to, so feel free to use the cheese you have on hand.  Scott and I both actually prefer our sandwiches to be grilled.  Since this is a mayo based spread, it will get runny on you if it gets too hot.  Make sure the skillet is hot (medium heat) and make this sandwich like you would make a grilled cheese.  Only flipping sooner so the filling doesn’t run out everywhere.

See, I told you this was easy!  Now if you are a pimento and cheese lover, get yourself some!  And make sure you have some sweet tea to go with it!

Have fun guys!  And remember, always play with your food!

P.S. Sorry there’s no picture of it in a sandwich. Scott was too busy inhaling them. :p  The next time I make this, I’ll update this post with a sandwich picture.